- AtoZ Cursive
- Cursive Y
Cursive Y: Tutorial & Printable Worksheets (Uppercase + Lowercase)
Access free printable cursive worksheets and step-by-step guidance for both uppercase and lowercase letter Y.

How to Write Y in Cursive
Learn to write cursive Y easily! Follow simple, flowing steps to form both uppercase and lowercase letters neatly and connect smoothly to the next letter.
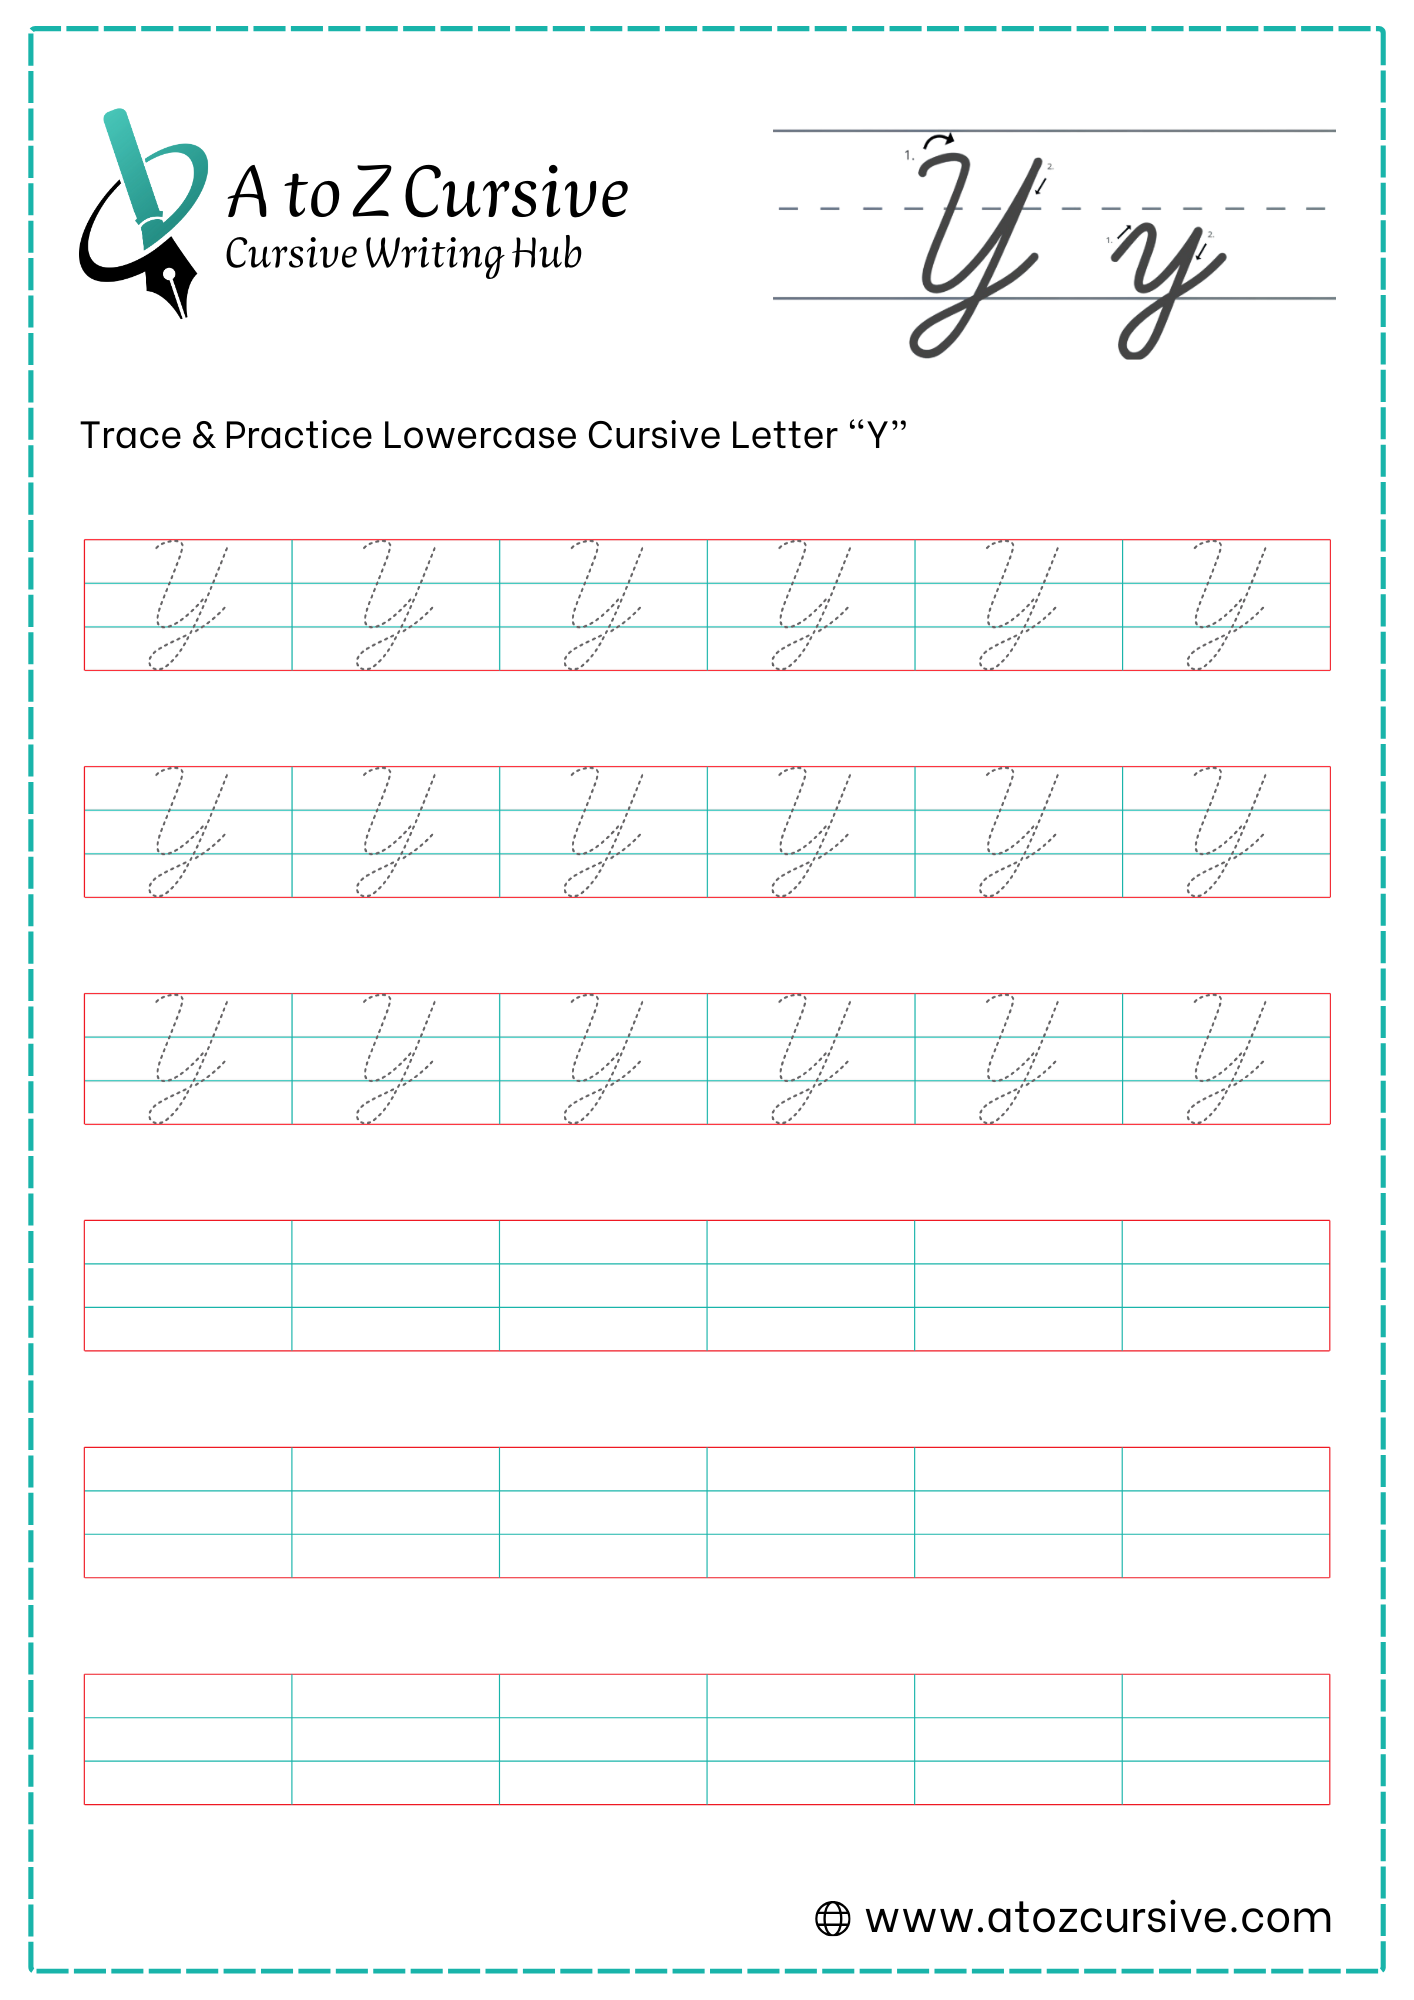
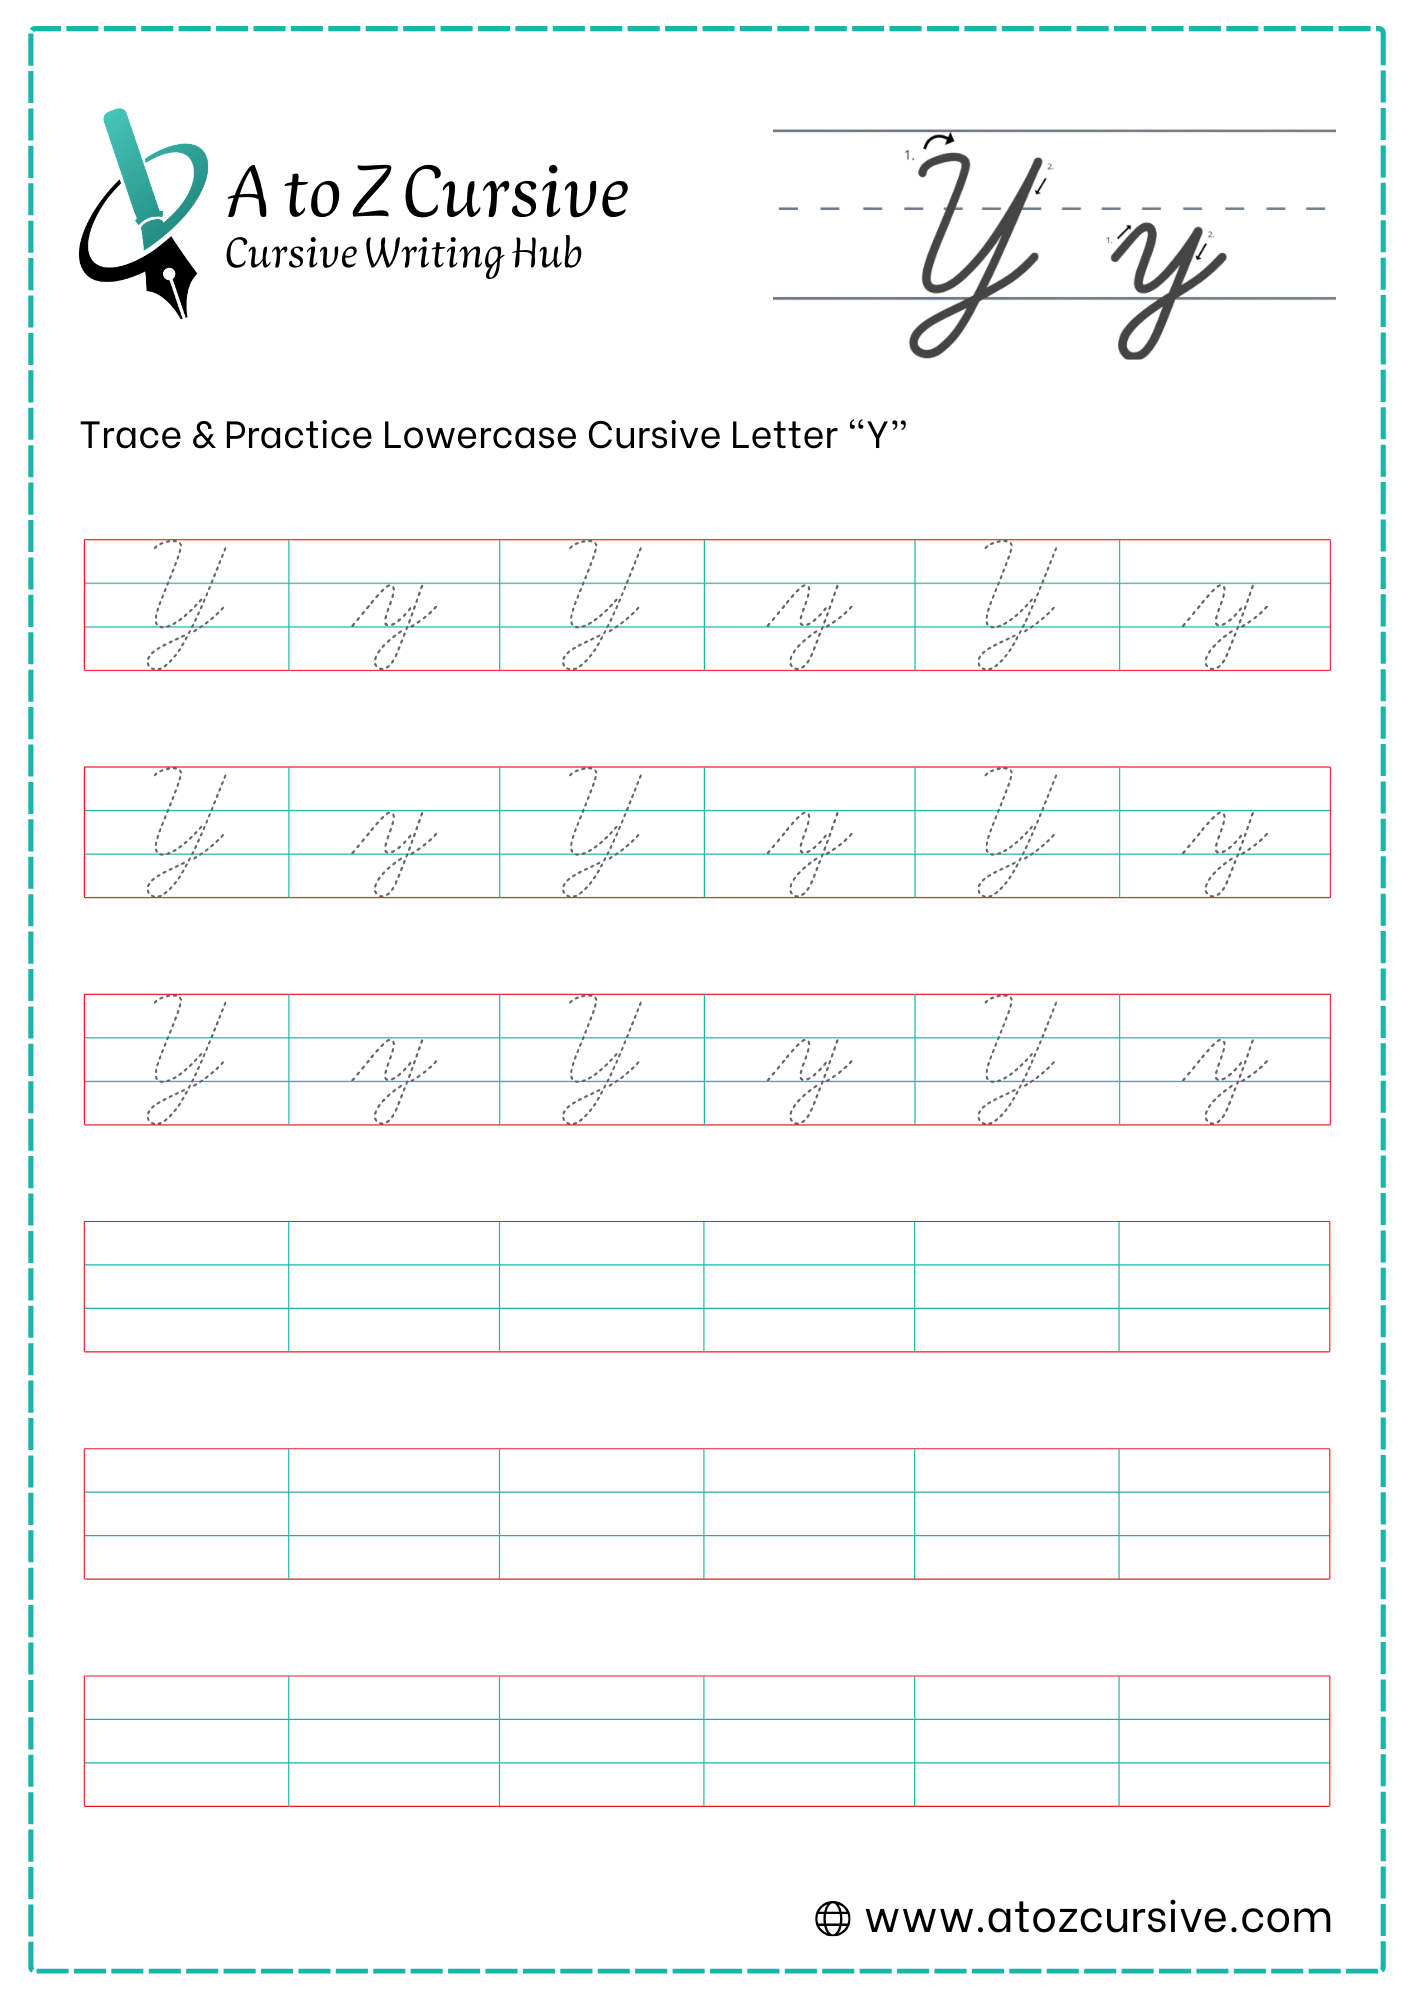
Lowercase Cursive Y
-
Start at the bottom baseline. Draw an under-curve stroke up to the midline.
-
From the midline, curve back down to the baseline and then back up to the midline, just like you are writing the letter "u."
-
From the midline, pull your pen straight down, passing through the baseline and into the space below (the lower zone).
-
Once you reach the bottom, make a rounded loop toward the left.
-
Bring the stroke back up to cross the vertical line exactly at the baseline, then extend a small tail to the right to connect to the next letter.
The Intersection Point: For the neatest look, make sure your bottom loop crosses the main vertical stem exactly on the baseline. If it crosses too high or too low, the letter can look messy.
Uniform Slant: Keep the "U" portion and the descending tail at the same rightward angle.
The "Hump" Family: Remember that "y" belongs to the "hump" or "bump" family of letters (like n, m, v, and x). They all share that same initial over-curve or under-curve motion.
Uppercase Cursive Y
-
Begin just below the top baseline. Create a small downward hook or curve that leads into an upward stroke back to the top line.
-
From the top, curve down to the baseline and back up to the top line, creating a wide "U" shape. This should look like a larger version of the top of a lowercase "y" or "u."
-
From the top right of your "U," draw a straight line all the way down, past the baseline, and into the lower zone.
-
At the bottom of the descender, make a rounded loop back toward the left.
-
Bring the line back up to cross the vertical stem exactly at the baseline, then extend a tail to the right to connect to the next letter.
The Baseline Intersection: For a professional look, ensure the bottom loop crosses the stem precisely at the baseline. If it crosses too high, it looks like a "g"; if it's too low, it looks disconnected.
Avoid the "V" Shape: Beginners often make the top part too sharp, like a "V." Keep the bottom of the first section rounded to maintain that classic cursive "U" flow.
Connection Rule: Unlike many other capital letters, the uppercase "Y" does connect to the letter that follows it via its exit tail.
FAQs
Start by tracing printable worksheets for both uppercase and lowercase Y, then practice step by step using flowing strokes.
Yes! You can download free printable cursive Y worksheets to trace, practice, and master both uppercase and lowercase letters.
Begin with an under-curve to the midline, form a “u” shape, pull the descender down, create a loop, and finish with a connecting tail.
Start with a hook, form a wide “U” shape, draw a long descender, add a loop at the bottom, and finish with a connecting tail.
Common mistakes include making the top too sharp like a “V,” misaligning the bottom loop, or not maintaining a consistent slant.
Practice consistently using our cursive alphabet worksheets, maintain even slant and height, retrace lines when needed, and ensure smooth exit strokes for connections.
Yes, unlike many capital letters, the uppercase Y connects to the following letter via its exit tail for fluid handwriting.
Absolutely! The exit tail allows seamless connection to letters like “a,” “o,” or “e,” helping maintain smooth cursive writing.