- AtoZ Cursive
- Cursive X
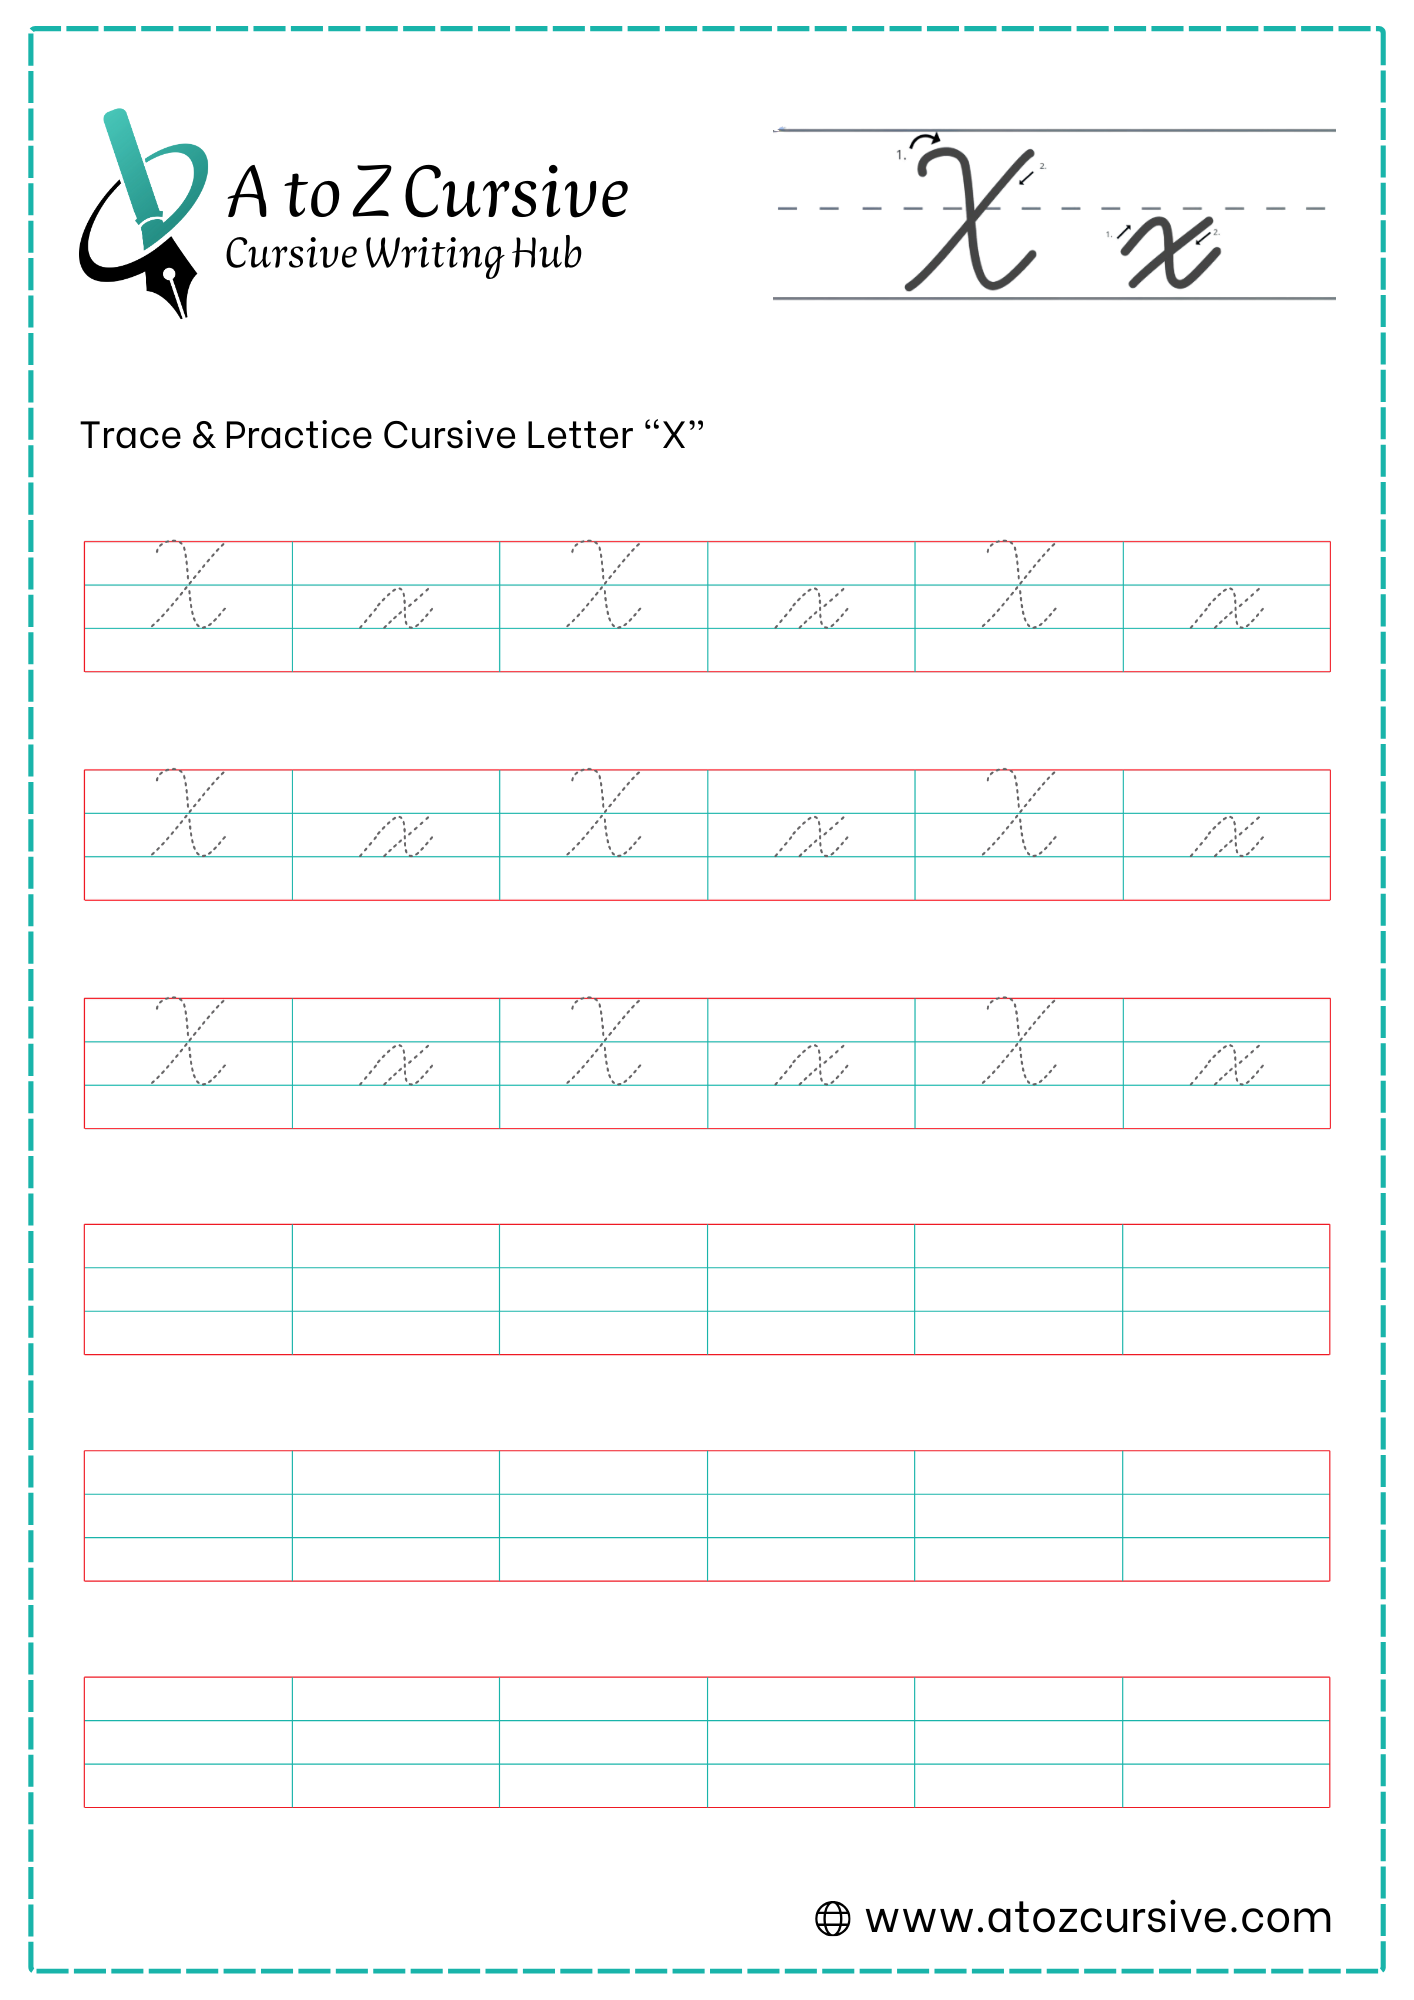
Cursive X: Tutorial & Printable Worksheets (Uppercase + Lowercase)
Trace, write, and master cursive X! Free printable cursive X worksheets and a step-by-step guide help you practice both uppercase and lowercase cursive letters neatly.
How to Write X in Cursive
Follow simple step-by-step instructions to form both uppercase and lowercase letters neatly and connect smoothly to the next letter.
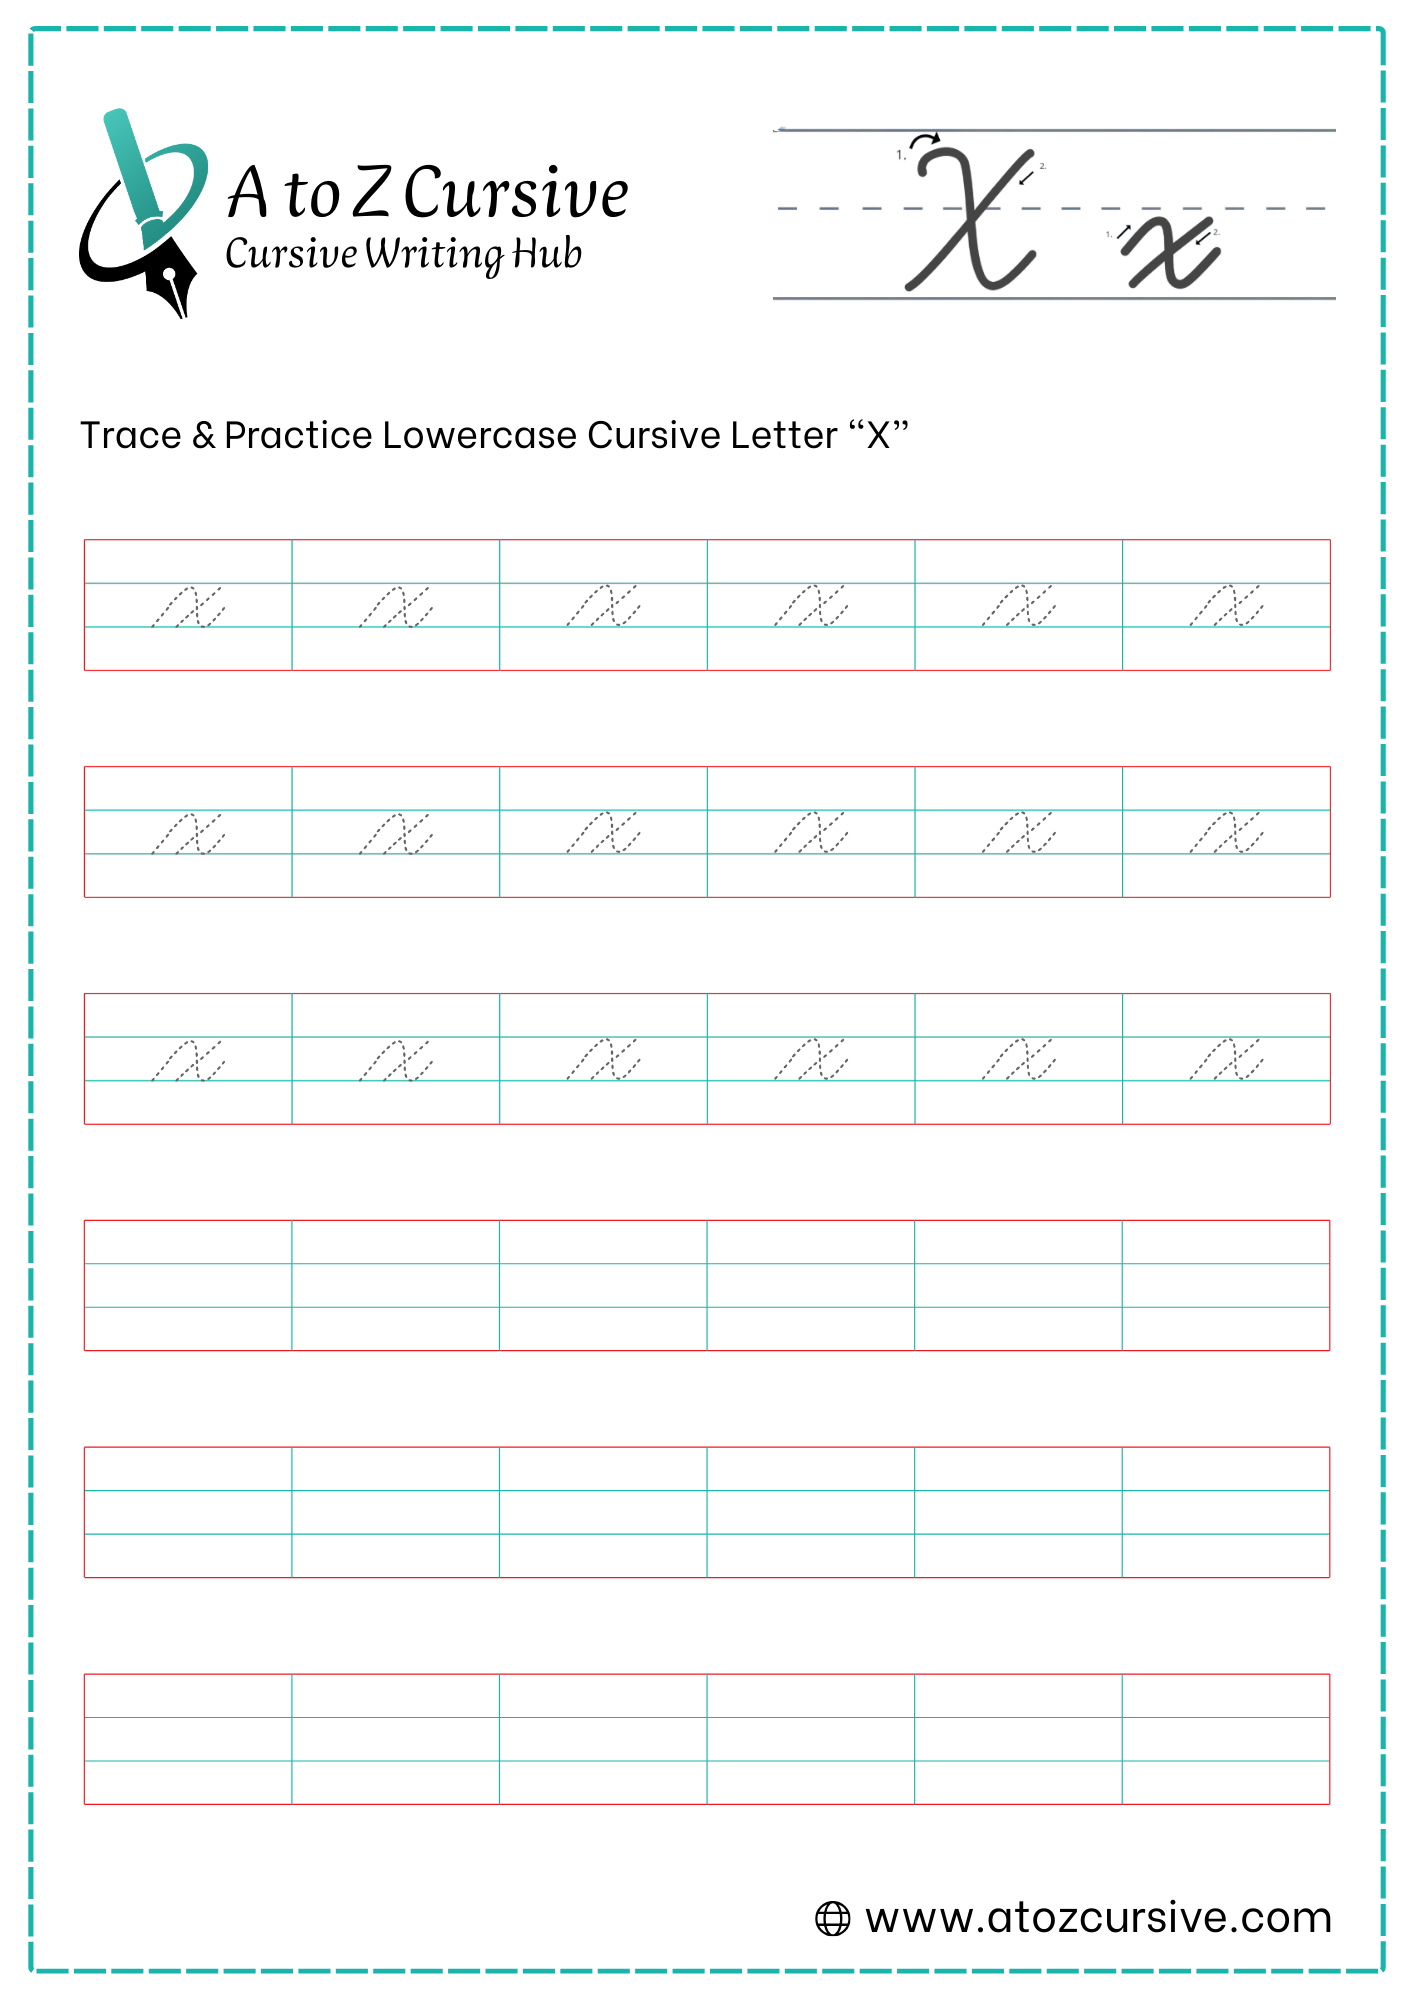
Lowercase Cursive X
-
Start at the baseline and sweep up to the midline. Curve back down and to the right exactly like the first half of a lowercase "n" ending with an exit tail on the baseline.
-
Lift your pen. Draw a straight diagonal line from the top-right (midline) down to the bottom-left (baseline).
-
Aim to cross exactly in the middle of your first stroke.
-
In cursive, you should finish writing the entire word before going back to cross your "x"s and "t"s.
Finish the Word First: Write the whole word, then go back to "cross the x" last (just like dotting an "i").
The Center Cross: Aim for the "cross" to happen exactly at the midline for the cleanest look.
The Slant: Make sure the cross-stroke slants in the opposite direction of the main stroke to create a balanced "X" shape.
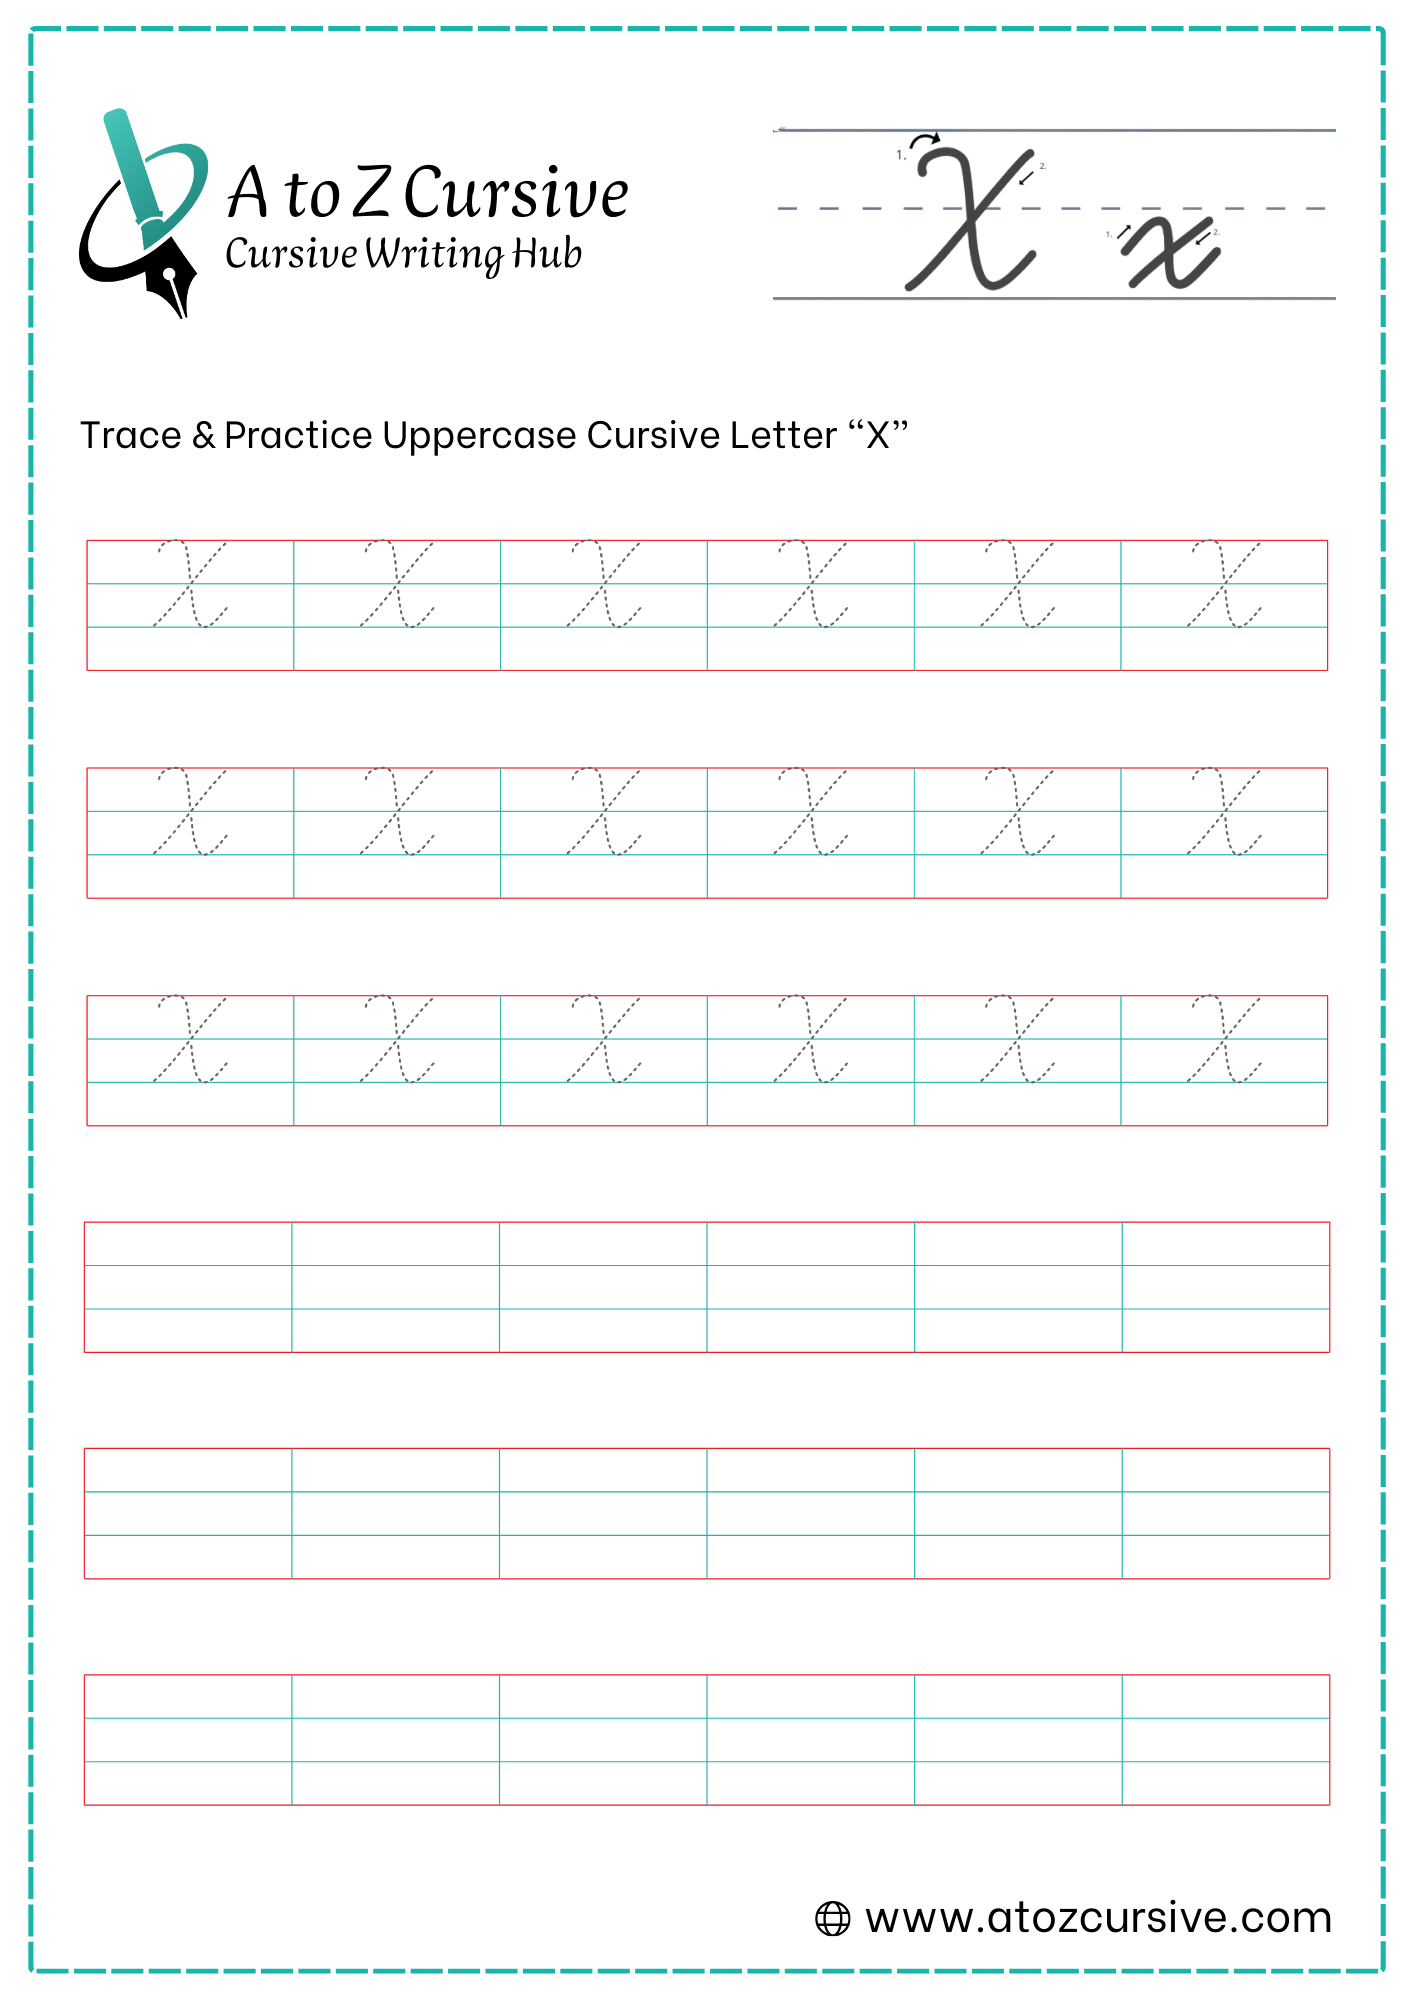
Uppercase Cursive X
-
Start just below the top line. Draw a large, backwards "C" that touches the top and baseline.
-
Lift your pen (this is one of the few capitals that requires a lift).
-
Draw a standard "C" shape that mirrors the first one, making sure they touch right in the middle.
-
Unlike the lowercase "x," the uppercase version usually does not connect to the next letter.
Maintain the Slant: Ensure both strokes lean at the same angle (usually about 60 to 70 degrees) so the letter doesn't look "toppled over."
Cross at the Midline: Aim to have the two strokes intersect exactly at the dashed midline of your writing paper for perfect symmetry.
Don't Connect: In most traditional cursive styles (like Palmer or Zaner-Bloser), the uppercase X does not connect to the letter following it. You simply finish the X and start the next letter fresh.
FAQs
Start with the step-by-step strokes in our guide, practice each movement, and use free printable worksheets to improve accuracy and fluidity.
Yes! Our free worksheets provide separate tracing pages for uppercase and lowercase cursive X to practice neatly and consistently.
Begin with a small slanted “n”-like stroke, lift your pen, and cross it diagonally at the midline for a clean finish.
Use the “double C” method: draw one backward C and then a forward C, intersecting in the middle for perfect alignment.
Typically, no. In traditional cursive styles, the uppercase X is not connected; finish the X before starting the next letter.
Keep both strokes at a consistent angle (usually 60–70°) and cross at the midline to maintain balance and symmetry.
Finish writing the whole word first, then go back to cross the X for cleaner, fluid handwriting.