- AtoZ Cursive
- Cursive W
Cursive W: Tutorial & Printable Worksheets (Uppercase + Lowercase)
On this page, you’ll find free printable worksheets and a simple guide to write uppercase and lowercase cursive W neatly and confidently.
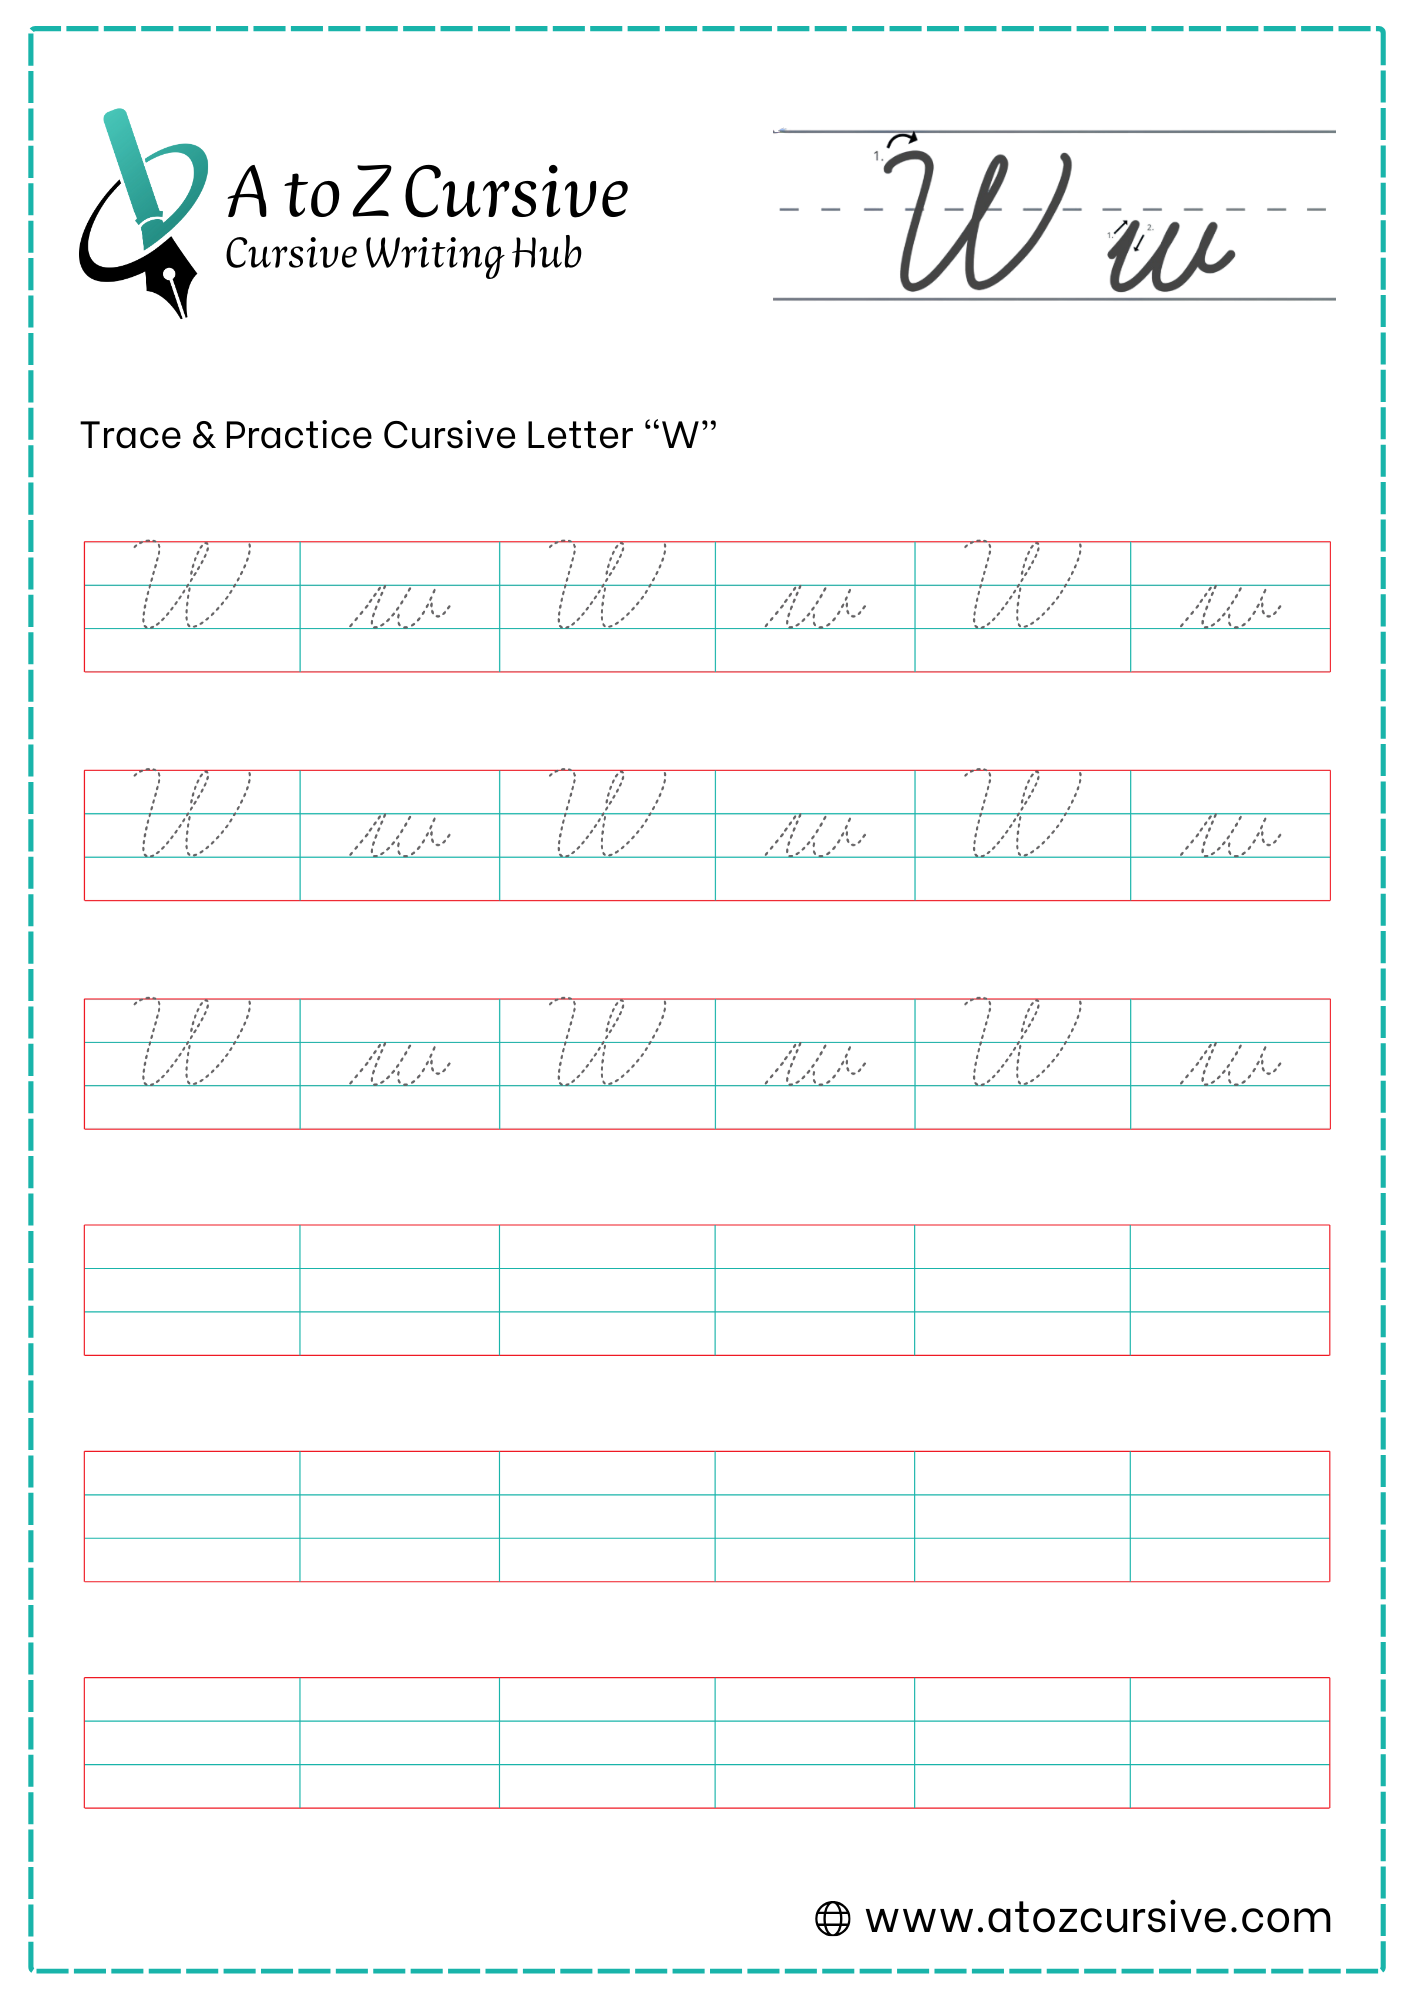
How to Write W in Cursive
Follow simple, flowing strokes to write the uppercase and lowercase letters W neatly. These cursive alphabet worksheets improve handwriting and connecting smoothly to the next letter.
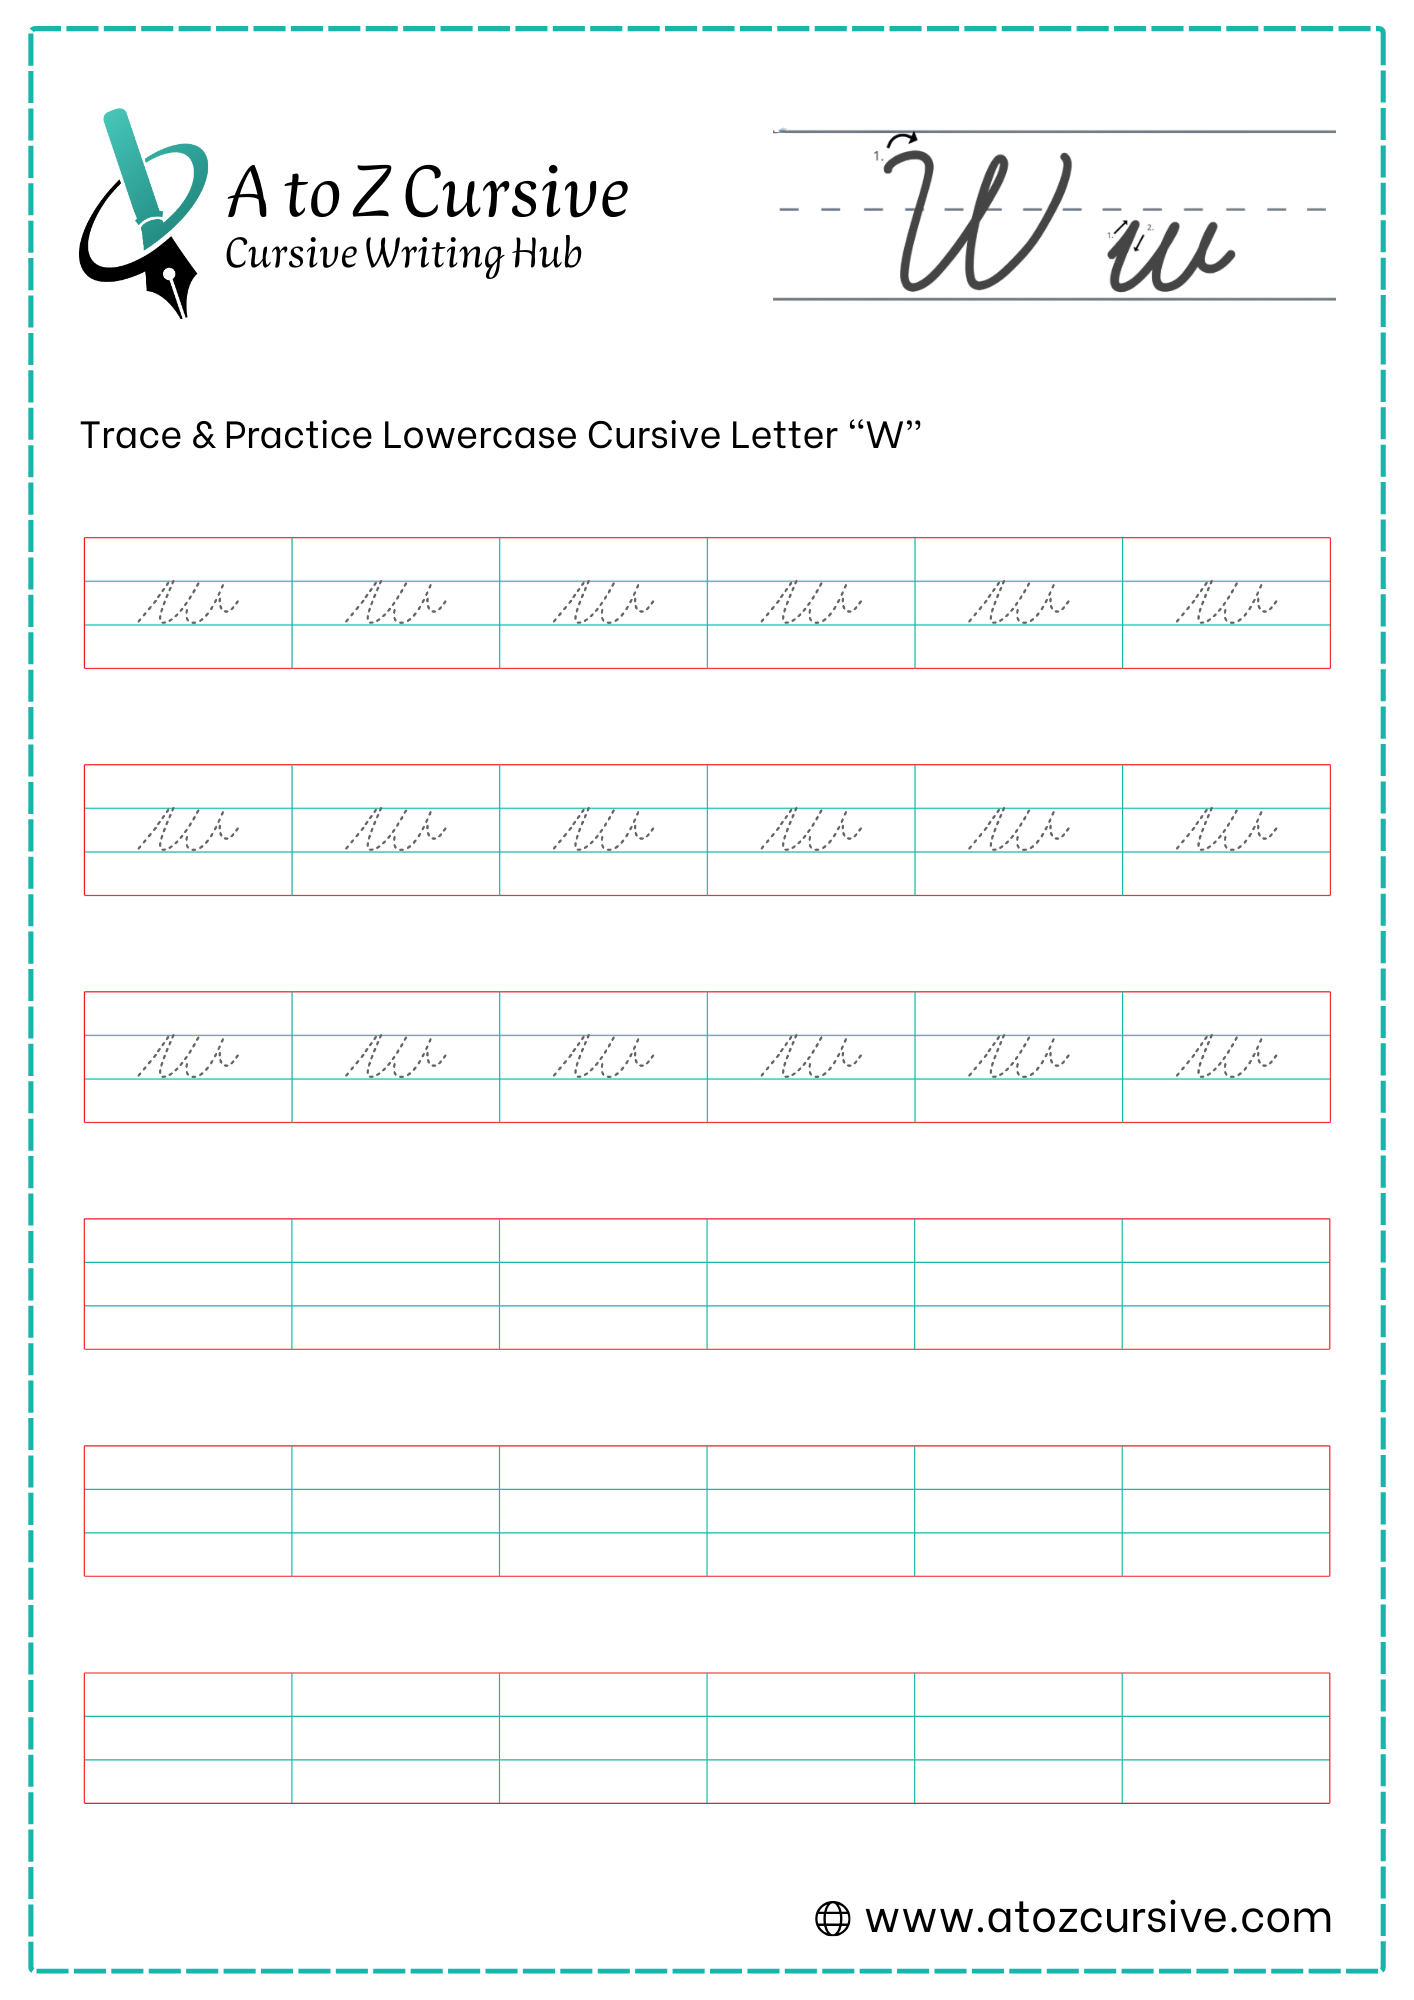
Lowercase Cursive W
-
Start on the baseline. Sweep upward to the right until you reach the midline.
-
Pull straight down to the baseline, then curve smoothly back up to the midline.
-
Without lifting your pen, retrace back down that same line to the baseline, and curve back up to the midline a second time.
-
Once you hit the midline for the second time, do not go back down to the baseline. Instead, finish with a small horizontal flick or "bridge" to the right.
Keep it Balanced: Try to make both "valleys" the same width. If one is much wider than the other, the letter looks lopsided.
The Retrace: Just like the "u," you should retrace your path on the downstrokes to keep the peaks of the letter sharp and clean.
Mind the Slant: Ensure both peaks are leaning at the same angle to the right.
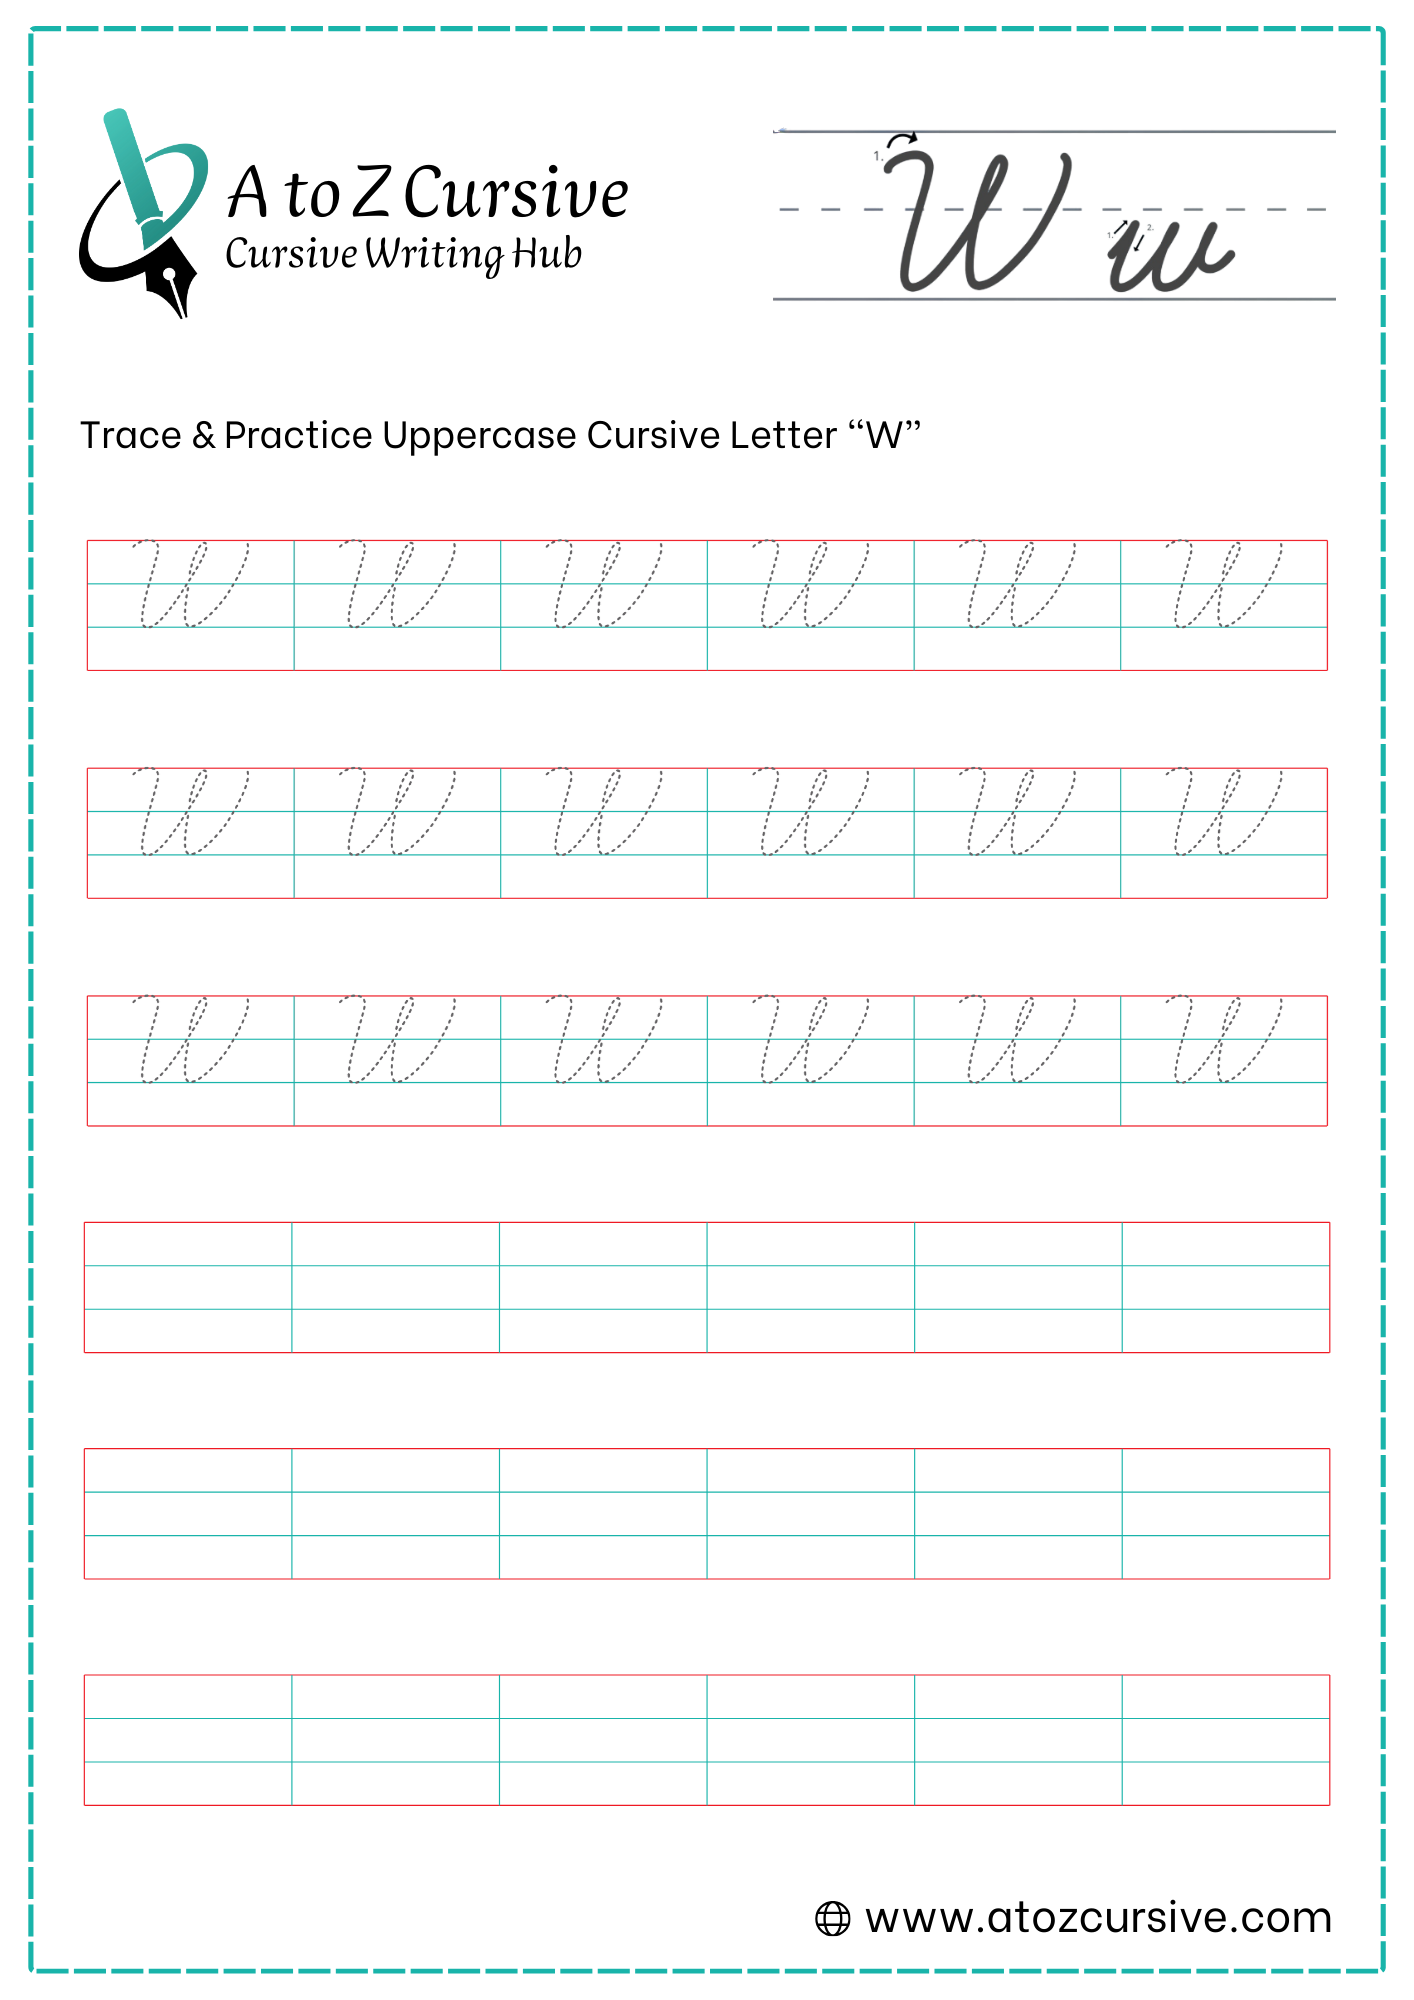
Uppercase Cursive W
-
Think of the starting stroke like an upside-down candy cane. It starts just below the top line, hooks up to touch it, and then drops down. This gives the letter its "capital" look.
-
The bottom curve should be wide and rounded. If it's too sharp, it starts to look like a "V."
-
When you reach the top line for the second time, you must trace back down that same line. This keeps the letter from having a "gap" or a loop on the right side.
-
The tail should sweep out gracefully from the baseline, preparing to meet the next letter.
Begin with a small "candy cane" hook at the top line.
The Bottom: Make the curve wide and rounded (like a bowl) so it doesn't look like a "V."
The Secret: Retrace the second downstroke. Trace back over your line halfway down before branching off into the tail.
The Finish: End with a flick at the baseline to connect to the next letter.
FAQs
Begin with tracing printable worksheets, focusing on smooth entry strokes and balanced valleys for both uppercase and lowercase W.
Yes! You can download free printable cursive worksheets from Atoz Cursive to trace and practice uppercase and lowercase letters.
Start at the baseline, form two consecutive valleys by retracing downstrokes, and finish with a horizontal exit stroke to connect to the next letter.
Begin with an upside-down candy cane stroke, create wide valleys, retrace the downstrokes, and finish with a smooth exit tail for connections.
Common errors include lowering the exit stroke too much, uneven valleys, or inconsistent slant. Following the retrace technique ensures clean and balanced letters.
Yes! The exit stroke on both uppercase and lowercase W is designed to flow naturally into the next letter, maintaining handwriting fluidity.
Keep the peaks aligned, retrace downstrokes for sharpness, maintain a consistent slant, and use wide valleys for clarity.
Absolutely! The free printable worksheets are designed for beginners, helping learners trace, practice, and master cursive W step by step.