- AtoZ Cursive
- Cursive R
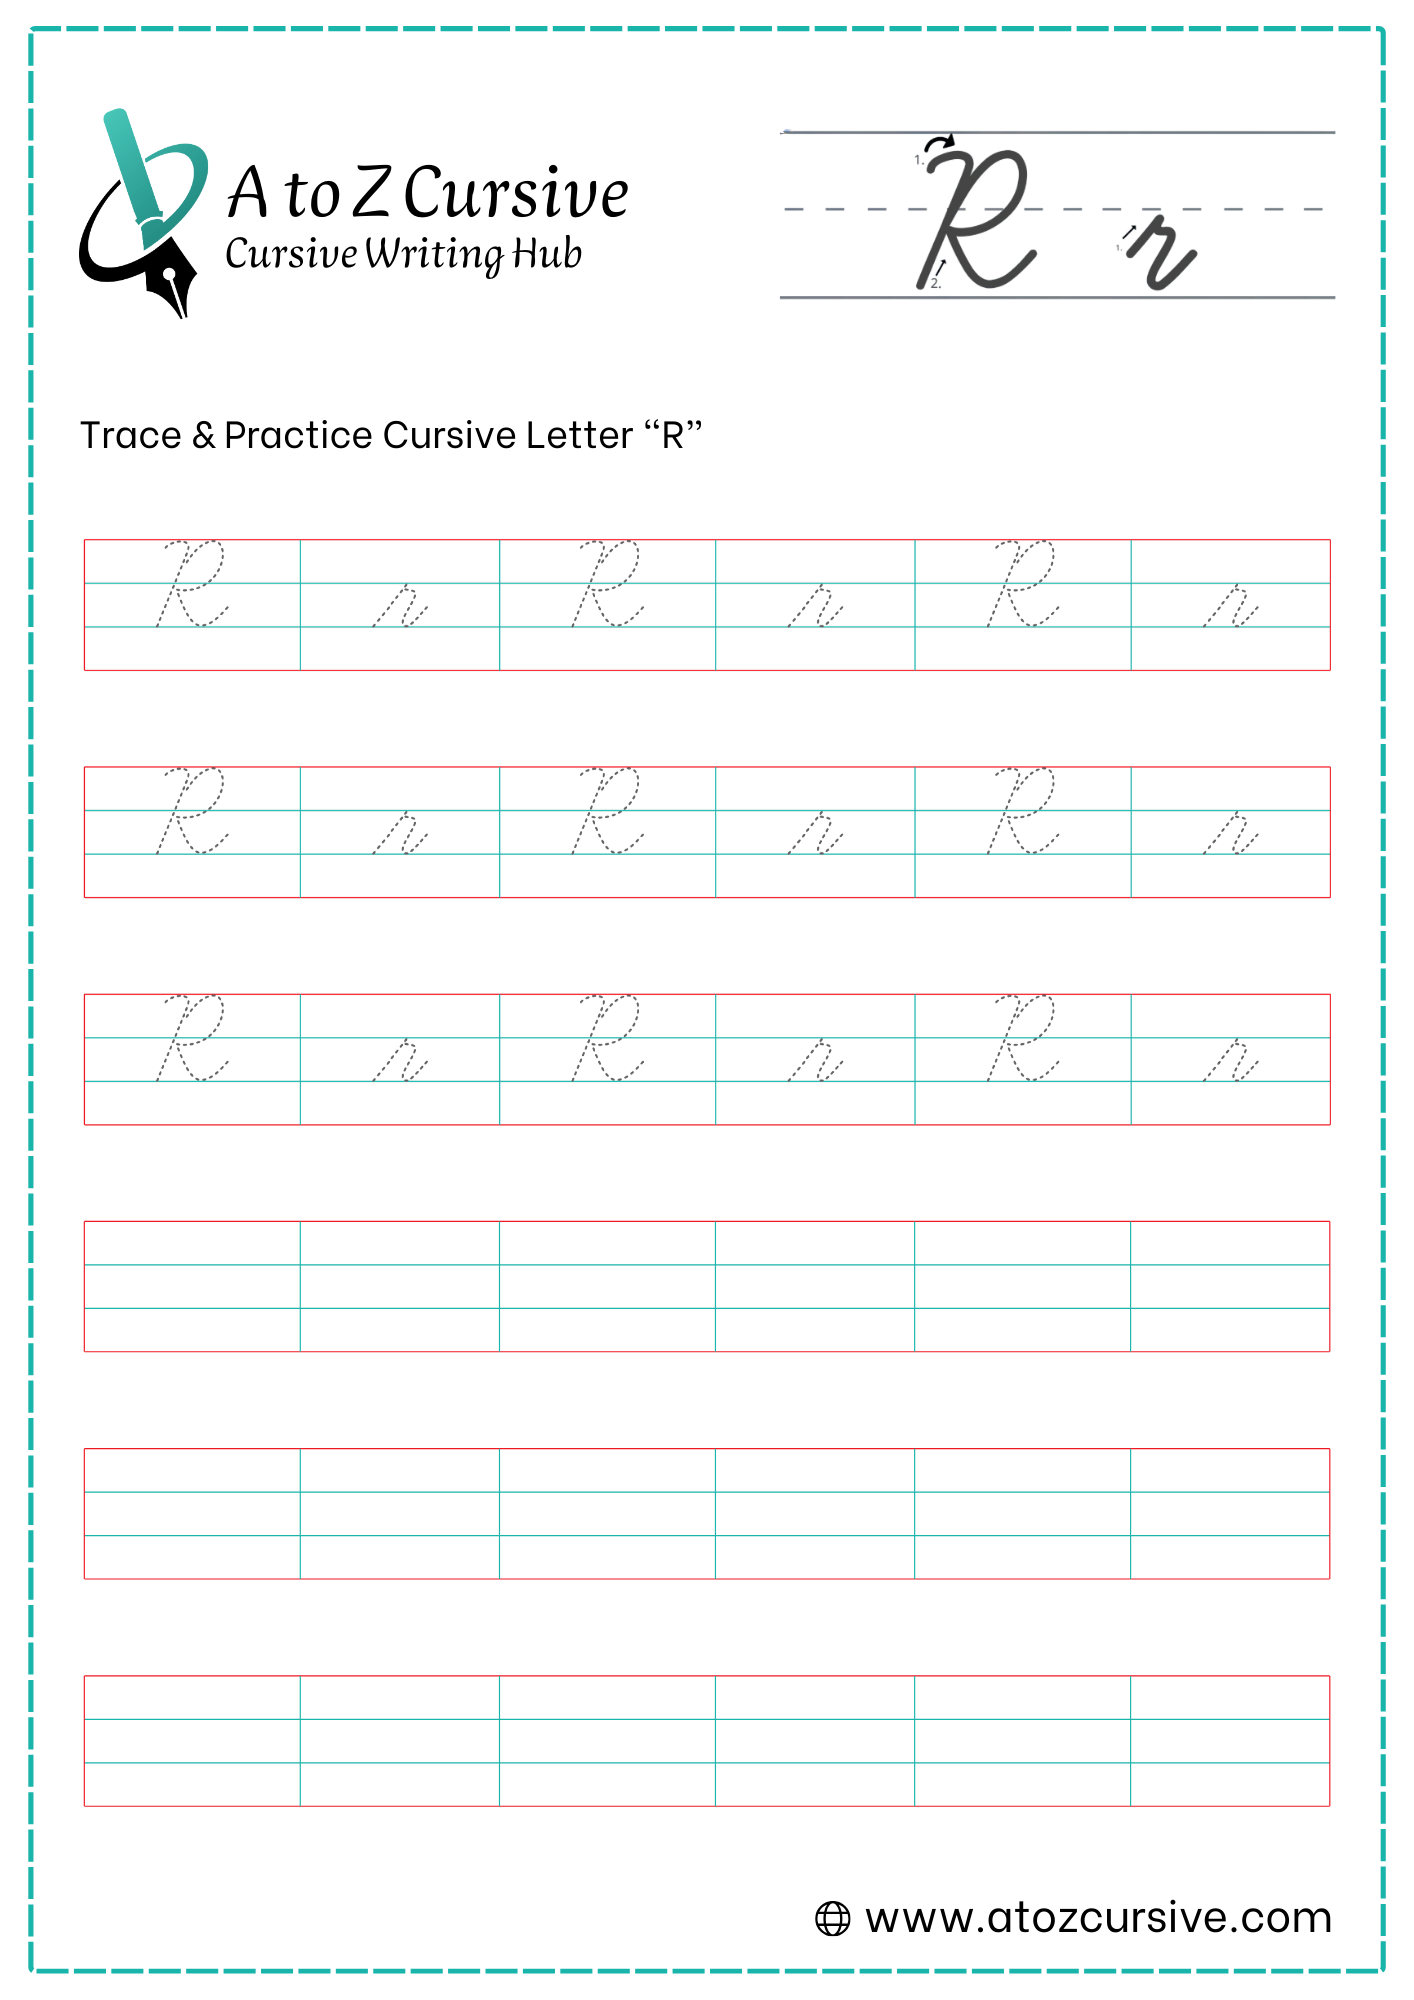
Cursive R: Tutorial & Printable Worksheets (Uppercase + Lowercase)
Download free printable worksheets to practice tracing and writing both uppercase and lowercase cursive letters. Learn how to write cursive R step by step.
How to Write R in Cursive
Learn to write R in cursive easily! Follow simple, flowing strokes to form both uppercase and lowercase letters neatly and confidently.
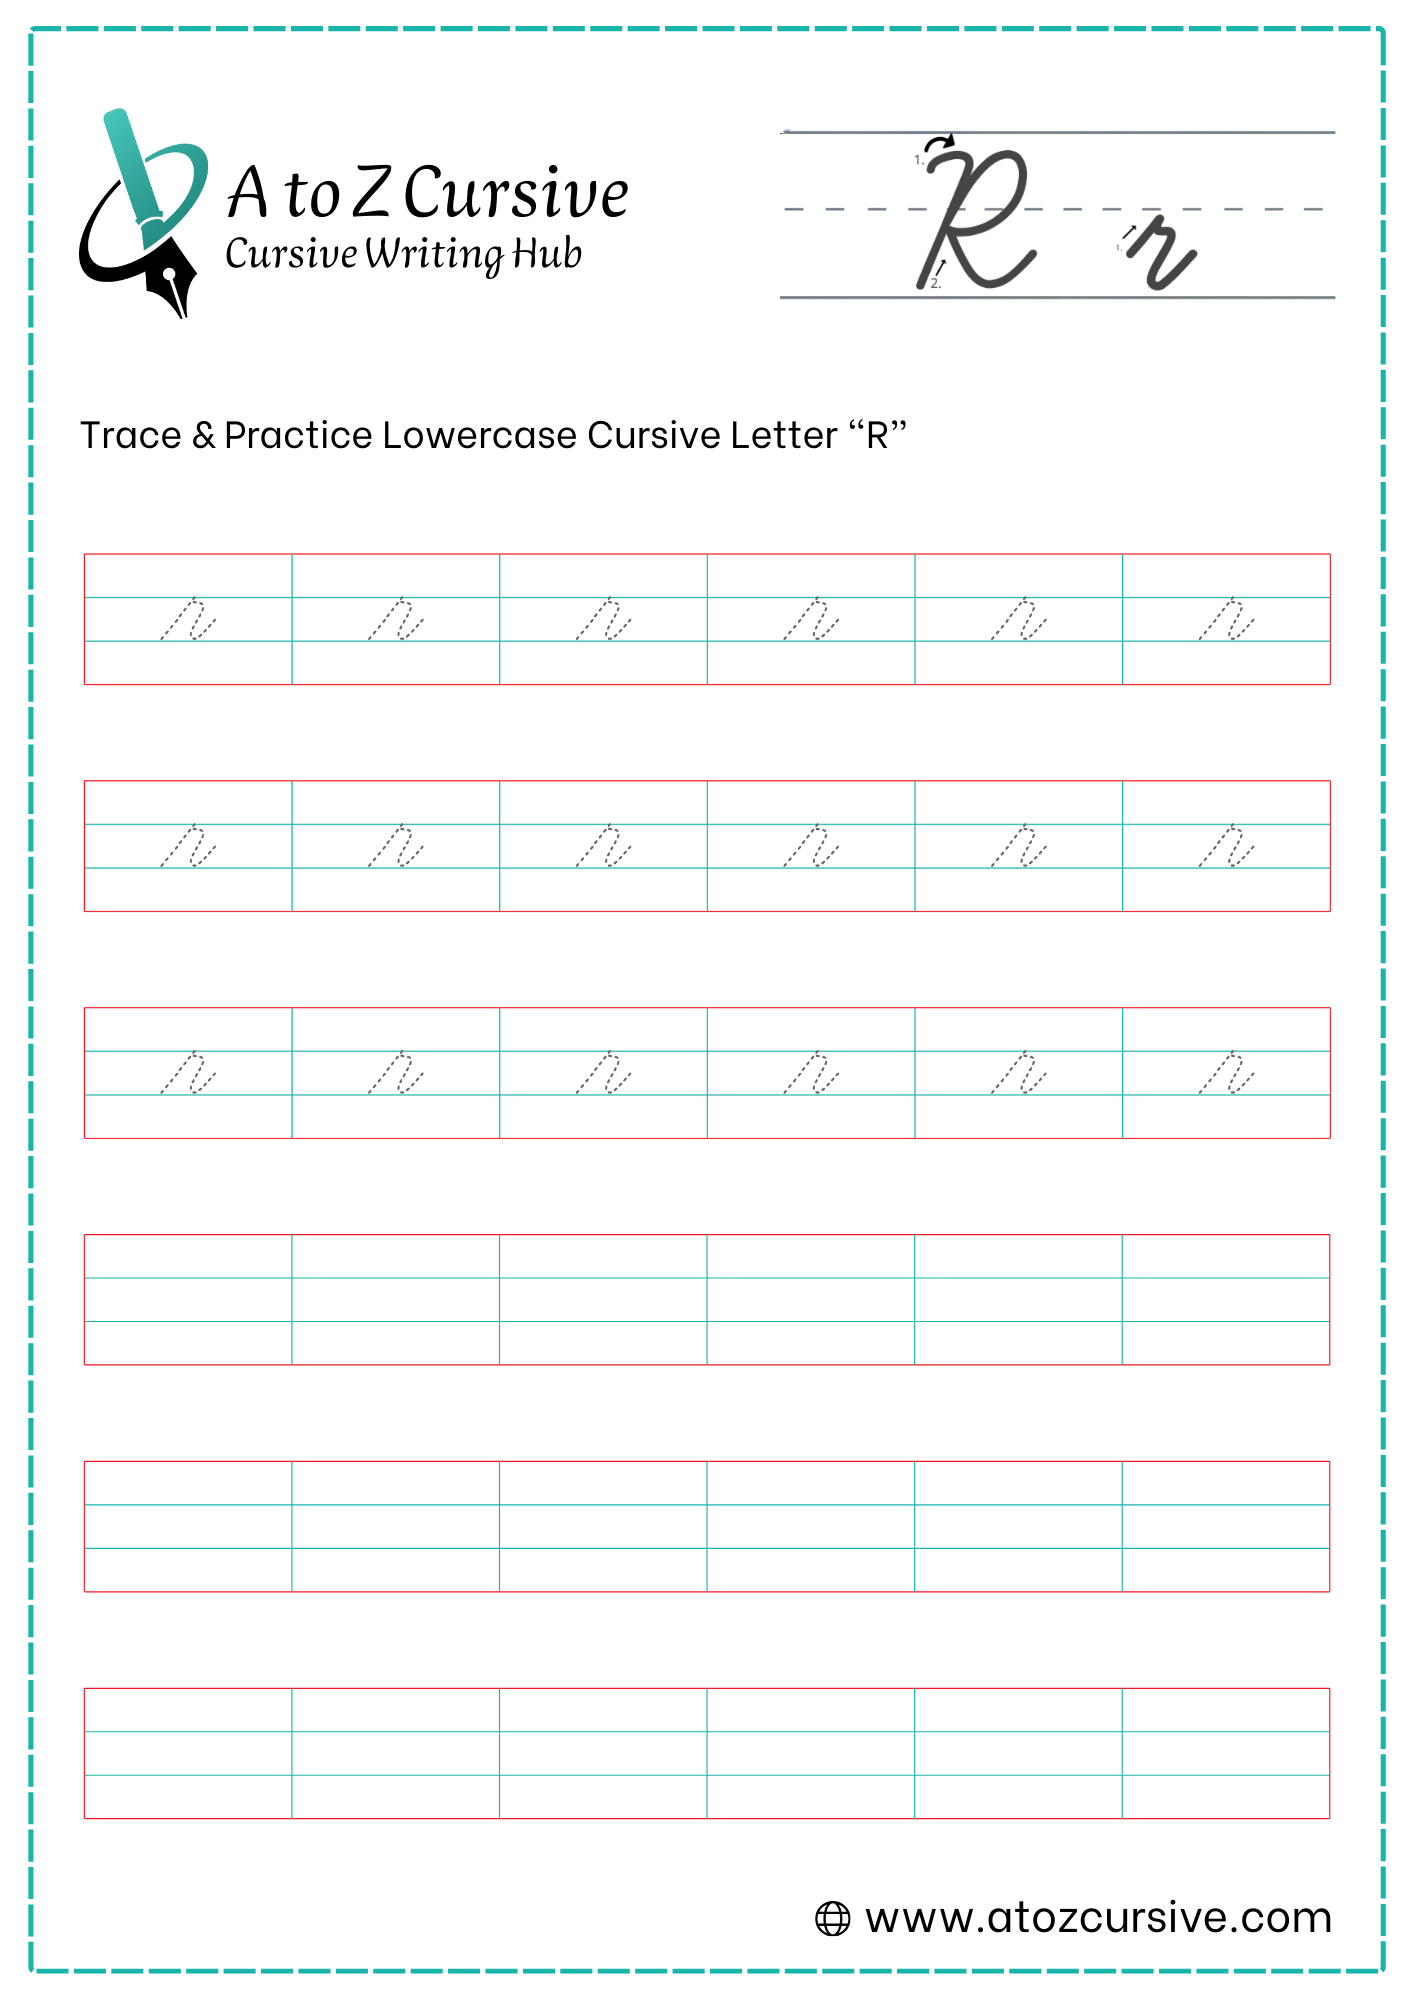
Lowercase Cursive R
-
Start at the baseline and sweep upward to the midline at a slight slant.
-
When you hit the midline, make a tiny, sharp point or a very small loop (depending on your style).
-
Move your pen slightly to the right along the midline. This creates a small horizontal "shelf."
-
From the end of that shelf, pull your pen down toward the baseline with a slight curve (like a little slide).
-
As you touch the baseline, flick the pen back up and out to the right to create the connecting tail.
Keep it Short: Make sure the "shelf" doesn't sag. It should sit right on the midline.
Mind the Width: Keep the letter narrow. If the "shelf" is too wide, it can start looking like a "v" or a "u."
The "Point" vs. "Loop": Some people prefer a sharp point at the top left, while others like a tiny circular loop. Both are correct! Choose the one that feels more fluid for your hand.
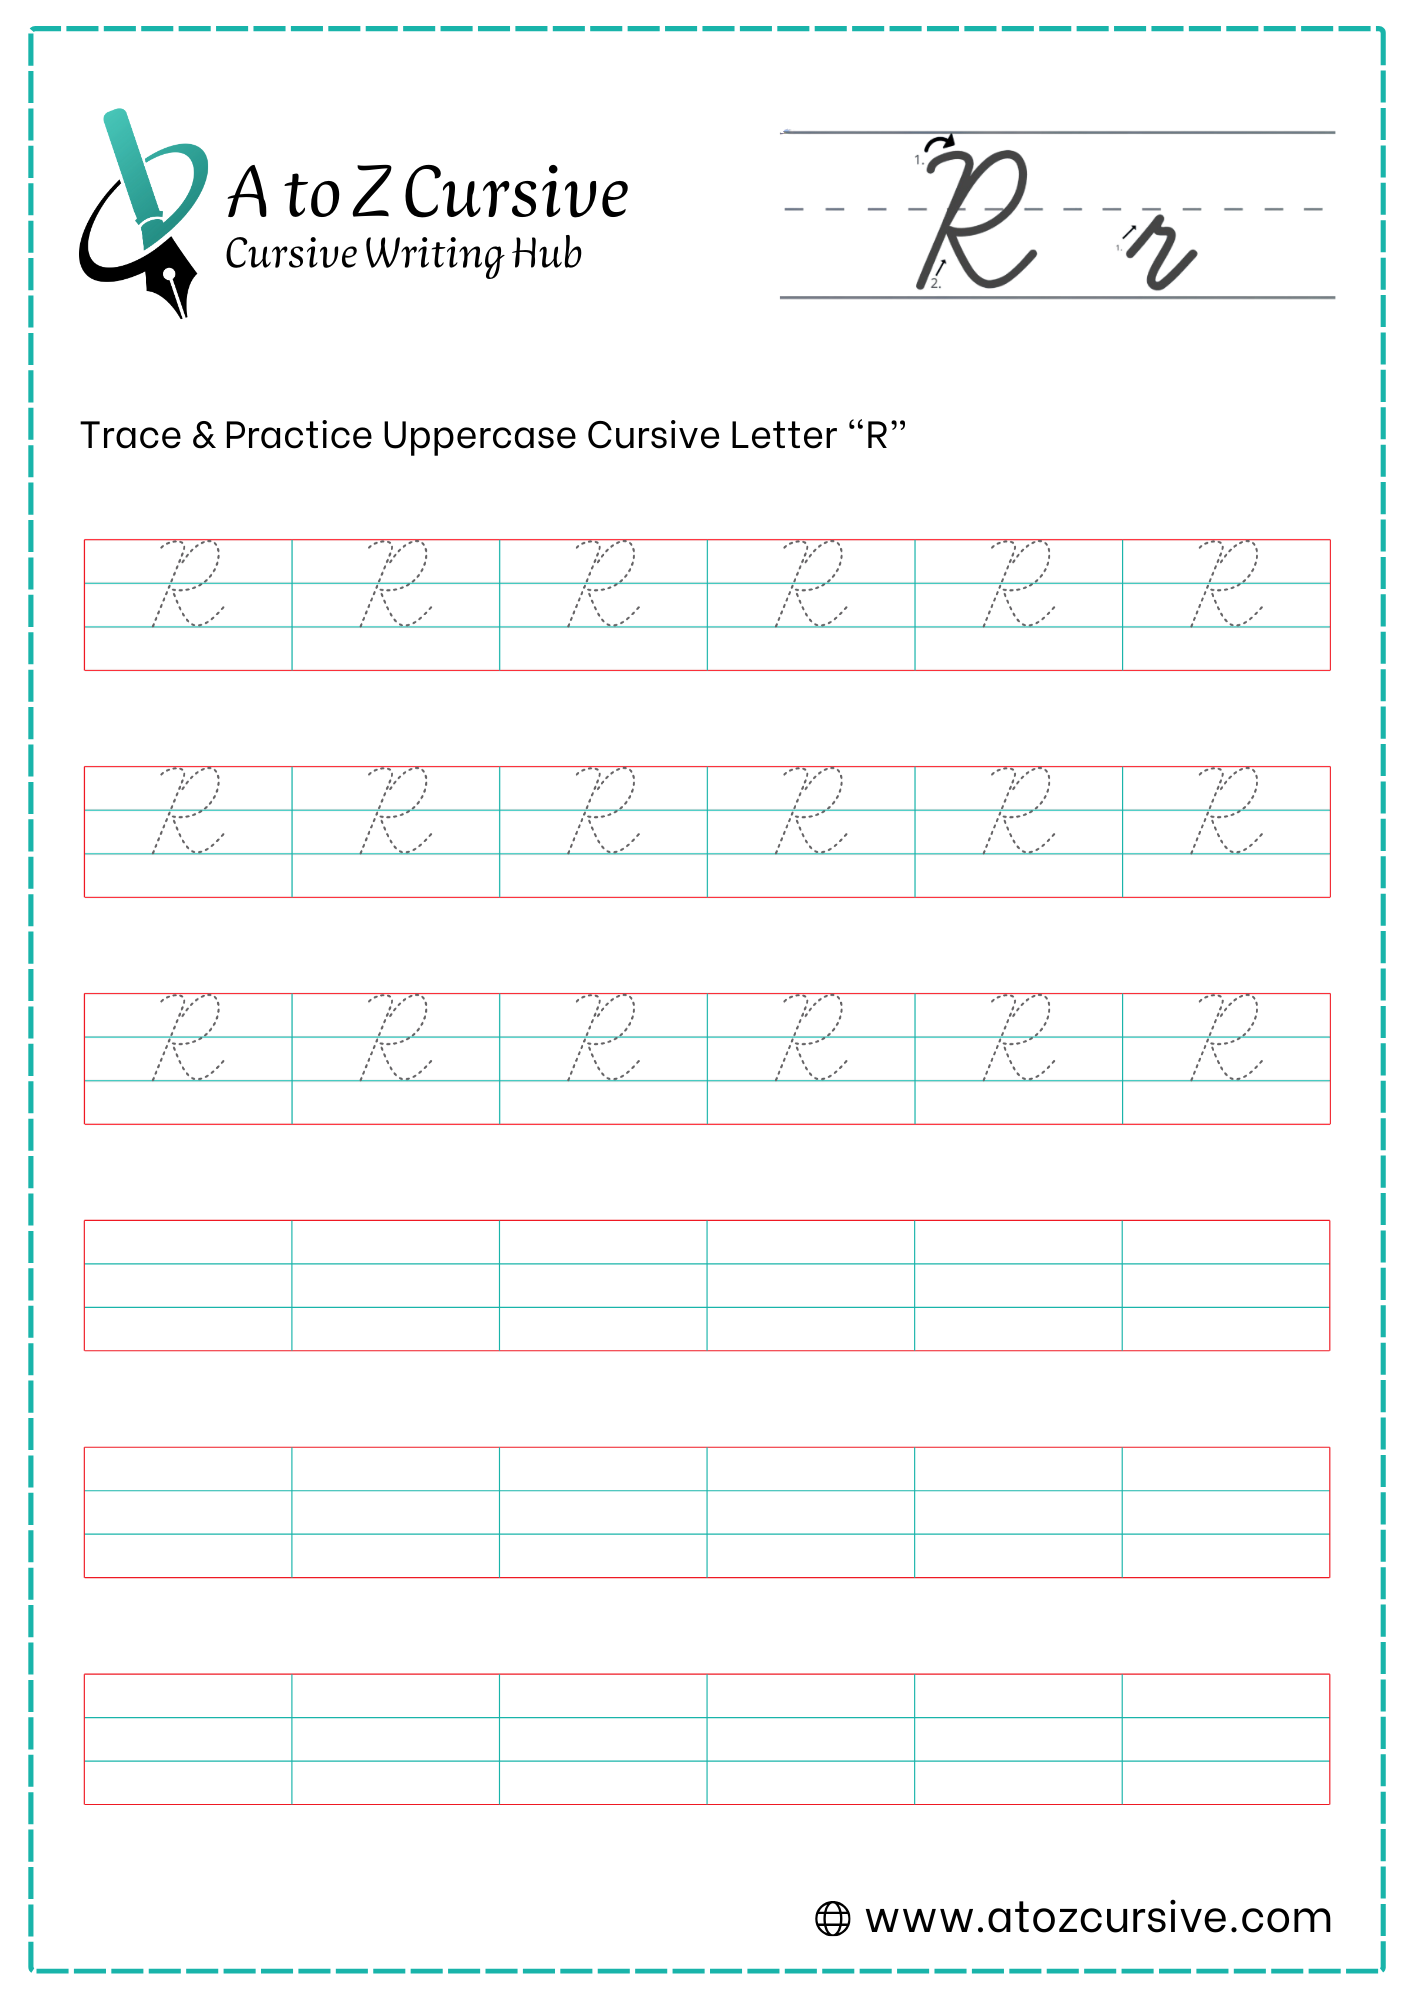
Uppercase Cursive R
-
Start at the top line. Pull your pen straight down to the baseline with a slight rightward slant (the "candy cane" stroke).
-
At the baseline, you can add a tiny curve to the left for a classic look, then lift your pen or retrace back up.
-
Starting from the top of your stem, create a large, rounded loop to the right that curves back in and touches the stem at the midline (just like a "P").
-
Without lifting your pen, draw a slanted line from that midline point down to the baseline.
-
As you hit the baseline, sweep the pen up and out to the right. This tail is what connects the "R" to the following lowercase letters.
The "P" Foundation: If you can write a capital "P," you’re 90% of the way there! The only difference is the diagonal leg at the end.
The "Knot": Some writers like to add a tiny loop (a "knot") at the midline where the head meets the leg. This adds a bit of flair and helps the transition feel smoother.
Watch the Slant: The diagonal "kickstand" should have a similar slant to the main stem to keep the letter looking balanced.
Leg Placement: Make sure the leg starts at the midline. If you start it too high or too low, the "R" can look lopsided.
FAQs
You can learn cursive R by following our step-by-step tutorial for uppercase and lowercase letters and practicing with free printable worksheets.
Yes! All our printable cursive R worksheets are completely free for tracing, practice, and improving handwriting.
The lowercase R ends with a rightward flick (connector tail) to join smoothly with the next letter. Uppercase R may connect depending on style.
Absolutely! Our worksheets and clear instructions make it easy for beginners to practice consistent strokes and proper letter formation.
Keep the vertical stems straight, the slants consistent, and the horizontal “shelf” on the midline for lowercase R. For uppercase, align the diagonal leg with the main stem.
No special tools are needed. Standard lined paper or our printable worksheets and a pen or pencil are sufficient for practice.
Daily short practice sessions (5–10 minutes) are best to build muscle memory and improve neatness and fluency.