- AtoZ Cursive
- Cursive O
Cursive O: Tutorial & Printable Worksheets (Uppercase + Lowercase)
Download free printable cursive O worksheets to trace and practice. Learn to write uppercase and lowercase O neatly with our easy step-by-step tutorial.
How to Write O in Cursive
Learn to write cursive O easily! Follow smooth, flowing strokes to form both uppercase and lowercase letters neatly.
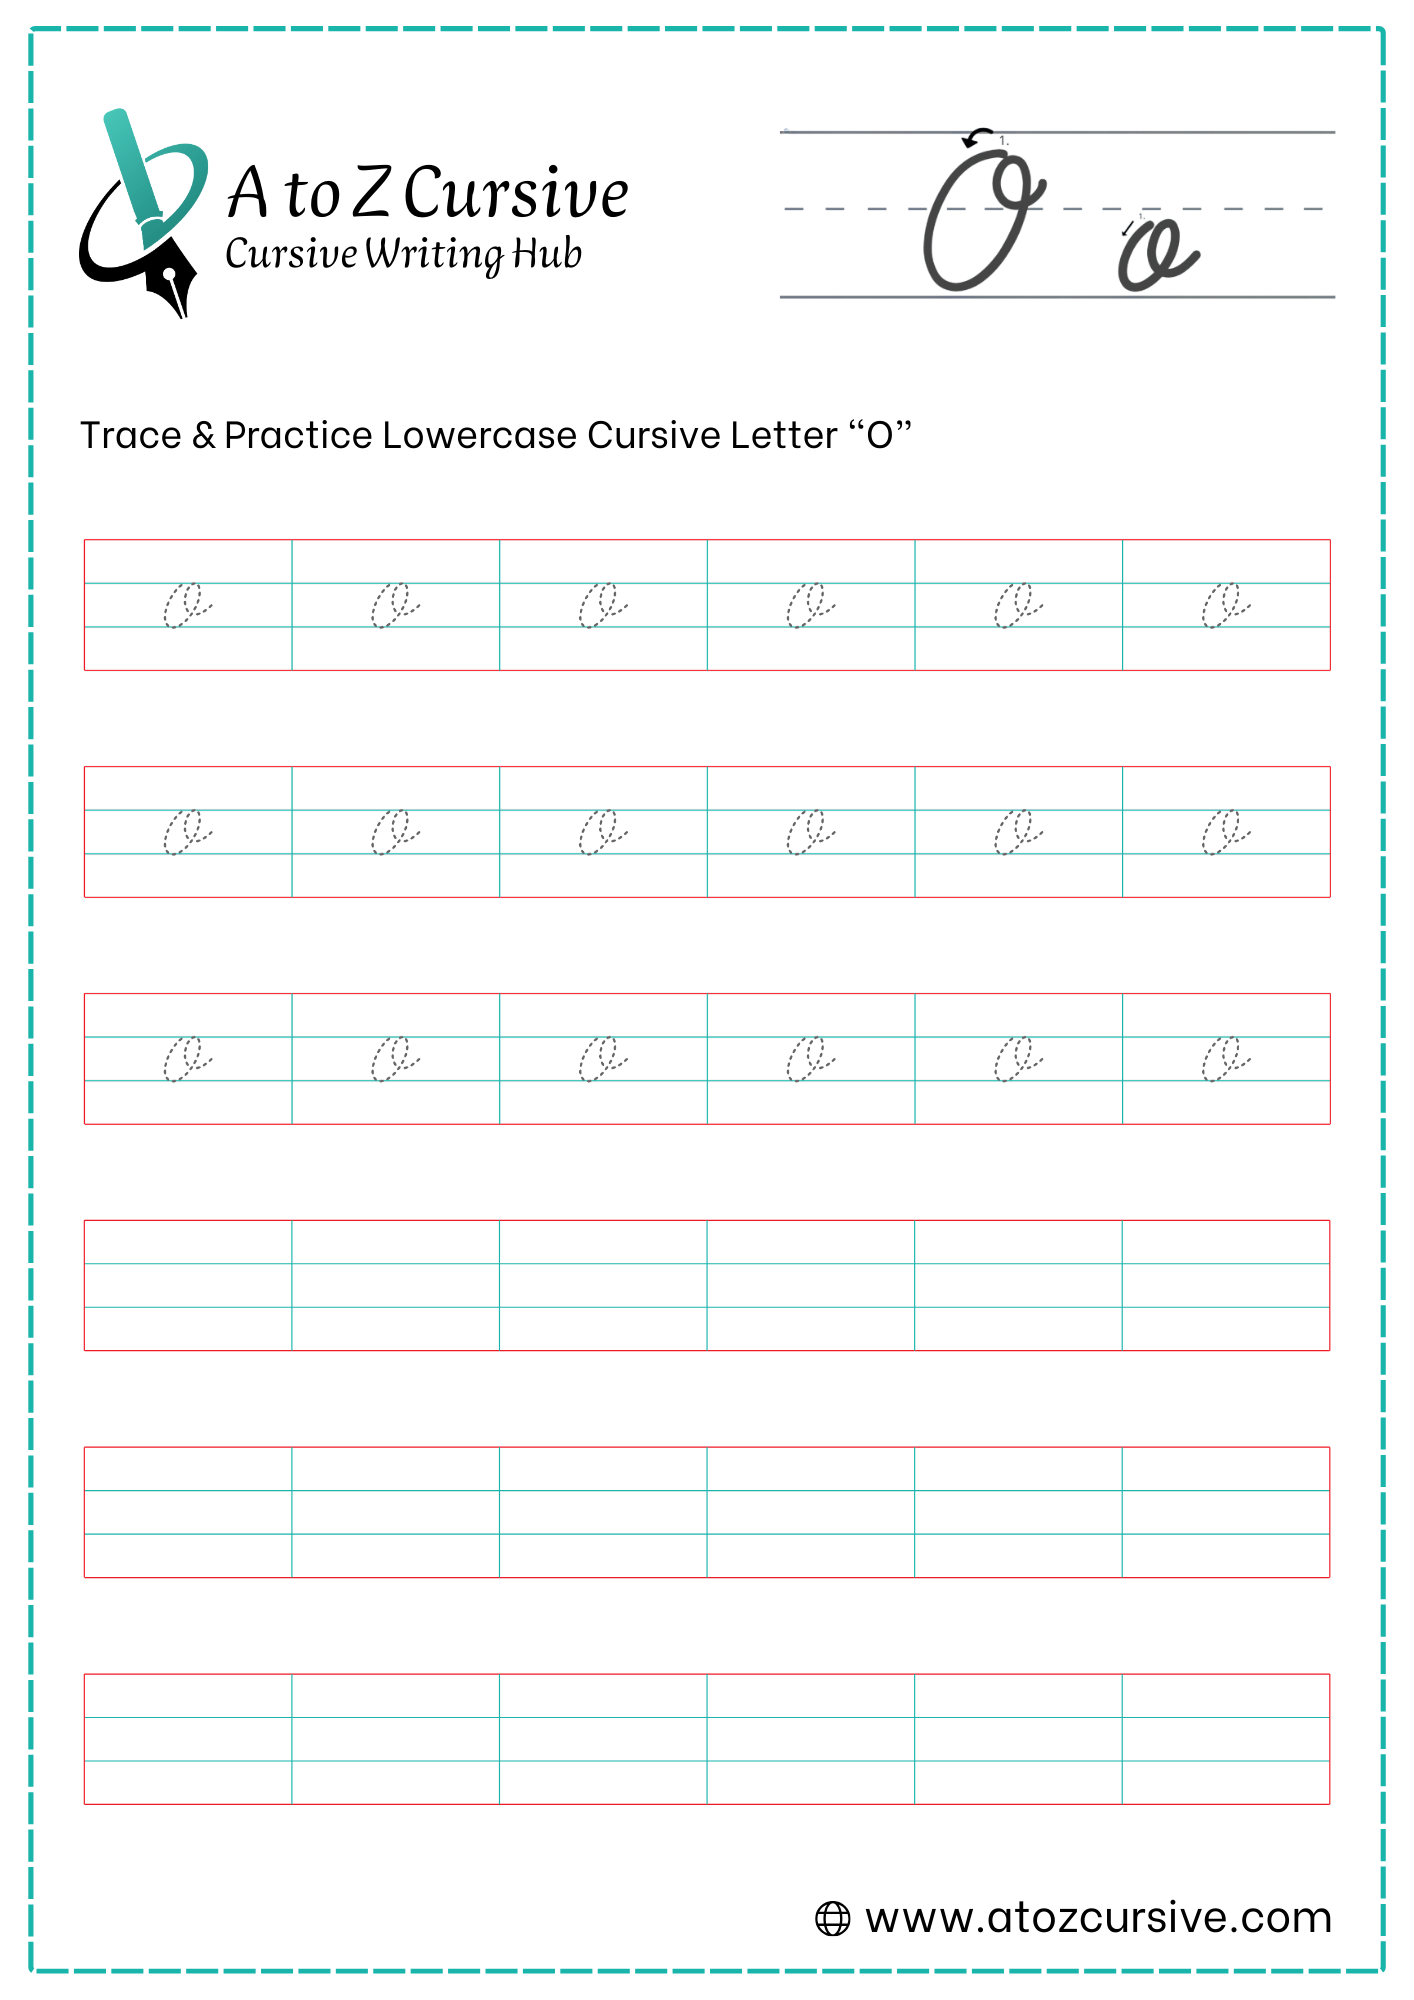
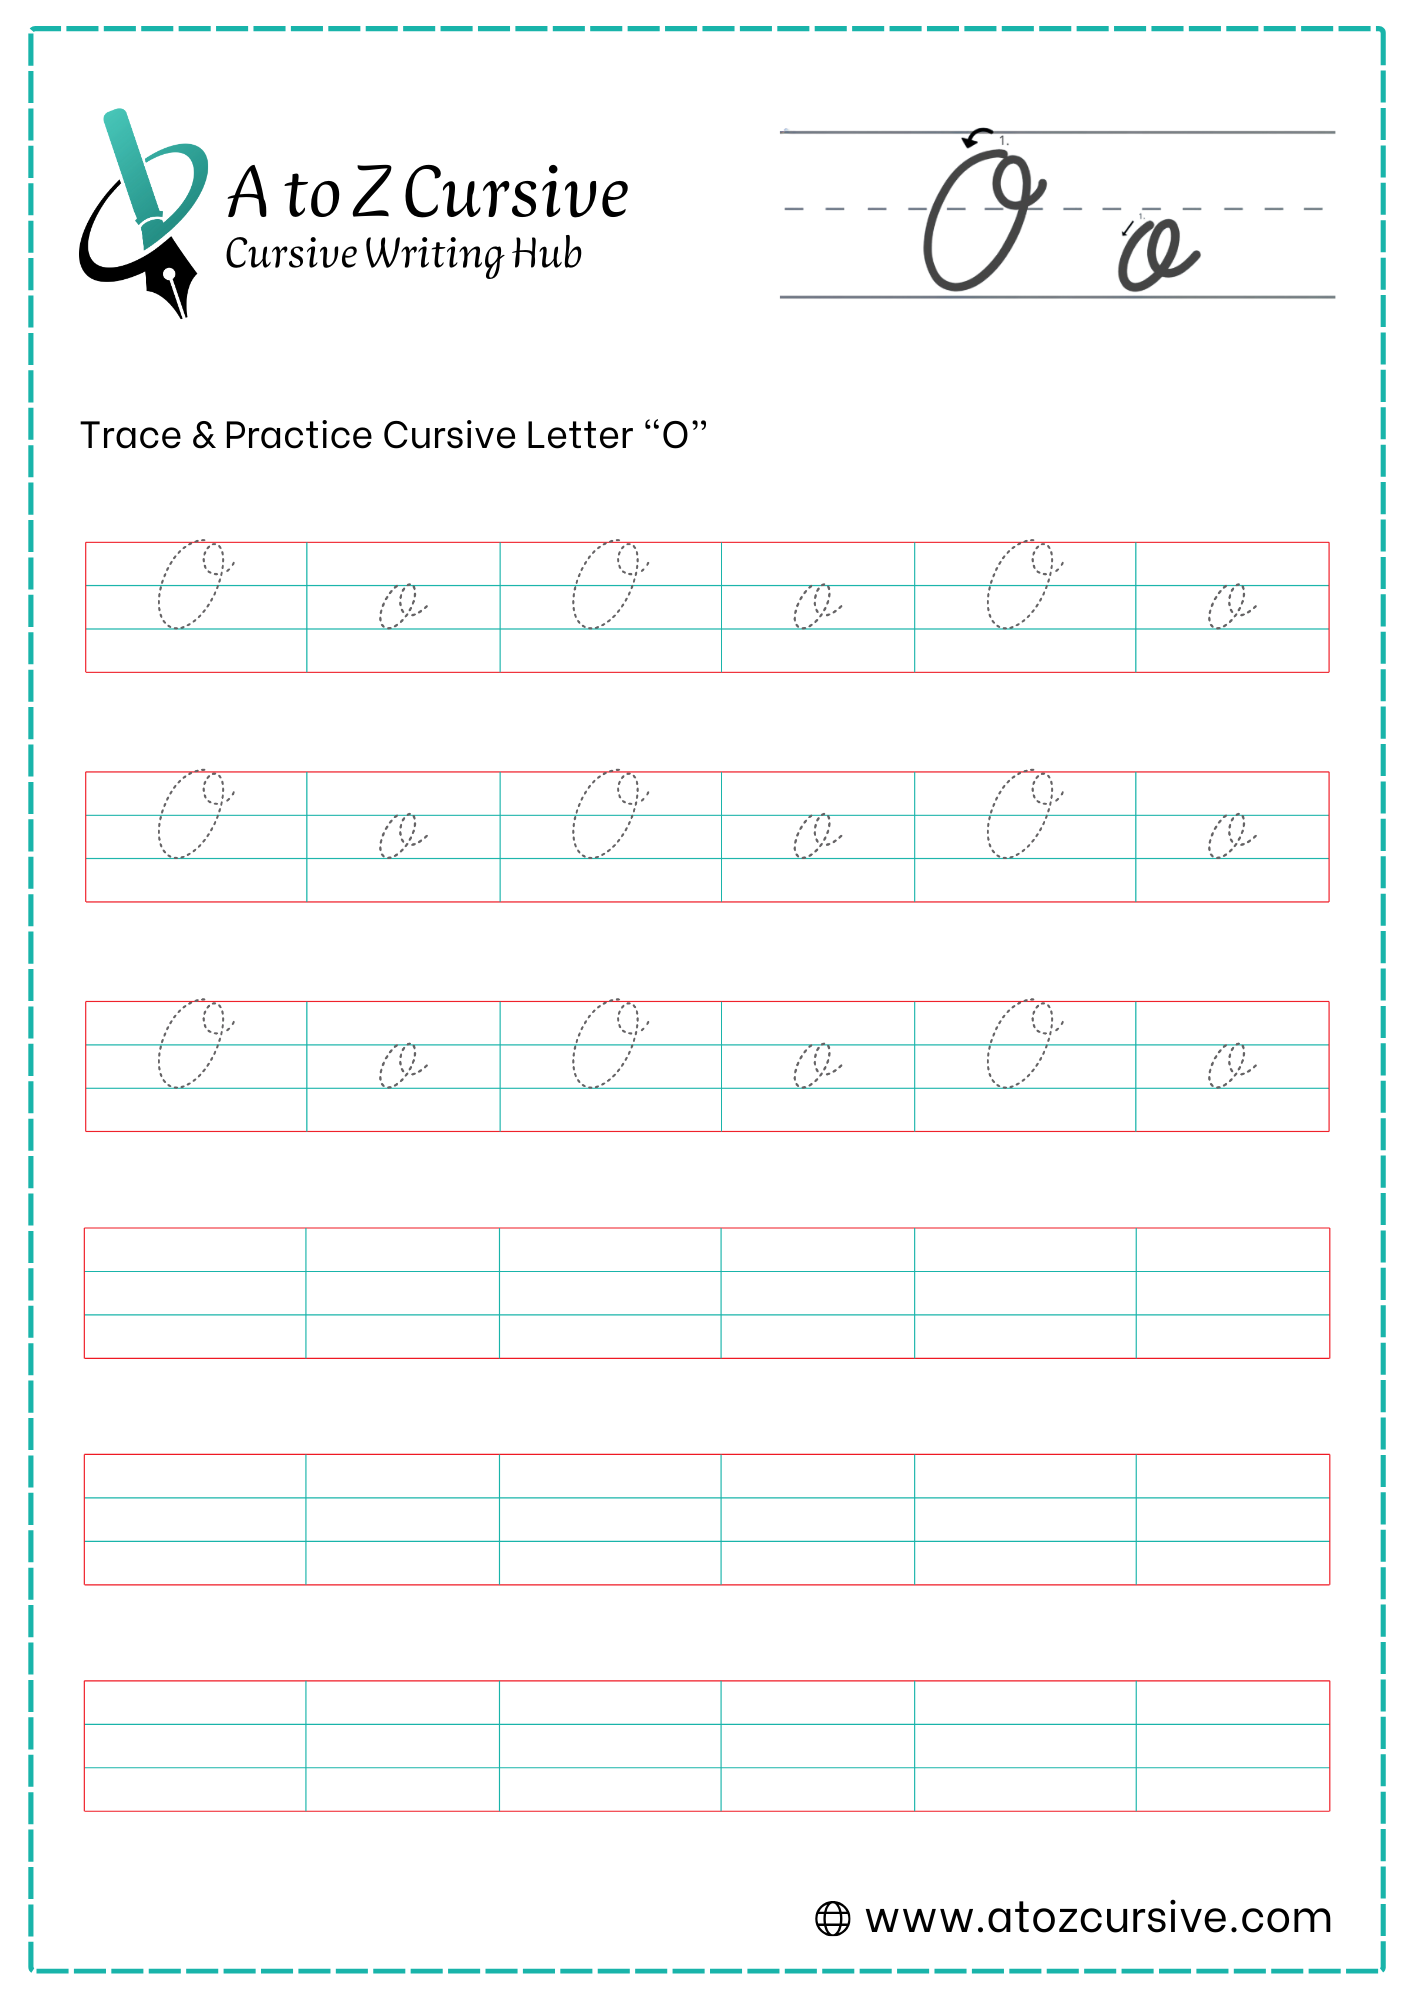
Lowercase Cursive O
-
Start at the baseline. Sweep upward and slightly to the right toward the midline, just like you are starting the letter "a" or "c."
-
Once you reach the midline, curve back around to the left, making a full circle that touches the baseline.
-
Bring the stroke back up to meet your starting point at the midline, completing the circle.
-
As you touch the baseline for the second time, curve your stroke back up and out to the right. This "tail" is used to connect to the next letter.
Don't Over-Loop: Some people add a tiny loop inside the top of the "o." This is fine for style, but keep it small so the letter doesn't look like a messy "e" or "v."
The "Clock" Method: If you’re struggling with the shape, think of starting at 2 o'clock, circling to 12, down to 6, and back to 2.
Mind the Gap: Ensure the circle closes completely before you draw the exit stroke; otherwise, it might look like a "u."
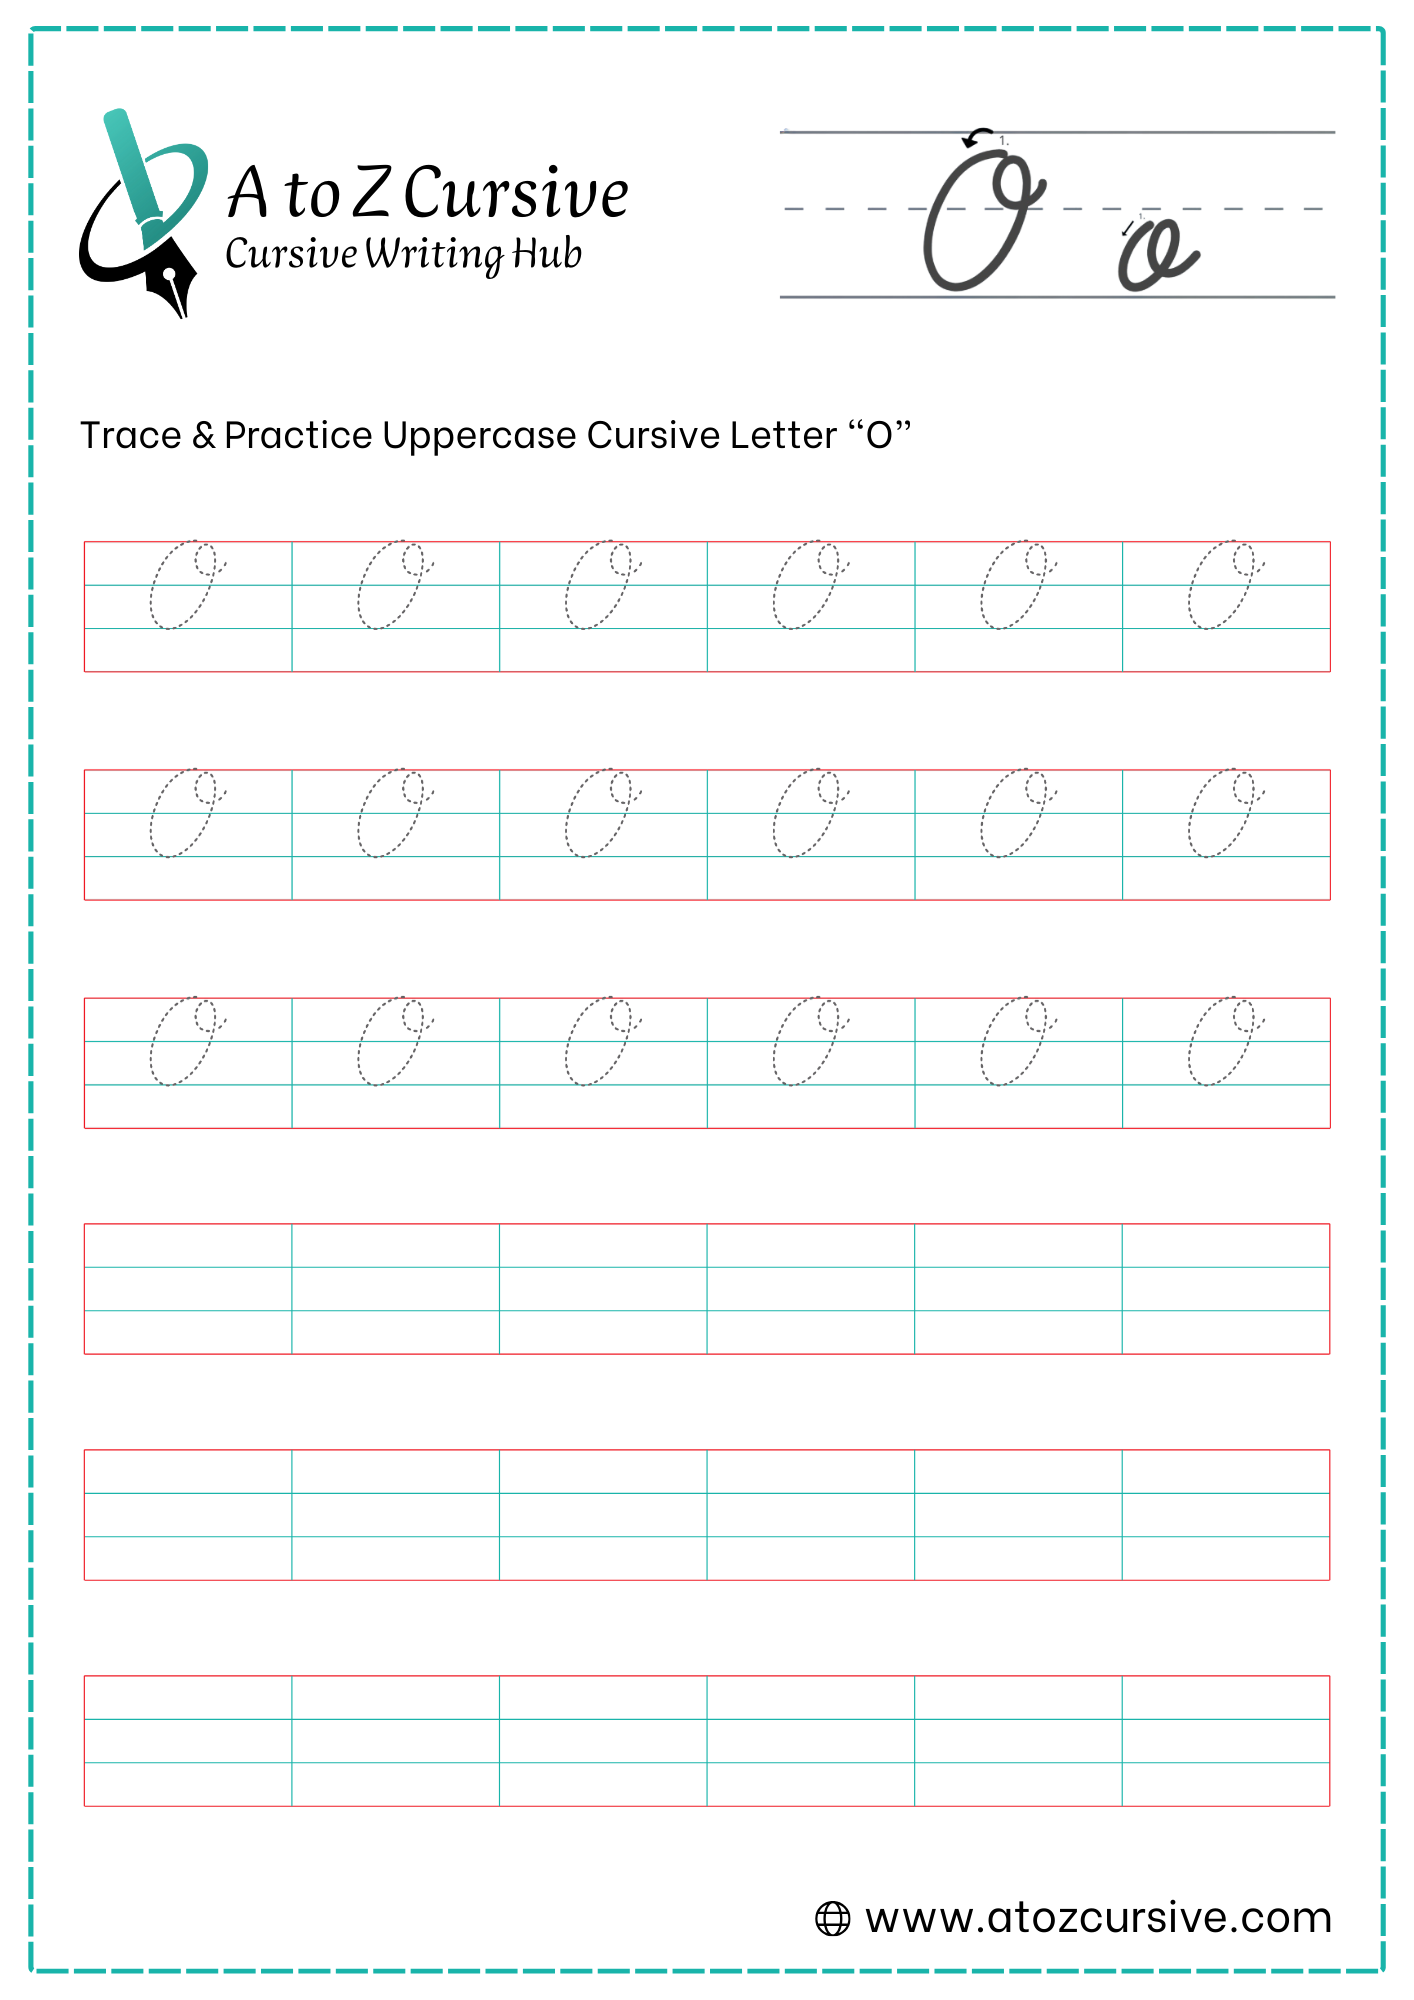
Uppercase Cursive O
-
Begin at the top line (the ascender line).
-
Move your pen to the left and downward in a wide, sweeping counter-clockwise arc.
-
Continue the curve so it smoothly brushes against the baseline.
-
Sweep the stroke back up to the right, heading toward where you started at the top line.
-
As you reach the top and close the oval, do not stop. Instead, continue the stroke slightly inward and to the left to create a small loop (or a "knot") inside the very top of the letter.
-
Exit the loop with a tiny flick to the right, staying near the top line.
To Connect or Not to Connect? In traditional cursive, the uppercase "O" is often not connected to the following letter. Because the letter ends at the top, it can make the next letter look awkward if you try to force a connection. Simply lift your pen and start the next letter at its normal starting point.
Shape over Roundness: A cursive "O" looks best when it is slightly oval and slanted to the right, rather than perfectly circular.
Keep the Loop Small: The decorative loop at the top should be subtle. If it’s too large, it can make the letter look like a messy "Q" or a scribble.
The "C" Shape Method: If you're struggling, think of writing a very large, closed capital "C" and adding a tiny swirl at the top once the ends meet.
FAQs
The easiest way to write a cursive O is to start at the baseline, form a smooth oval shape, and finish with a small exit stroke at the midline.
Lowercase cursive O starts at the baseline, curves up to the midline, forms a full circle touching the baseline, and exits from the top to connect with the next letter.
A lowercase cursive O connects from the top at the midline, making it easy to join with letters like n, m, or r.
Cursive O is similar to cursive A and C in its starting stroke, but it forms a complete closed loop instead of an open curve.
Uppercase cursive O is written by starting at the top line, drawing a large oval shape, closing it smoothly, and adding a small decorative loop at the top.
In traditional cursive writing, the uppercase cursive O is usually not connected to the next letter. It’s best to lift the pen before starting the next letter.
This usually happens when the loop is not fully closed or the exit stroke starts too early. Make sure the circle closes before exiting.
Yes, printable cursive O worksheets are great for beginners because they provide guided tracing and help build muscle memory.
Practice slow, smooth strokes, keep the oval slightly slanted, and use lined worksheets to maintain consistent size and shape.