- AtoZ Cursive
- Cursive K
Cursive K: Tutorial & Printable Worksheets (Uppercase + Lowercase)
On this page, you’ll learn how to write uppercase and lowercase cursive K with easy steps and free printable worksheets for tracing and practice.

How to Write K in Cursive
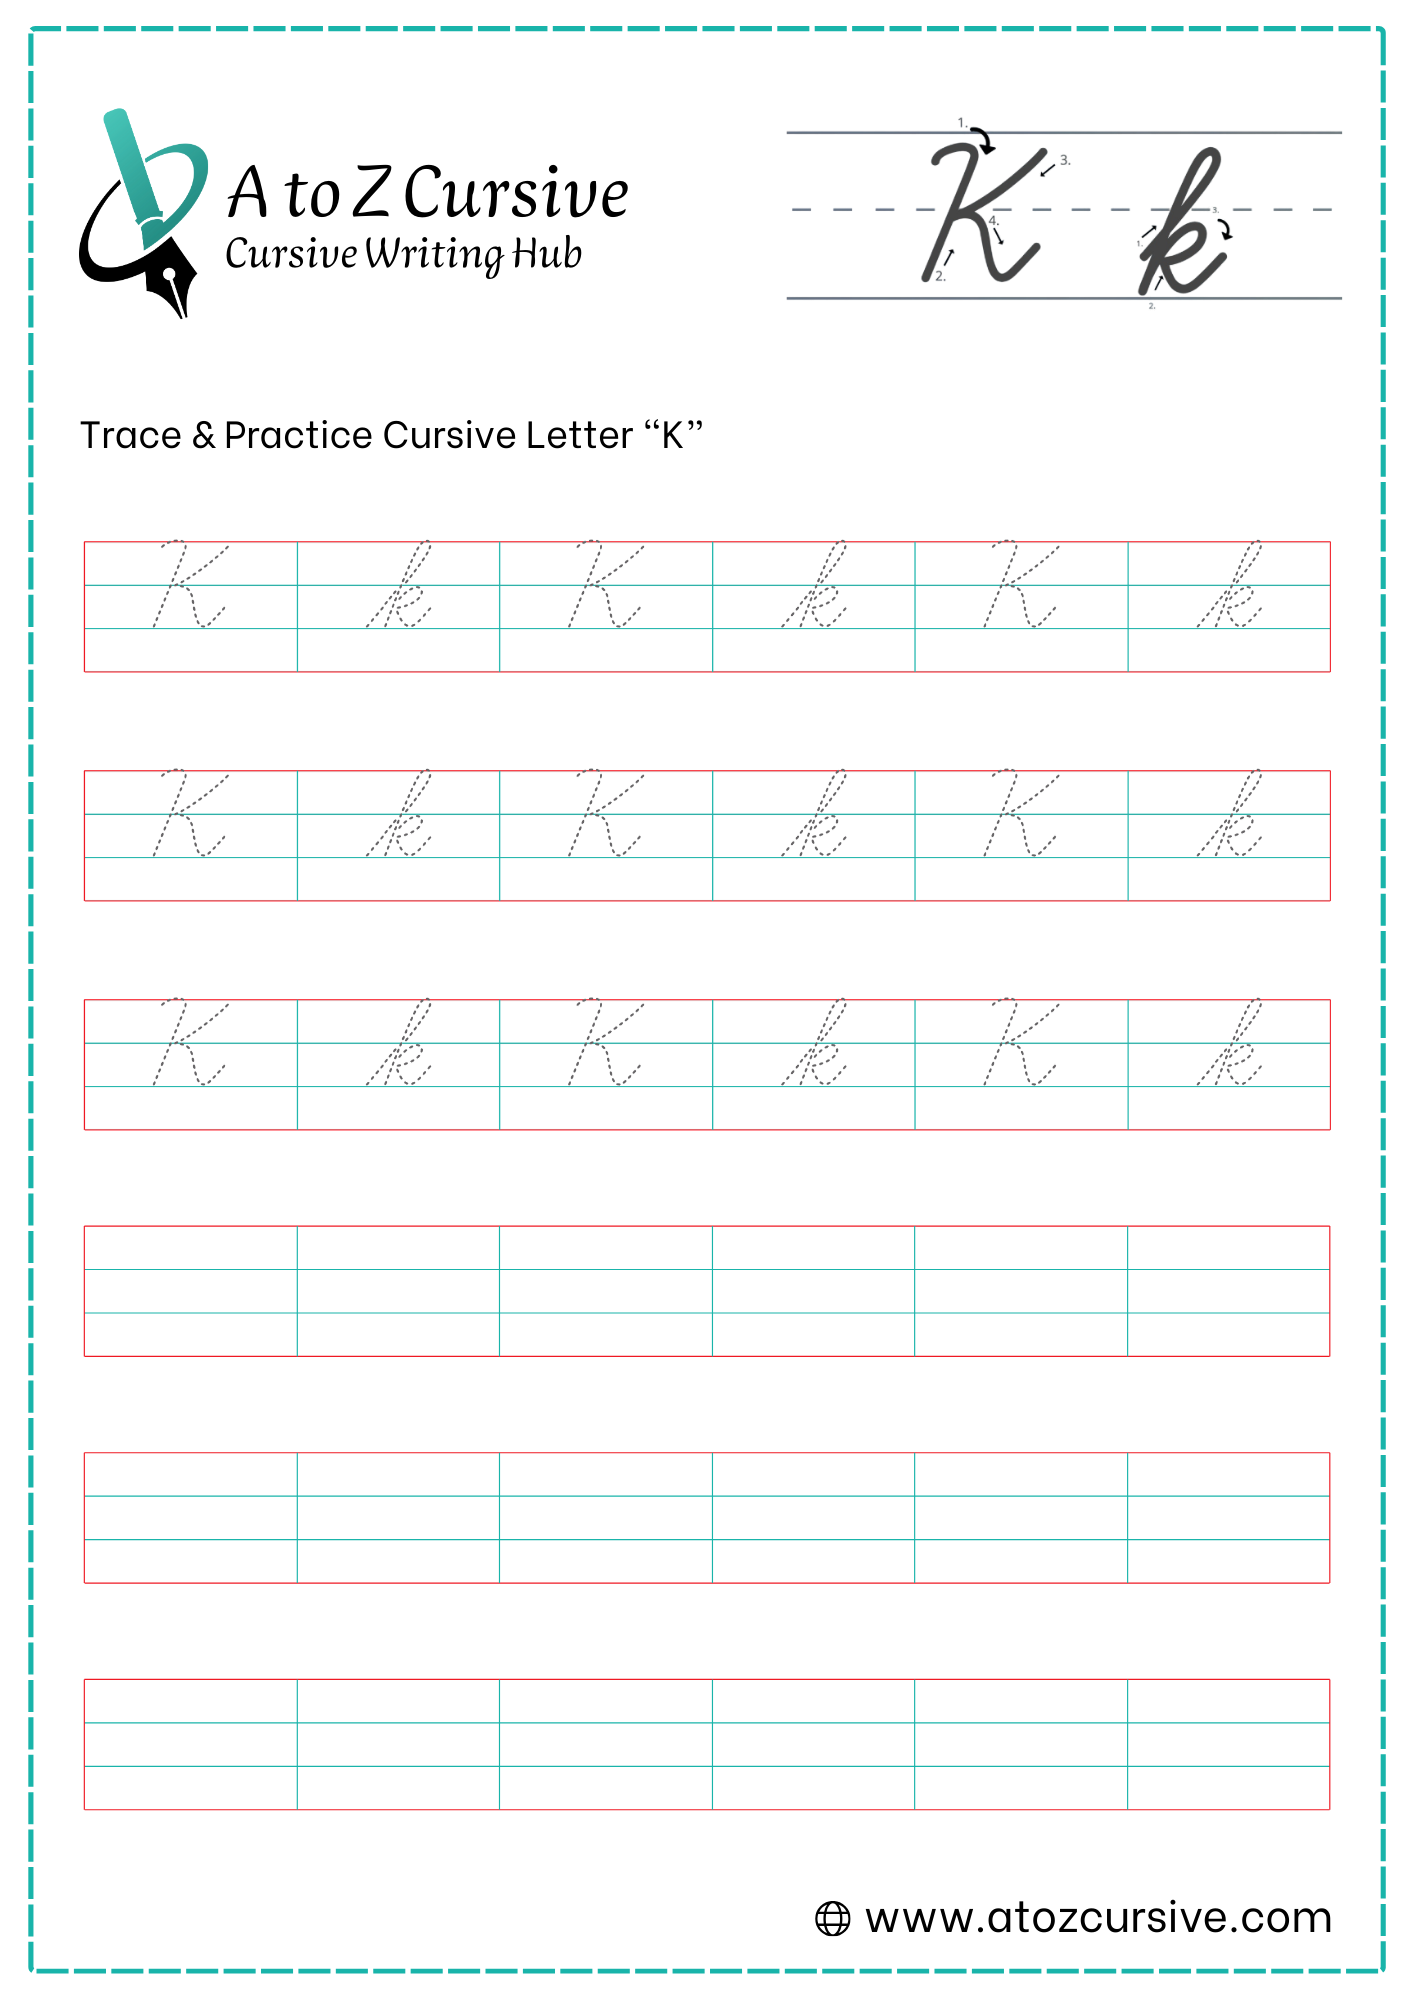
Cursive K uses tall lines and angled strokes. Follow simple steps to write both uppercase and lowercase forms neatly.
Lowercase Cursive K
-
Start at the bottom baseline. Sweep your pen up toward the top headline at a slight rightward slant.
-
At the top, curve to the left and pull a straight vertical line all the way back down to the bottom baseline (just like you did for the letter "h").
-
Without lifting your pen, trace back up that same vertical line until you reach the midline.
-
At the midline, curve out to the right and then back inward to touch the vertical stem, forming a small, rounded loop (the "knot").
-
From that knot, kick a small slanted line down to the bottom baseline.
-
Finish with a small upward flick to the right to connect to the next letter.
Don't Lift the Pen: The entire letter should be one continuous motion.
Keep it Lean: Ensure the tall loop and the "leg" have the same rightward slant for a professional look.
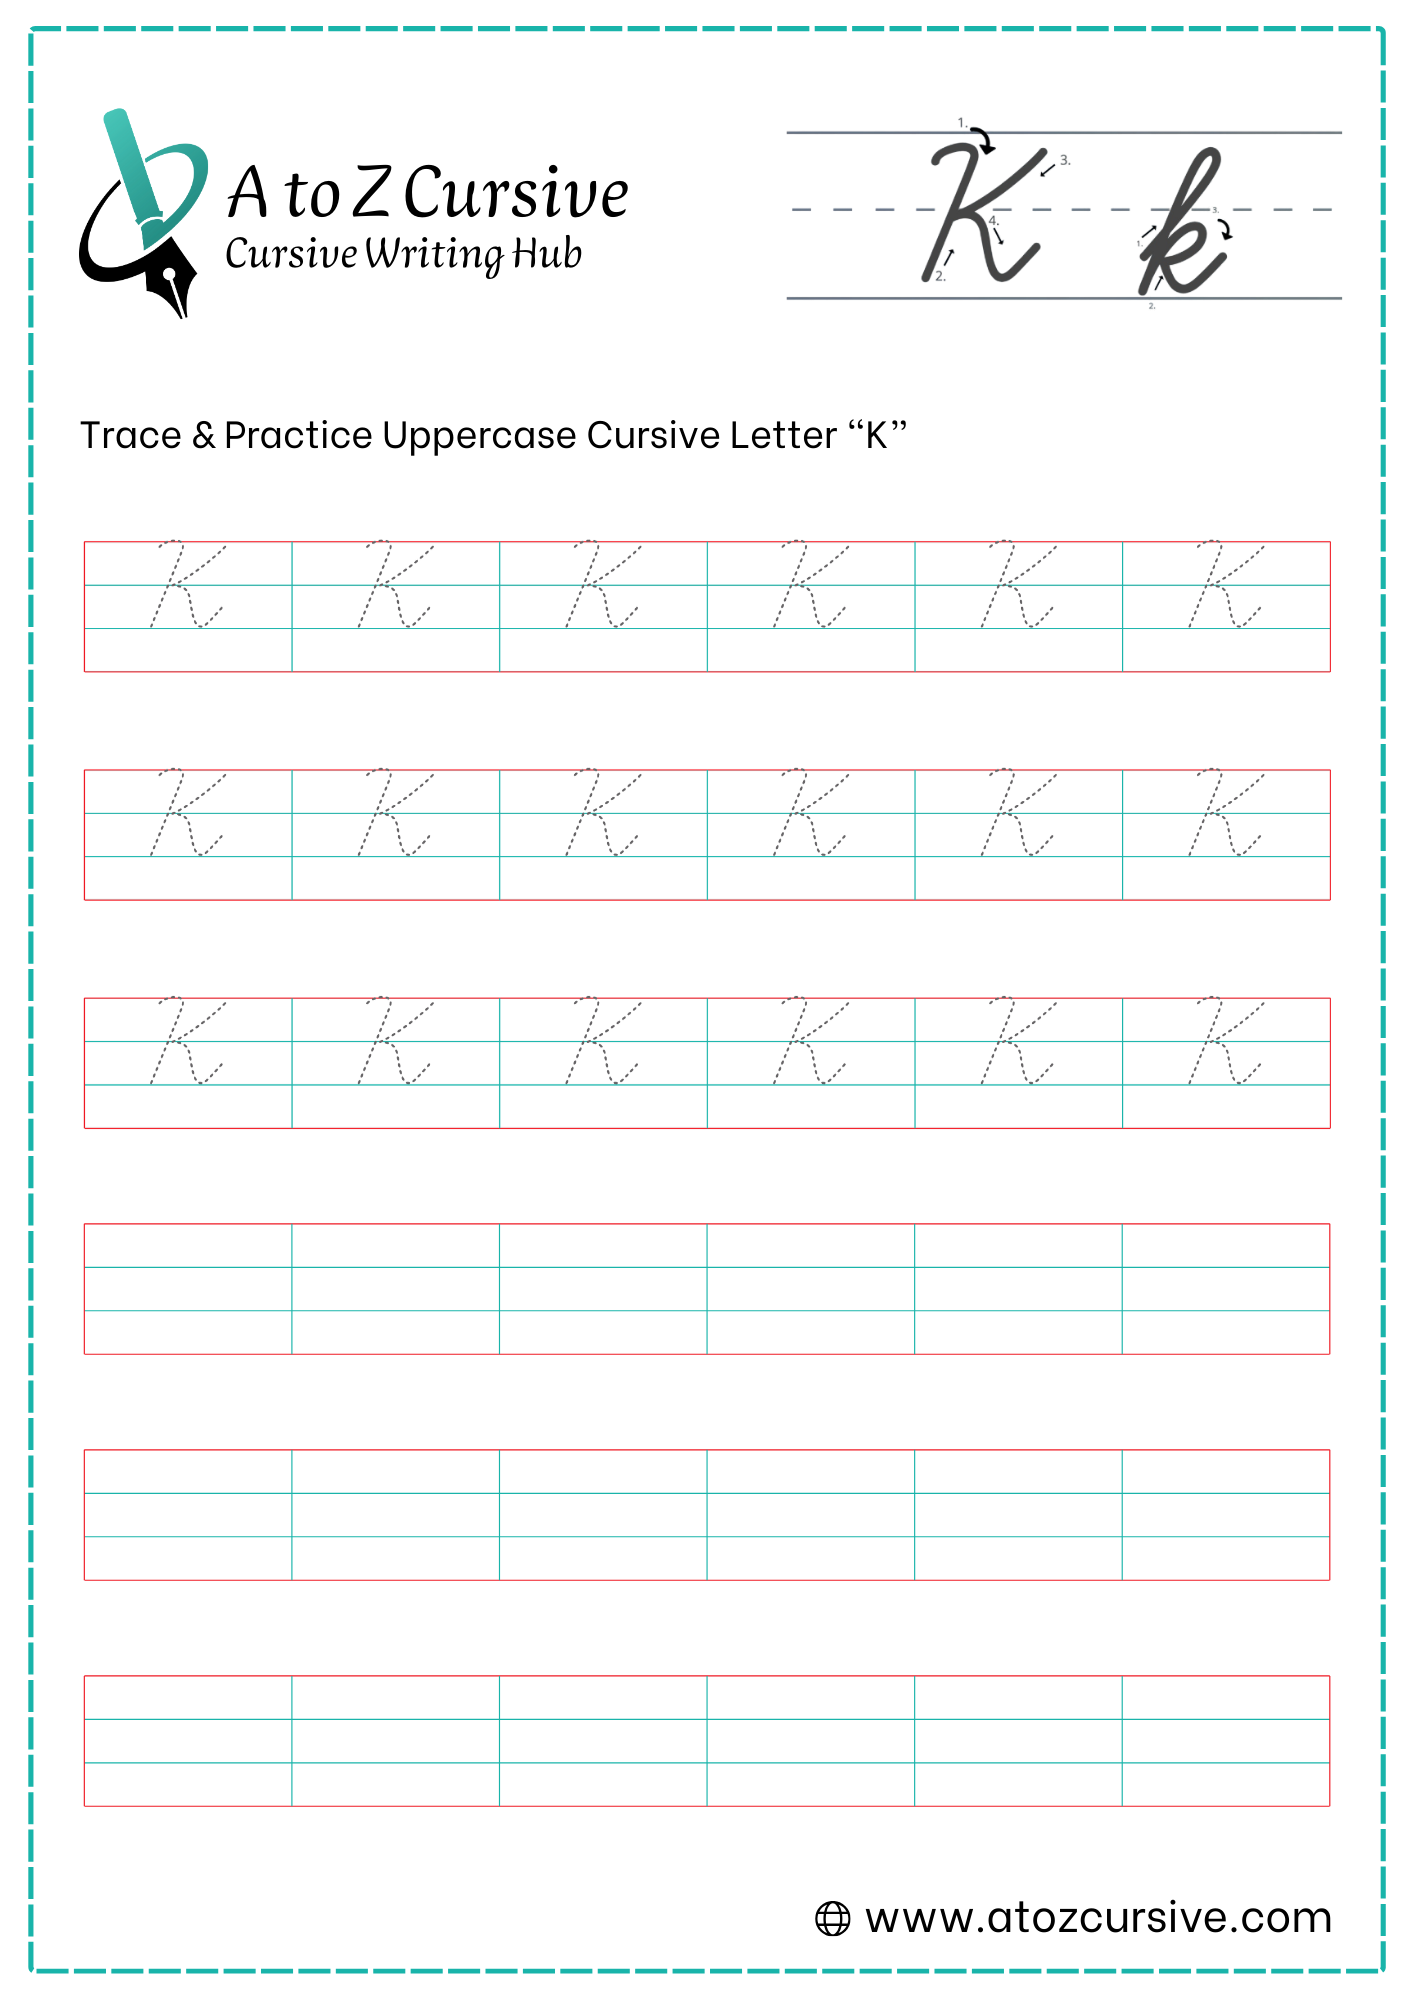
Uppercase Cursive K
-
Start just below the top headline. Make a small decorative hook or loop, then draw a slanted vertical line down to the bottom baseline, finishing with a small curve to the left (a "cane" shape).
-
Lift your pen. Move to the right and place your pen back on the top headline.
-
Draw a slanted line inward toward the center of your first pillar.
-
As you meet the first pillar near the midline, make a tiny, tight loop (a "knot") around the stem.
-
From that loop, kick a slanted line down and out to the right until it touches the bottom baseline.
-
Finish with an upward flick to the right to connect to the next letter.
The Gap: Make sure the "Arm" and "Leg" meet the first pillar exactly at the midline to keep the letter balanced.
The Slant: Try to keep the first pillar and the "kick" part leaning at the same angle to the right.
Connecting: The Uppercase K is a connecting letter—that final flick leads smoothly into the next lowercase letter (like in the name "Kate").
FAQs
Start at the baseline, draw a tall line to the top, trace back up to the midline, make a small loop, then add the leg and exit stroke.
Yes. Lowercase cursive k has a small loop, called a knot, at the midline where the arm and leg connect.
Yes. Lowercase cursive k is written in one continuous motion without lifting the pen.
Cursive k has a small loop and angled leg, while cursive h has a rounded hump instead.
Uppercase cursive K starts with a tall pillar, then adds an arm, a small loop at the midline, and a slanted leg.
Yes. Uppercase cursive K is a connecting letter and flows into the next lowercase letter.
Placing the knot too high or lifting the pen during the stroke.
Yes. Tracing worksheets help beginners learn correct slant, spacing, and stroke order.
Cursive styles vary, but the tall stem, knot, and angled leg are common features.