- AtoZ Cursive
- Cursive J
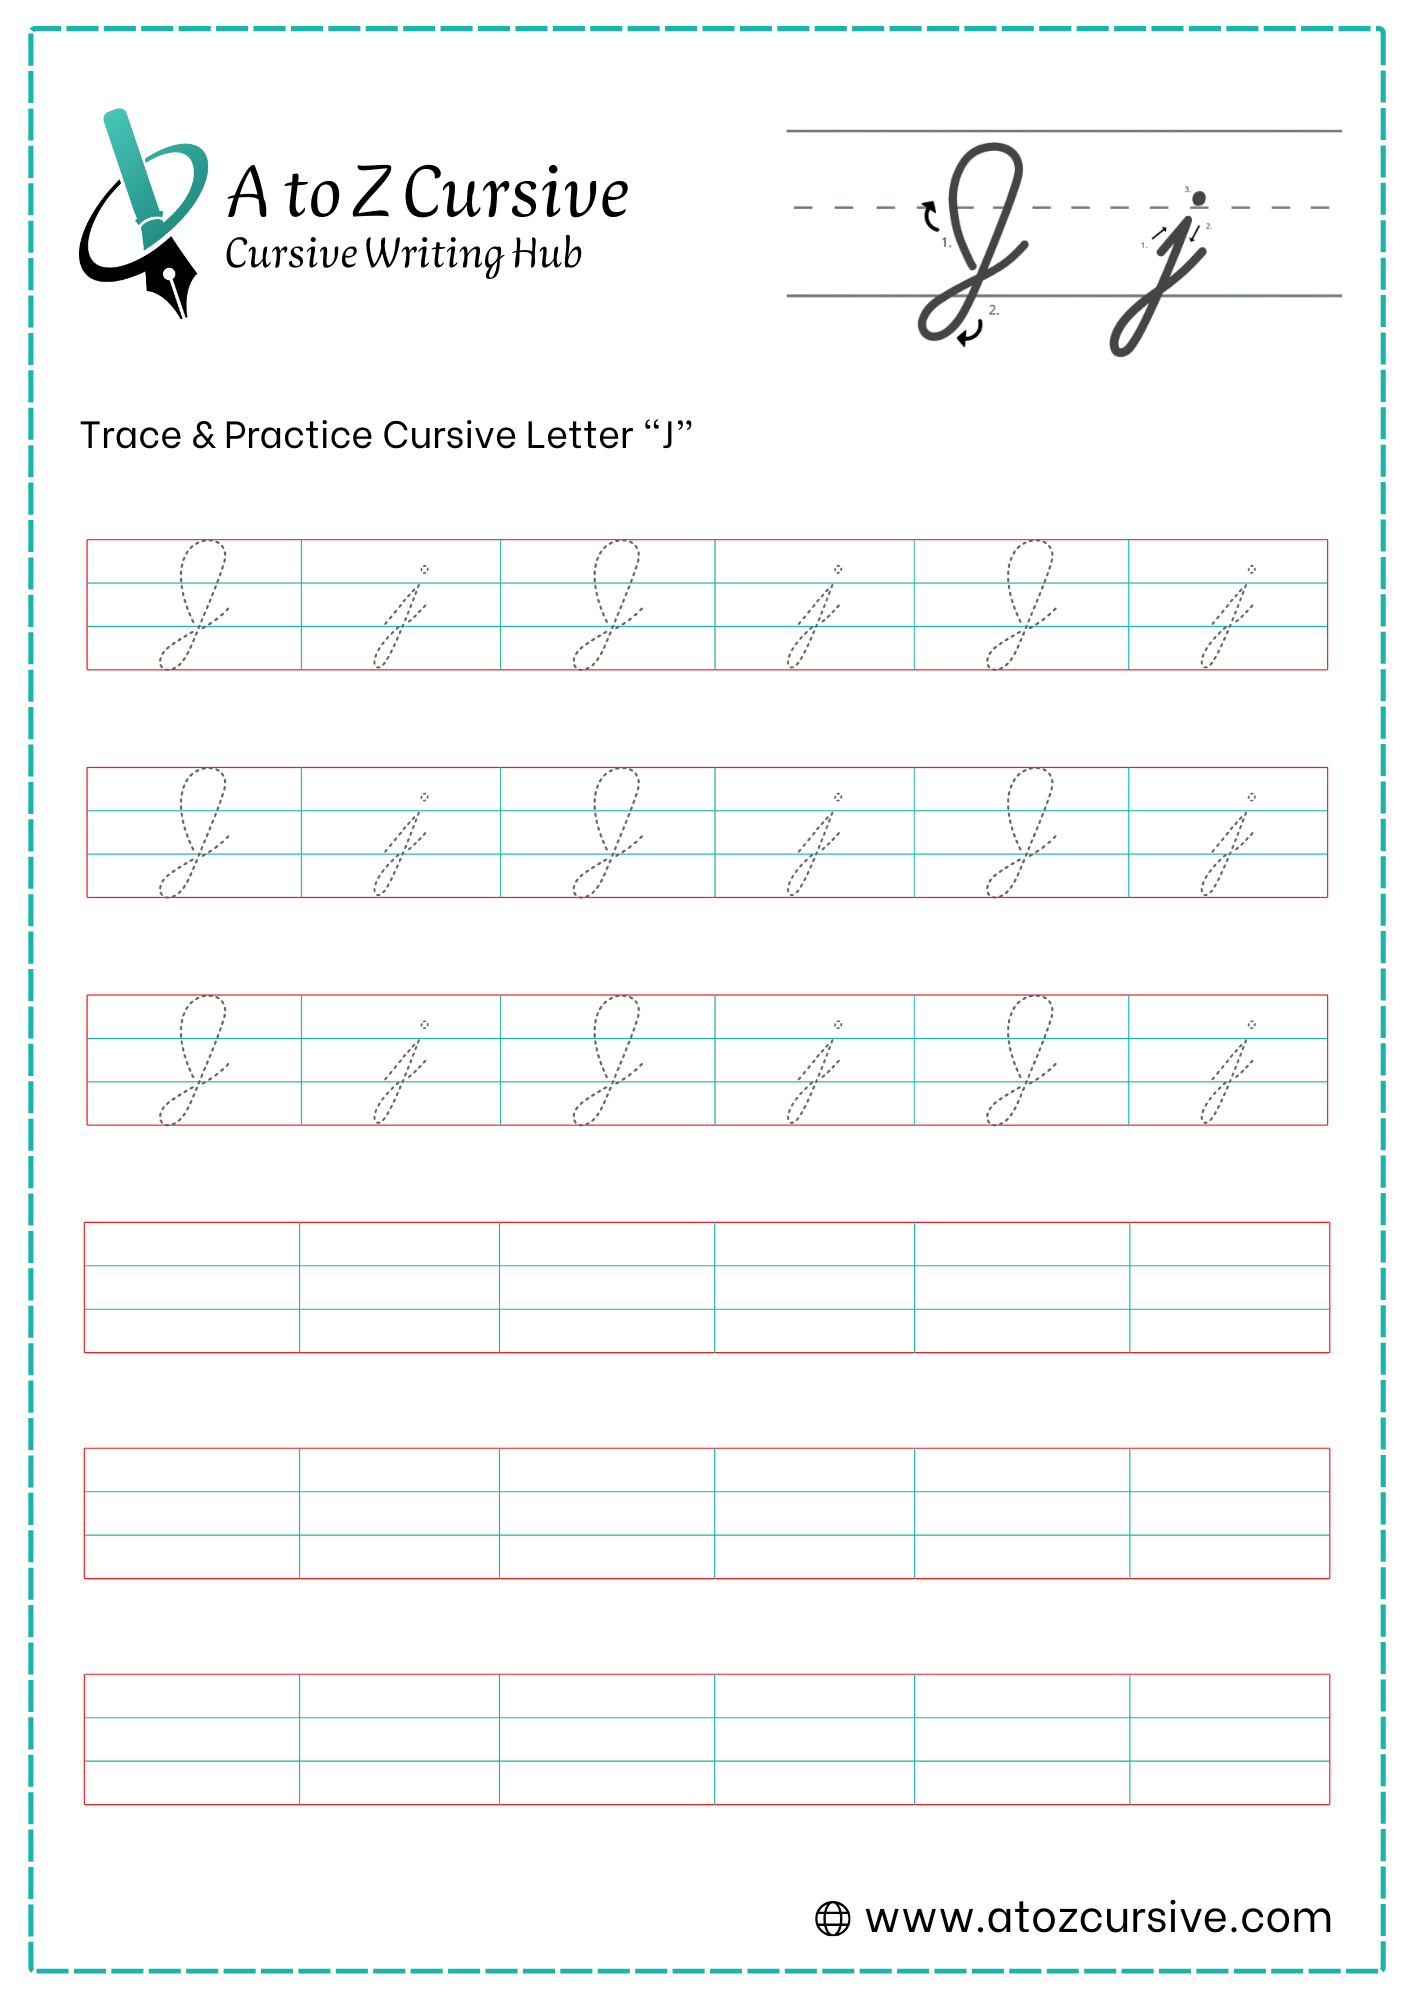
Cursive J: Tutorial & Printable Worksheets (Uppercase + Lowercase)
On this page, you’ll learn how to write uppercase and lowercase cursive J with clear steps and free printable worksheets for tracing and handwriting practice.
How to Write J in Cursive
Cursive J uses long curves and a clean finish. Follow simple steps to write both uppercase and lowercase forms correctly.
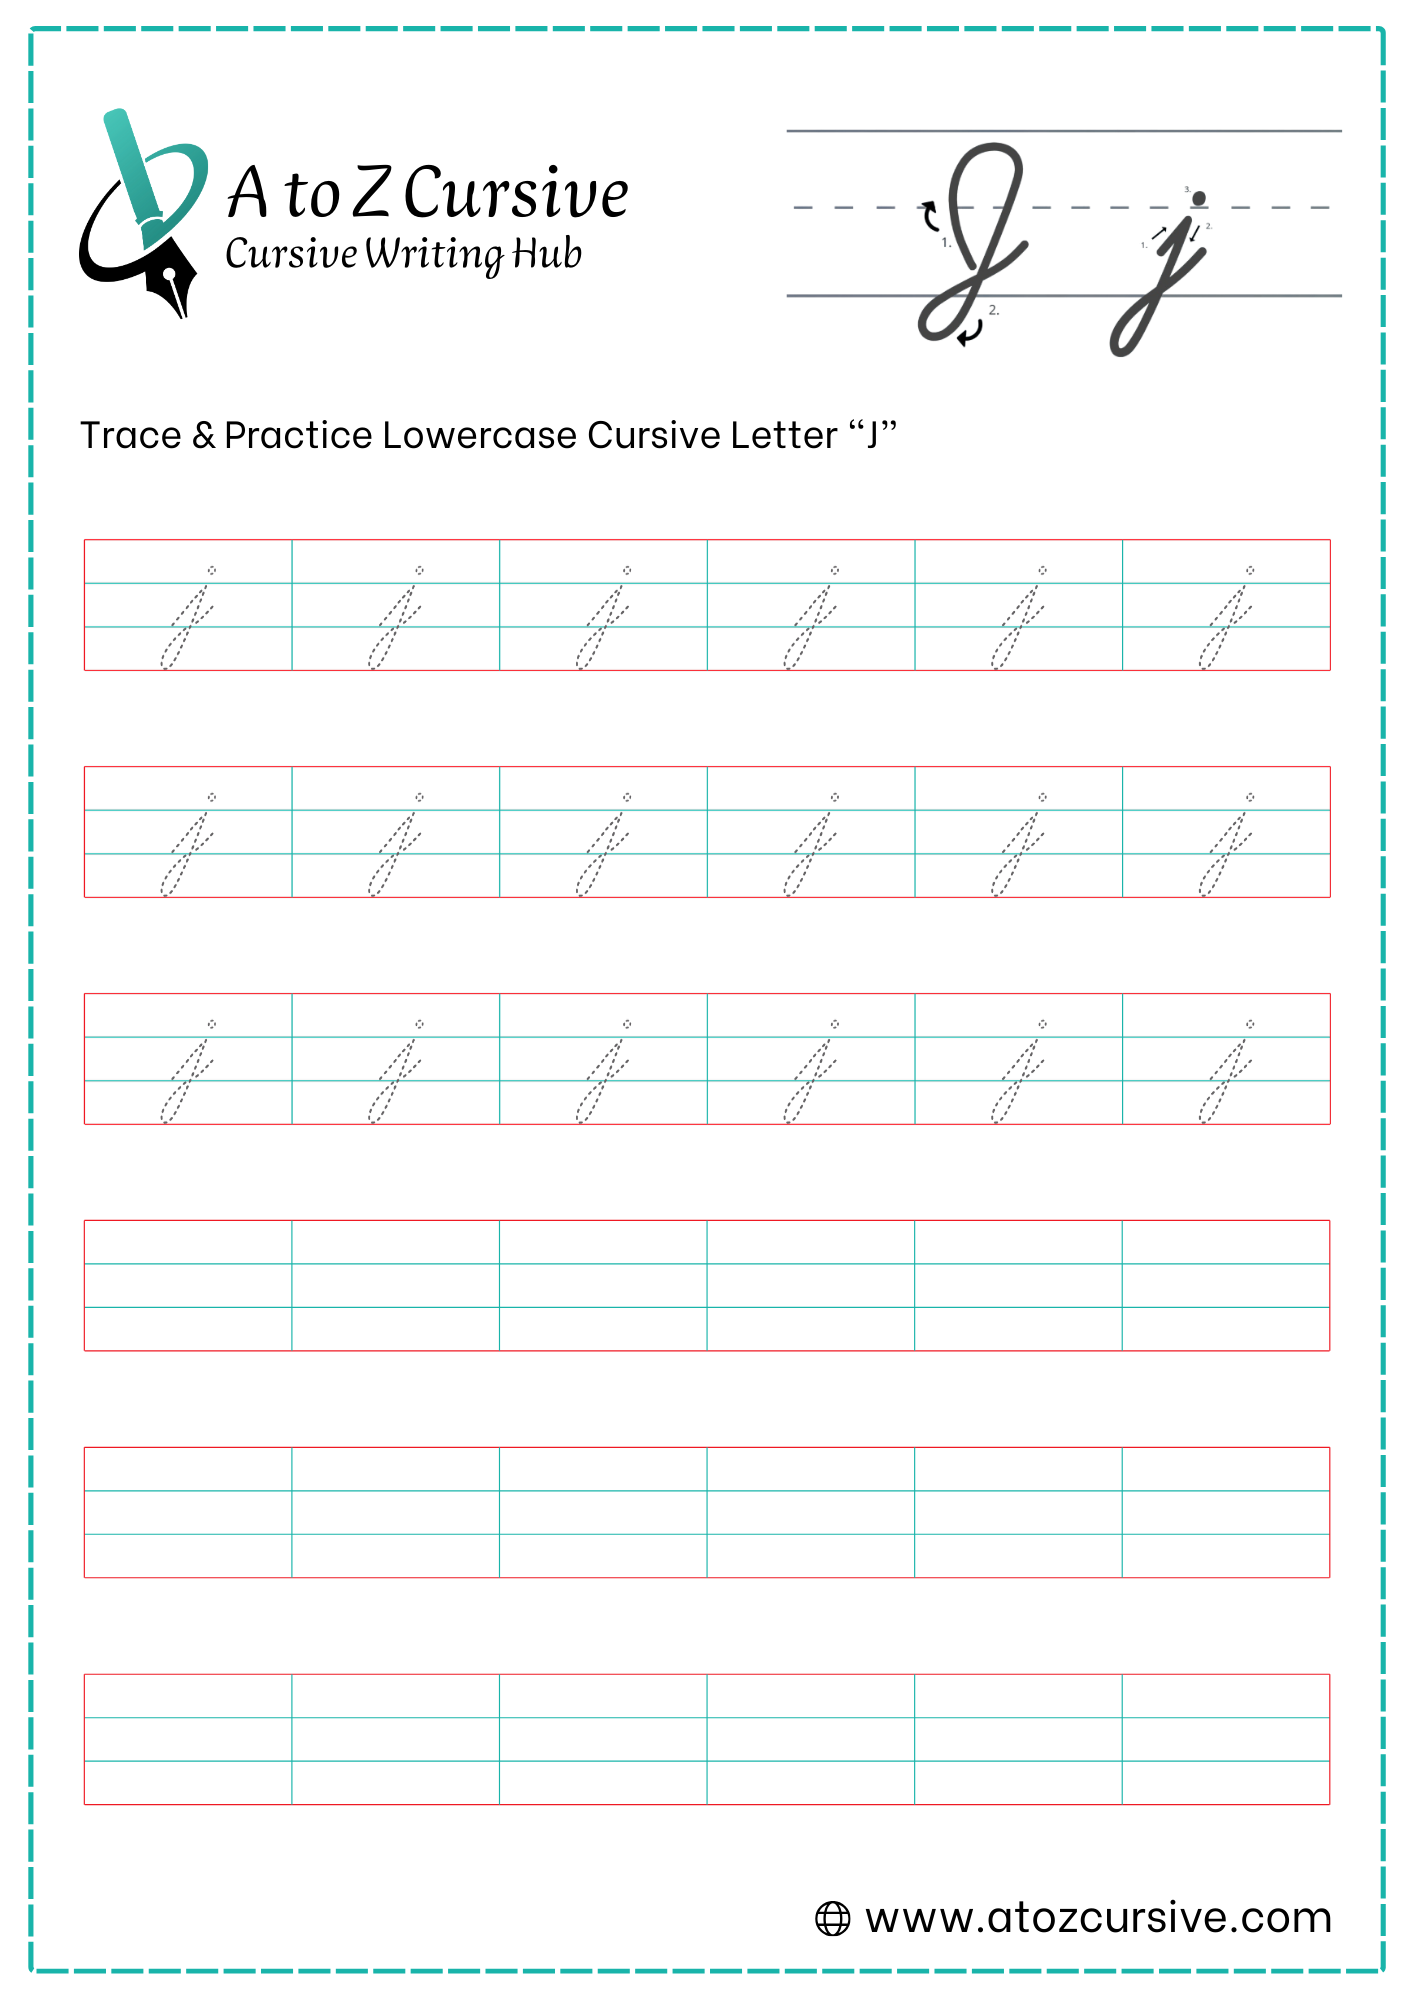
Lowercase Cursive J
-
Start at the bottom baseline and draw a slanted stroke up to the midline (just like a lowercase "i").
-
Without lifting your pen, draw a straight line down past the baseline into the "basement."
-
At the bottom of your stroke, curve the pen to the left.
-
Bring the curve back up and to the right, crossing the vertical stem exactly at the bottom baseline.
-
Continue the stroke upward to the right to create your connector tail.
-
Lift your pen and place a single dot just above the midline, centered over the letter.
Don't Loop the Top: Like the "i," the top of the j should be a sharp point where you trace back down, not a loop.
Wait to Dot: Just like with "i" and "t," write the whole word first, then go back and dot your j.
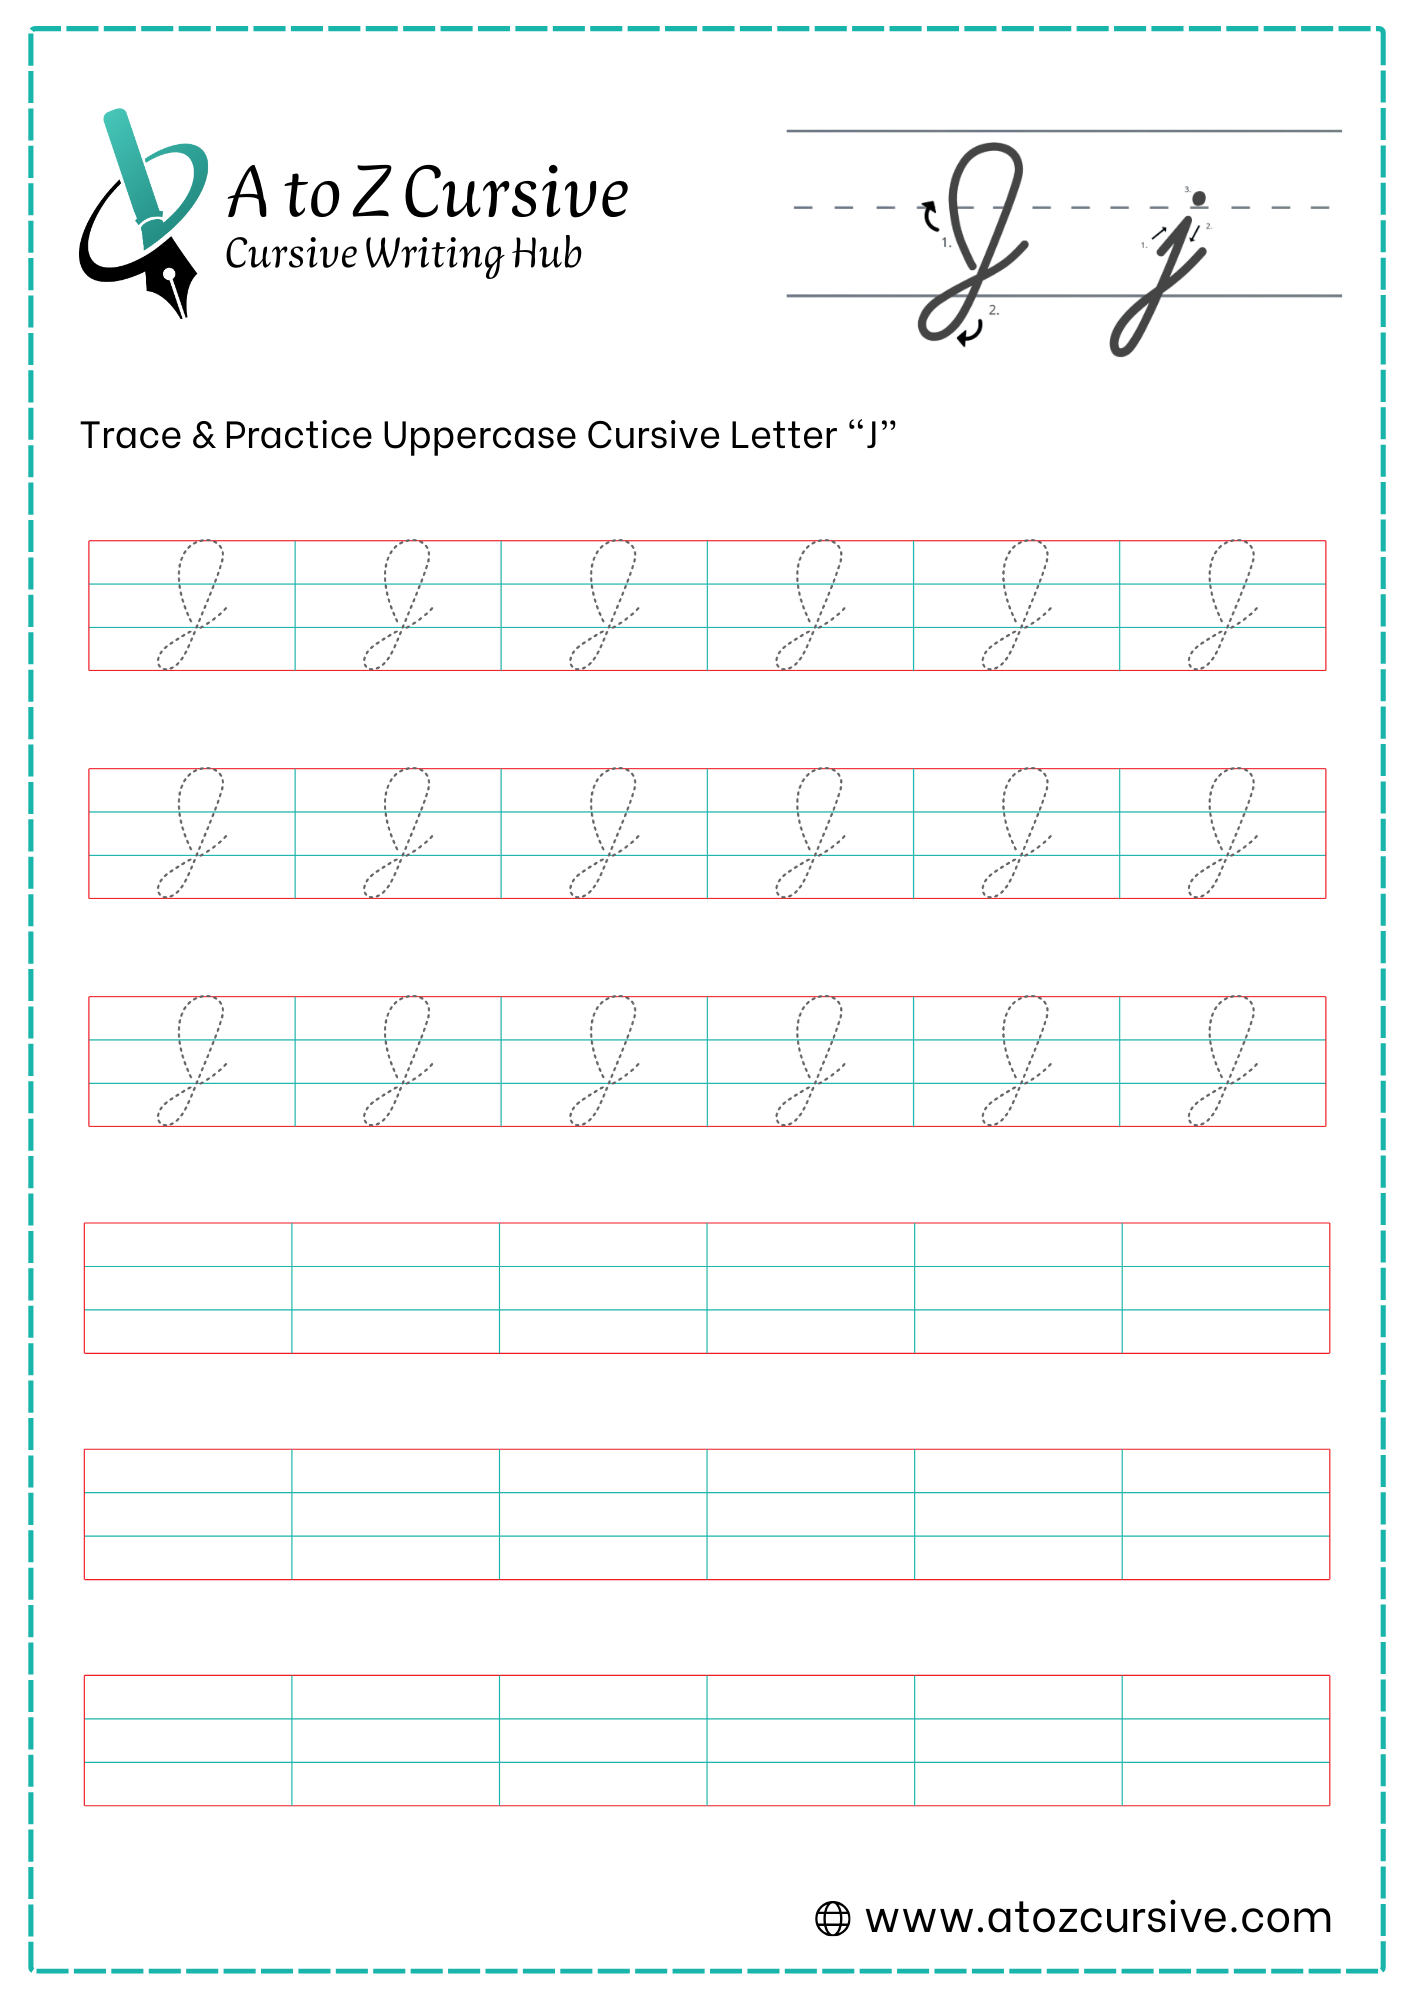
Uppercase Cursive J
-
Begin at the bottom baseline.
-
Move your pen to the right along the baseline, then curve it back to the left and upward.
-
Sweep your pen all the way to the top headline, curving around to the left to form a tall, narrow loop.
-
Instead of stopping at the baseline, draw a straight, slanted line all the way down into the "basement" (the space below the line).
-
At the bottom, curve your pen to the left.
-
Swing the pen back up, crossing the vertical stem at the baseline, and flick it out to the right.
The "I" vs. "J" Difference: Remember, the I sits on the line, while the J always dives below it.
Connecting: Unlike the capital "I," the Uppercase J is a connecting letter. The tail crossing at the baseline is meant to lead directly into the next lowercase letter (like in the name "James").
The Flow: Try to keep the top loop and the bottom loop aligned on the same slant so the letter looks balanced.
FAQs
Start at the baseline, draw up to the midline, go straight down below the line, loop at the bottom, then add a dot.
No. The top of a cursive j is sharp, like cursive i. Only the bottom has a loop.
Place a small dot just above the midline, centered over the letter after finishing the word.
Cursive j has a long tail that drops into the basement. This helps separate it from cursive i.
Cursive j goes below the baseline and has a longer tail, while cursive i stays above the line.
Uppercase cursive J starts at the baseline, forms a tall loop, drops below the line, then curves and exits to the right.
Yes. Unlike uppercase I, cursive J is a connecting letter and flows into the next lowercase letter.
Cursive I stays on or above the baseline. Cursive J goes below the baseline with a longer tail.
Adding a loop at the top or crossing the stem too high instead of at the baseline.
Yes. Tracing worksheets help learners control curves, spacing, and proper letter flow.