- AtoZ Cursive
- Cursive G
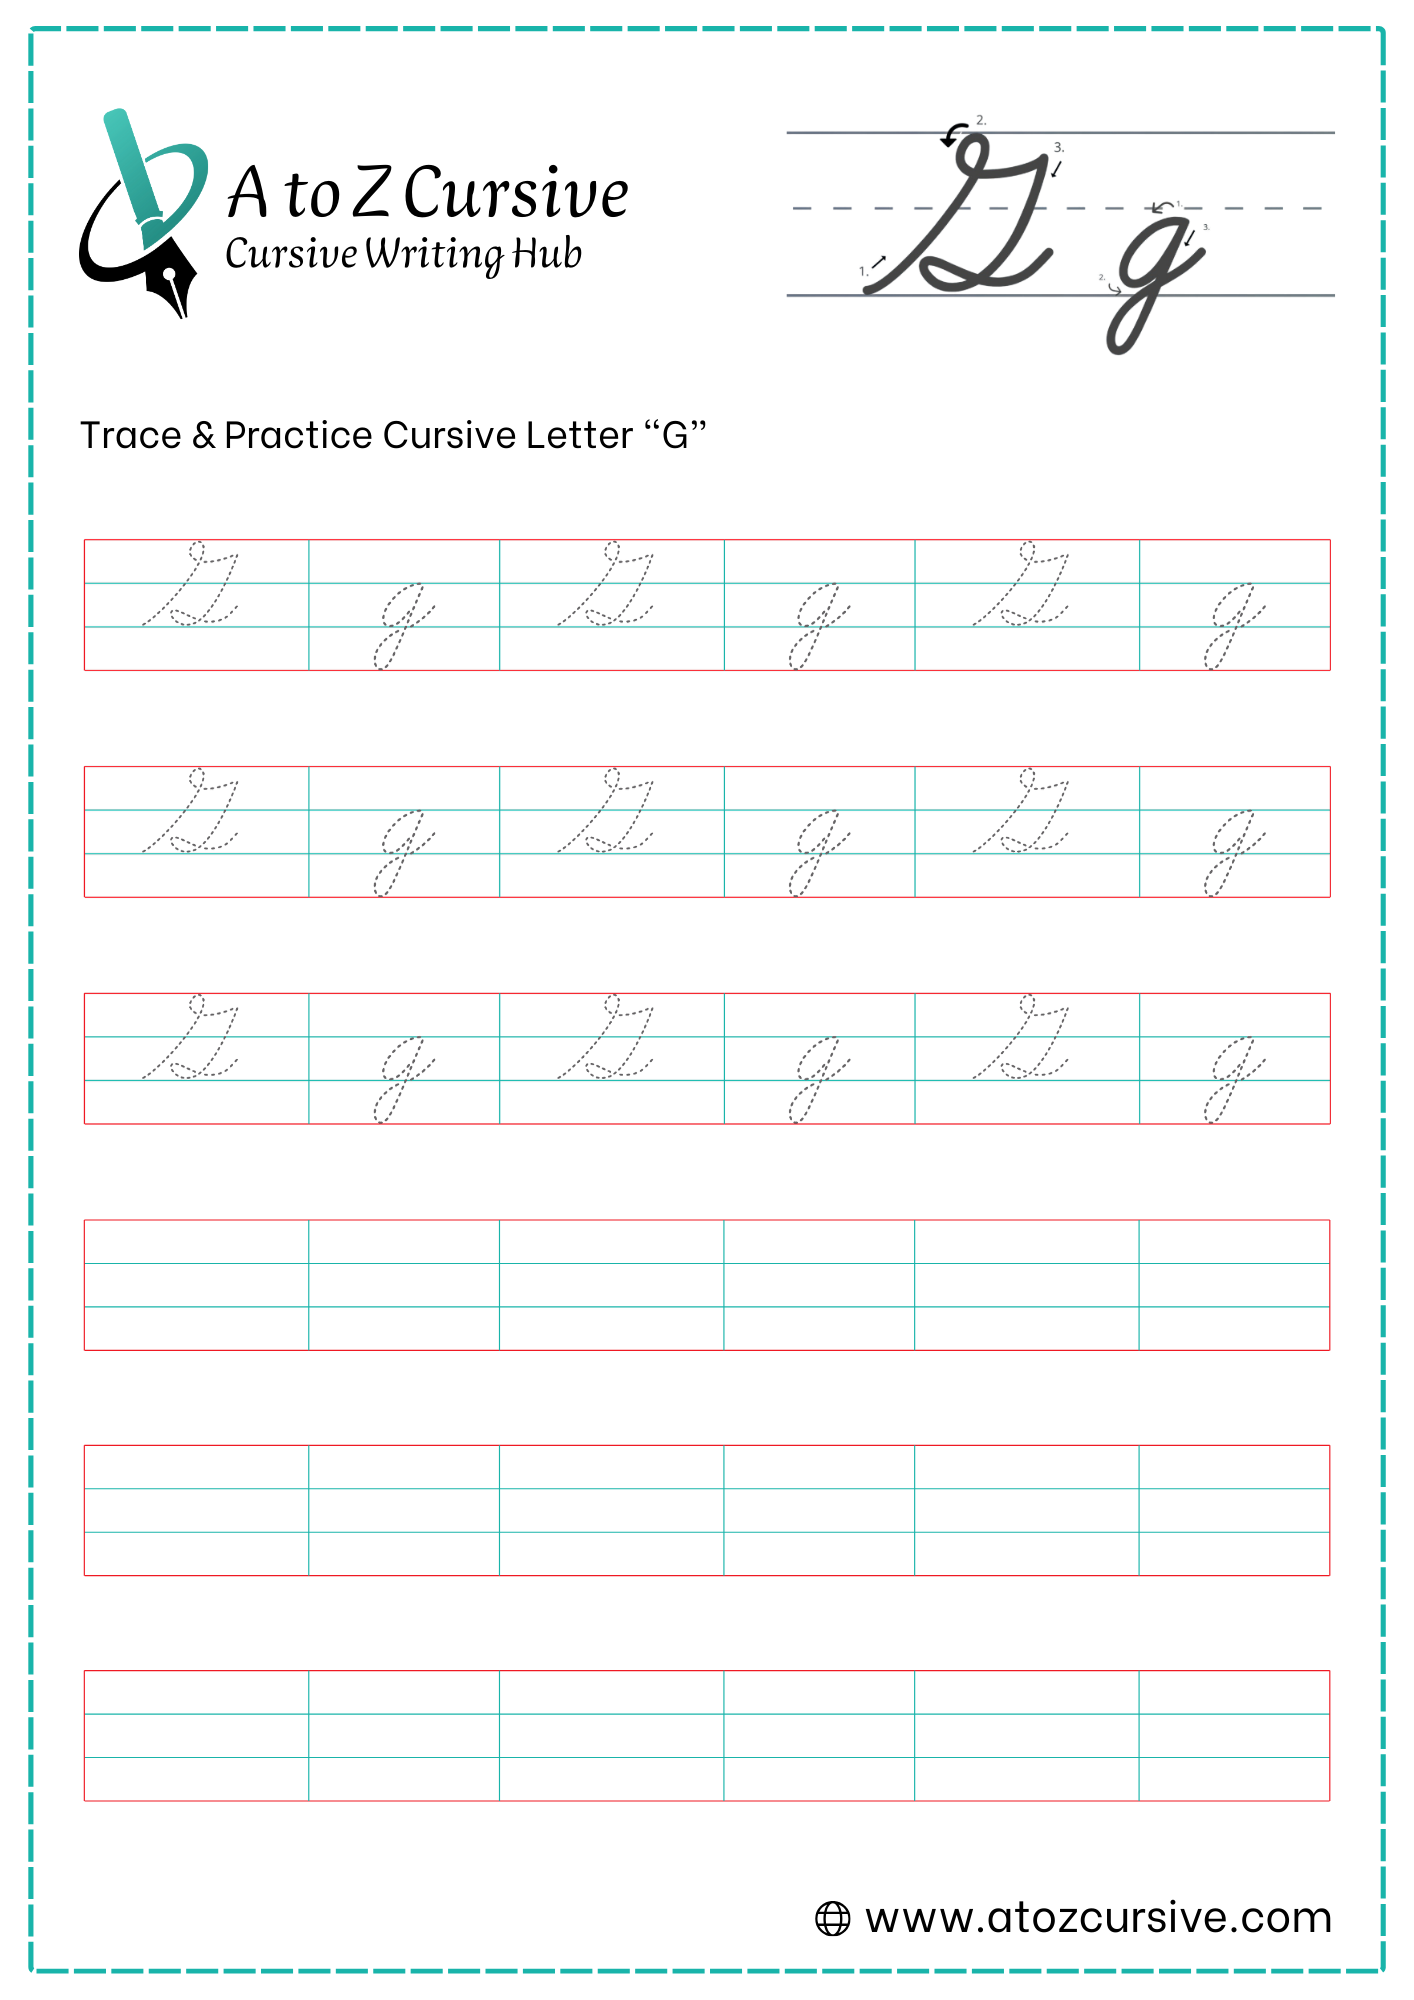
Cursive G: Tutorial & Printable Worksheets (Uppercase + Lowercase)
On this page, you’ll get free printable cursive G worksheets for tracing and practice. Also, learn how to write cursive G neatly, with our step-by-step tutorial.
How to Write G in Cursive
Writing cursive G is easy and fun! Follow smooth, flowing strokes to form both uppercase and lowercase letters neatly and confidently.
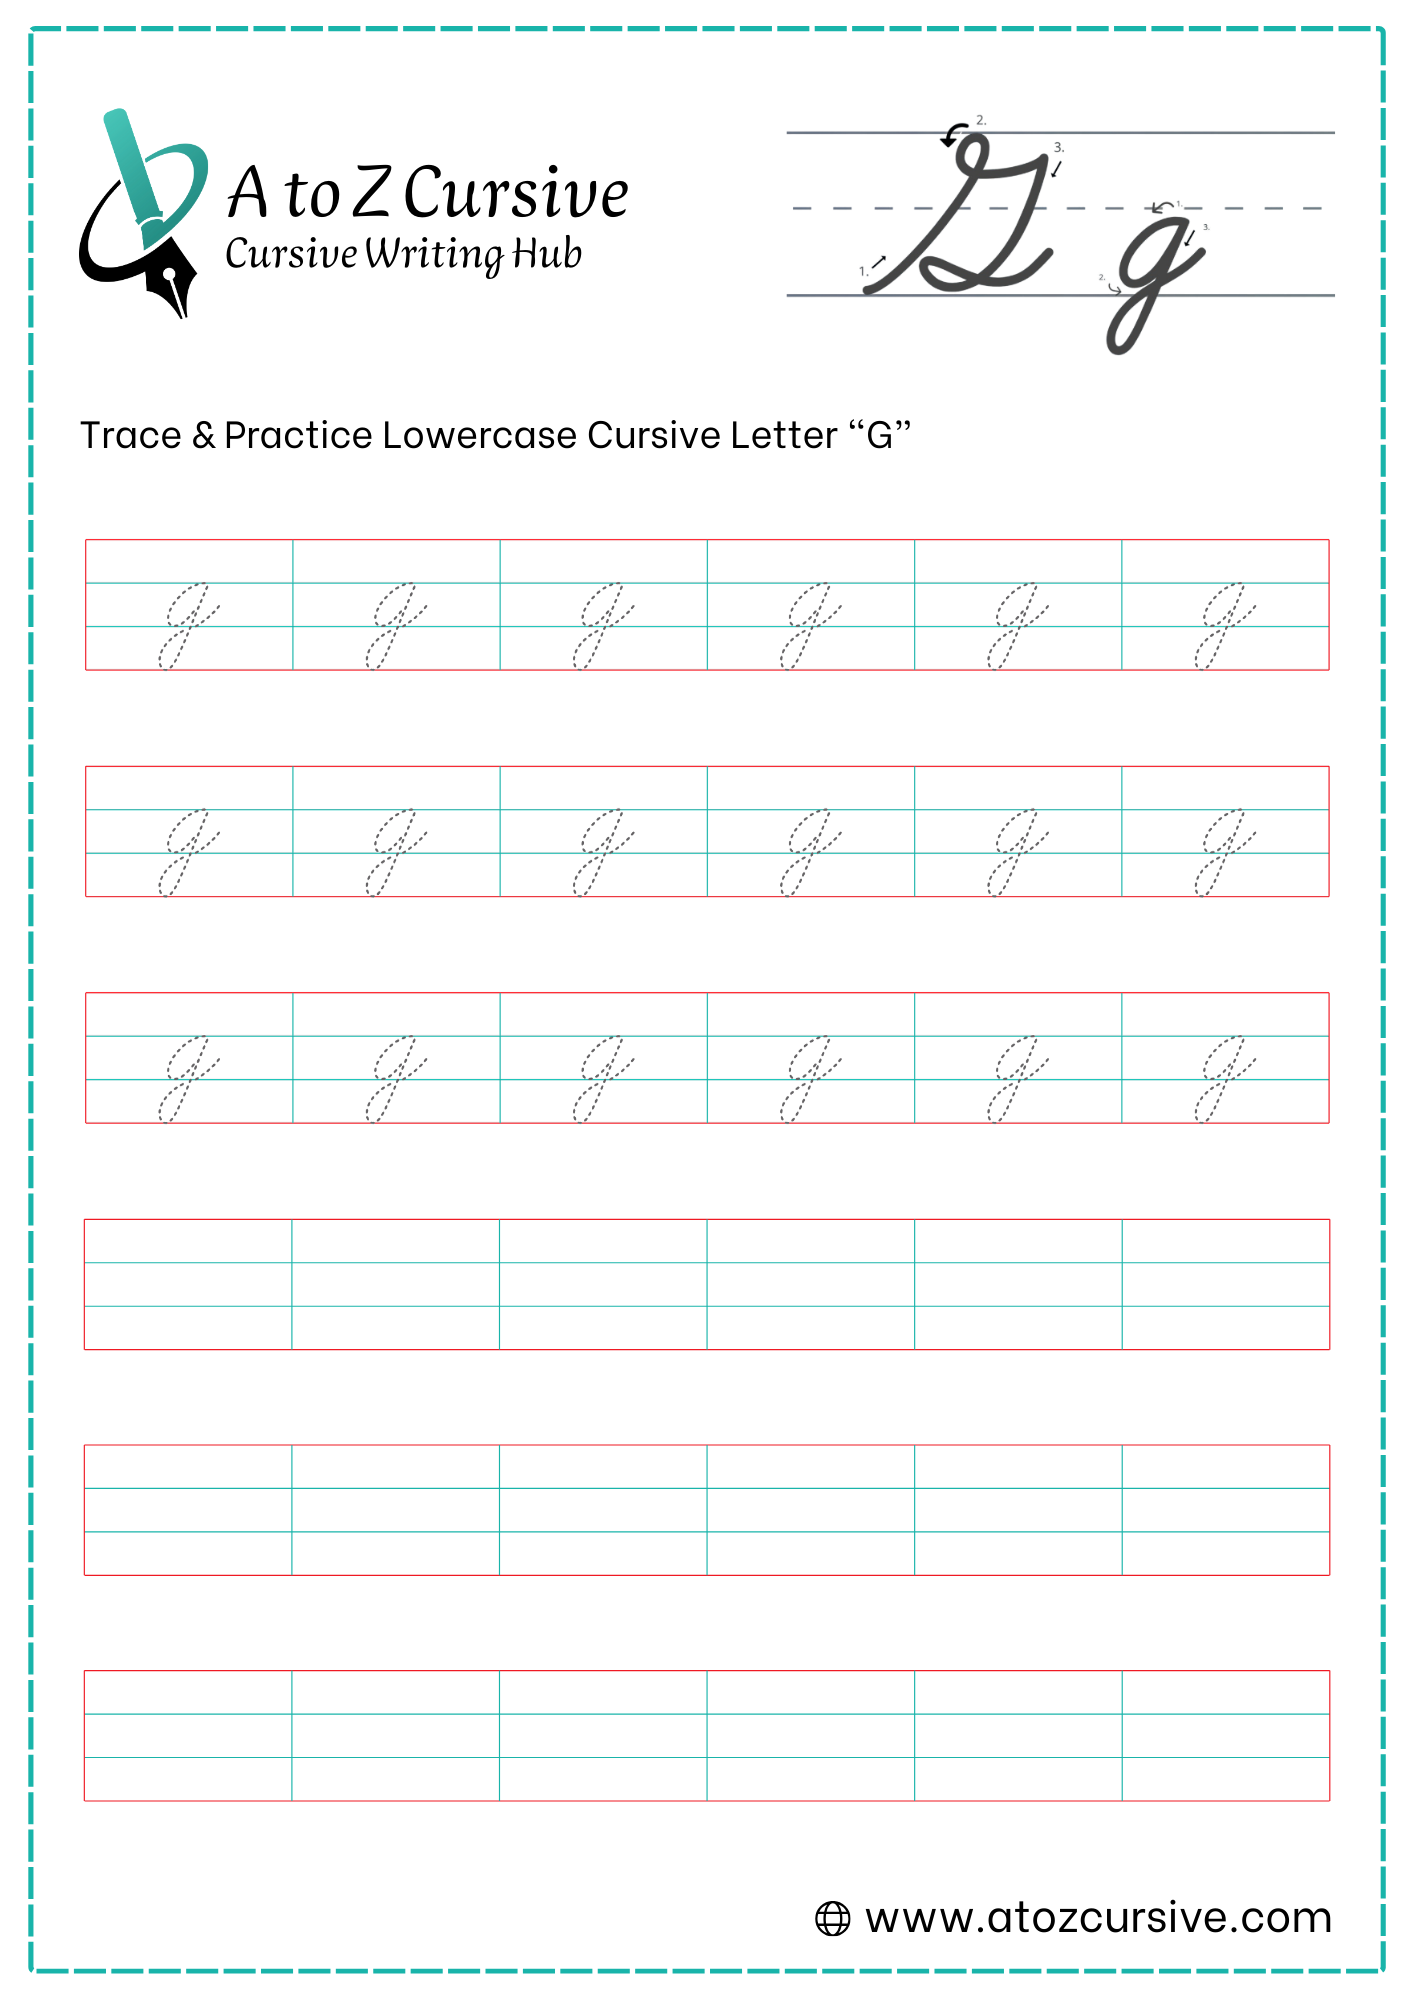
Lowercase Cursive G
-
Start at the bottom baseline. Curve upward and to the right toward the midline (just like you did for "a" and "d").
-
Curve back around to the left, touching the baseline to form a complete closed circle.
-
Without lifting your pen, draw a straight line down past the baseline into the "basement" (the space below the line).
-
Once you reach the bottom of your stem, curve the pen to the left.
-
Bring the curve back up and to the right, crossing the vertical stem exactly at the bottom baseline.
-
Continue the stroke upward and to the right to create your connector tail.
The Crossing Point: Aim to cross the stem right where it meets the baseline. If you cross too high or too low, the letter can look a bit messy.
Keep it Lean: A slight rightward slant will help the letter flow better into the next one.
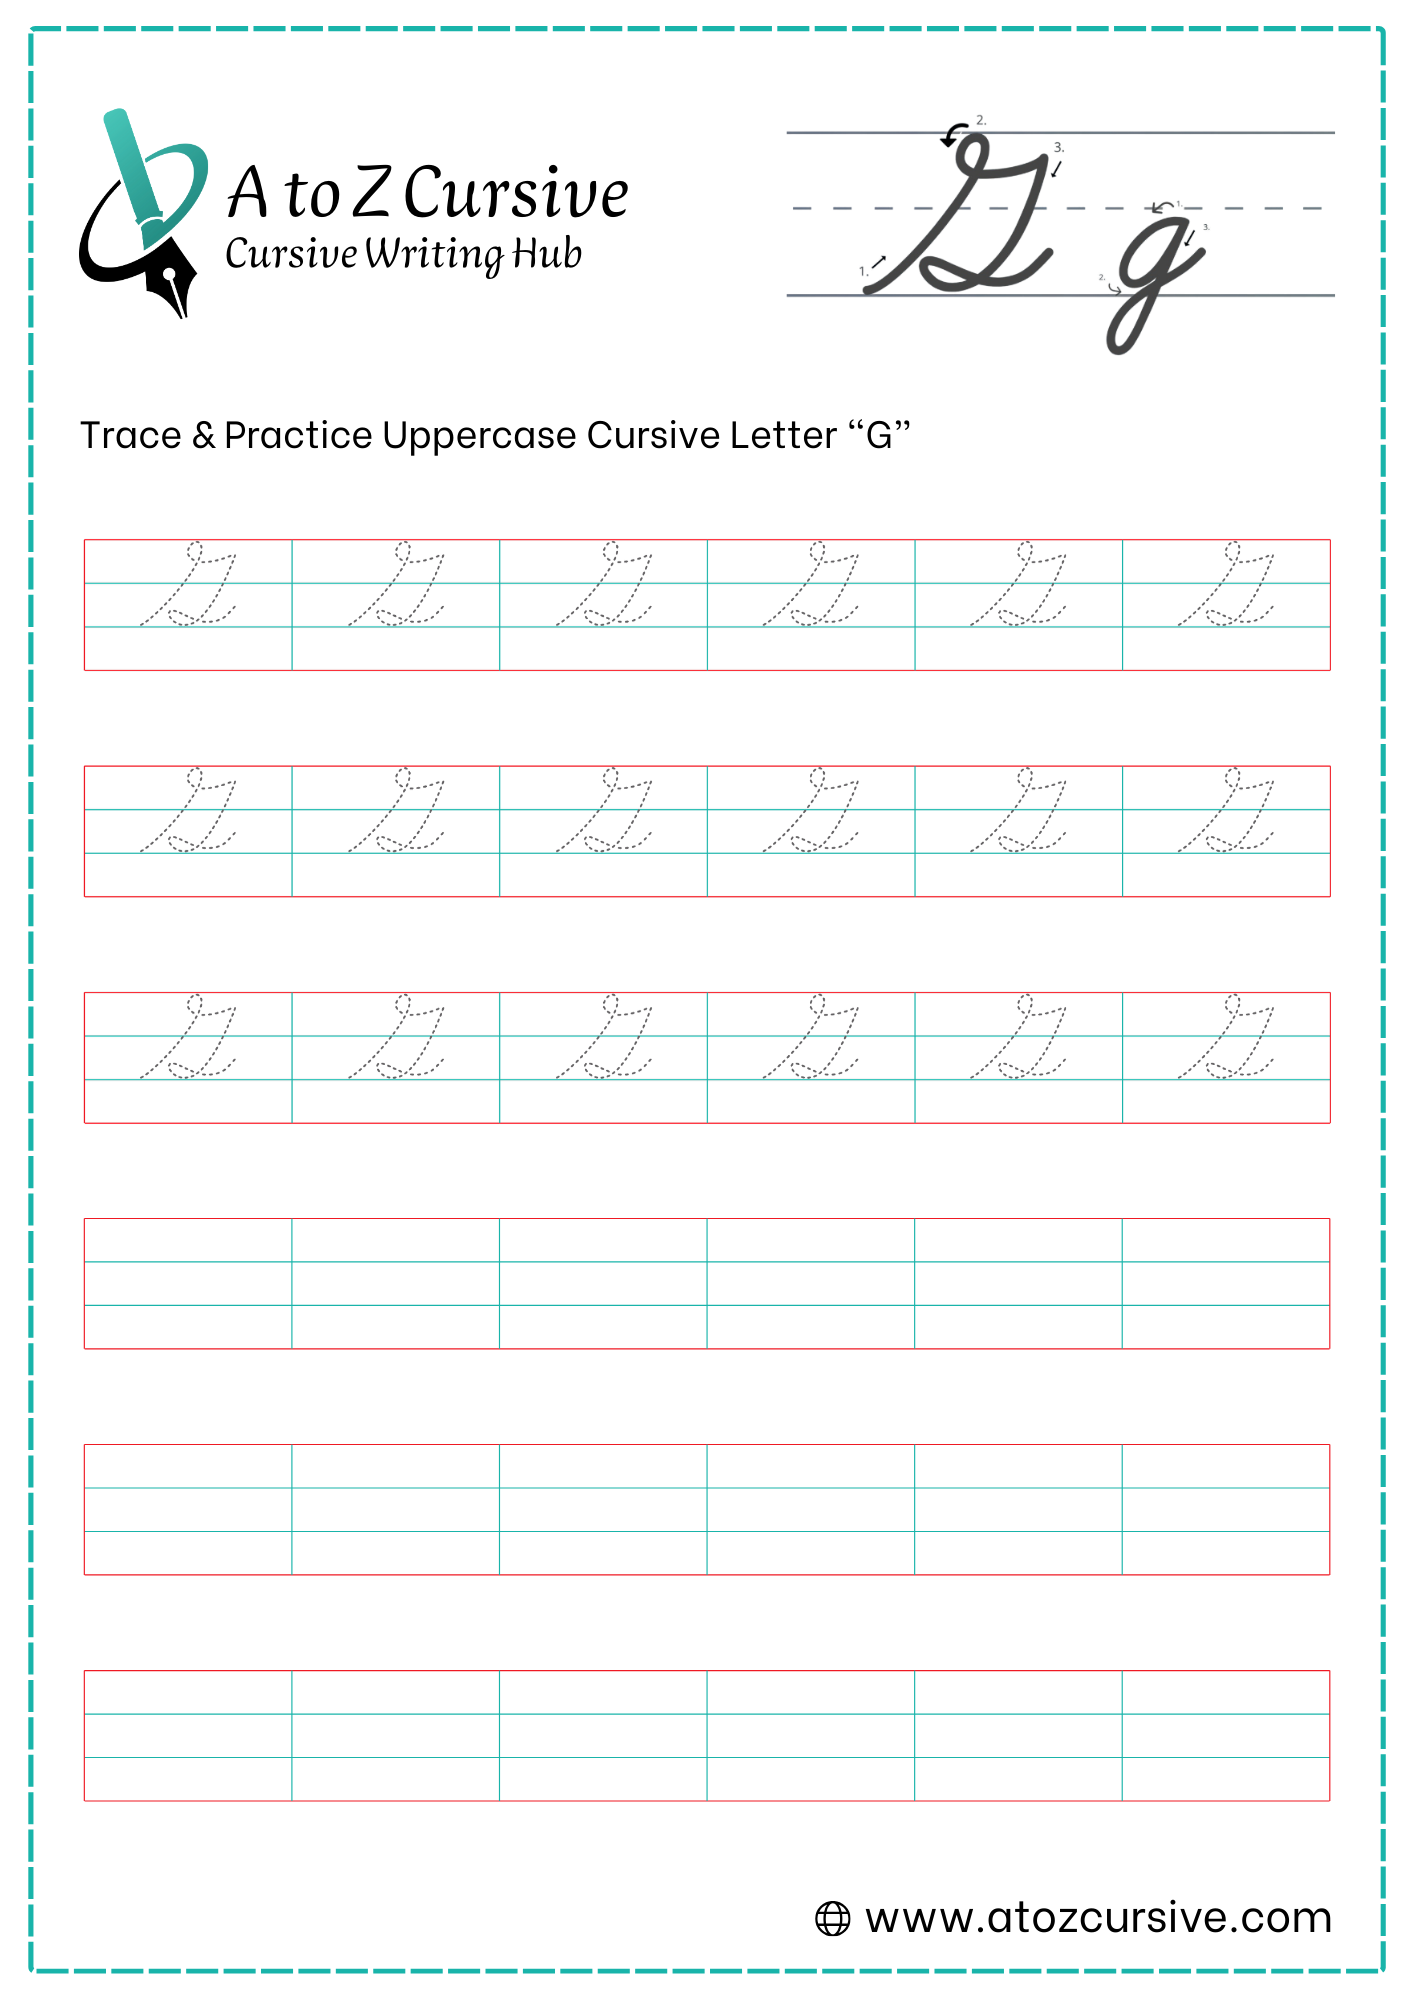
Uppercase Cursive G
-
Start at the bottom baseline. Sweep your pen all the way up to the top headline, then curve left and back down toward the midline to create a large, slanted loop.
-
As you come back down from the loop, make a sharp "point" or a small corner at the midline (middle dashed line).
-
From that point, pull your pen back to the right and then down toward the baseline, creating a shape that looks like a wide "C" or a hook.
-
Continue that hook straight down past the baseline into the "basement."
-
Curve to the left and swing back up. Cross the vertical stem at the baseline and flick out to the right.
The Starting Point: Unlike many capitals, this one starts at the bottom and travels up first.
The "Point" is Key: That sharp change of direction at the midline is what distinguishes a G from a cursive S.
Connecting: The Uppercase G is a connecting letter—its exit tail leads directly into the next lowercase letter (like in the name "George").
FAQs
Start at the baseline, curve upward to the midline, form a closed circle, extend the stem below the baseline, and finish with a connector tail.
Begin at the baseline, sweep up to the top line, create a large loop, draw a downward hook past the baseline, and finish with a rightward flick.
End the lowercase G with a smooth upward tail. Uppercase G can connect when starting the next word with a flowing stroke.
Start with tracing worksheets, follow step-by-step strokes, and practice regularly to build confidence and neat handwriting.
Daily practice, even for a few minutes, helps improve stroke flow, letter shape, and smooth connections.
Yes, practicing cursive G worksheets improves consistency, neatness, and confidence in writing all cursive letters.