- AtoZ Cursive
- Cursive B
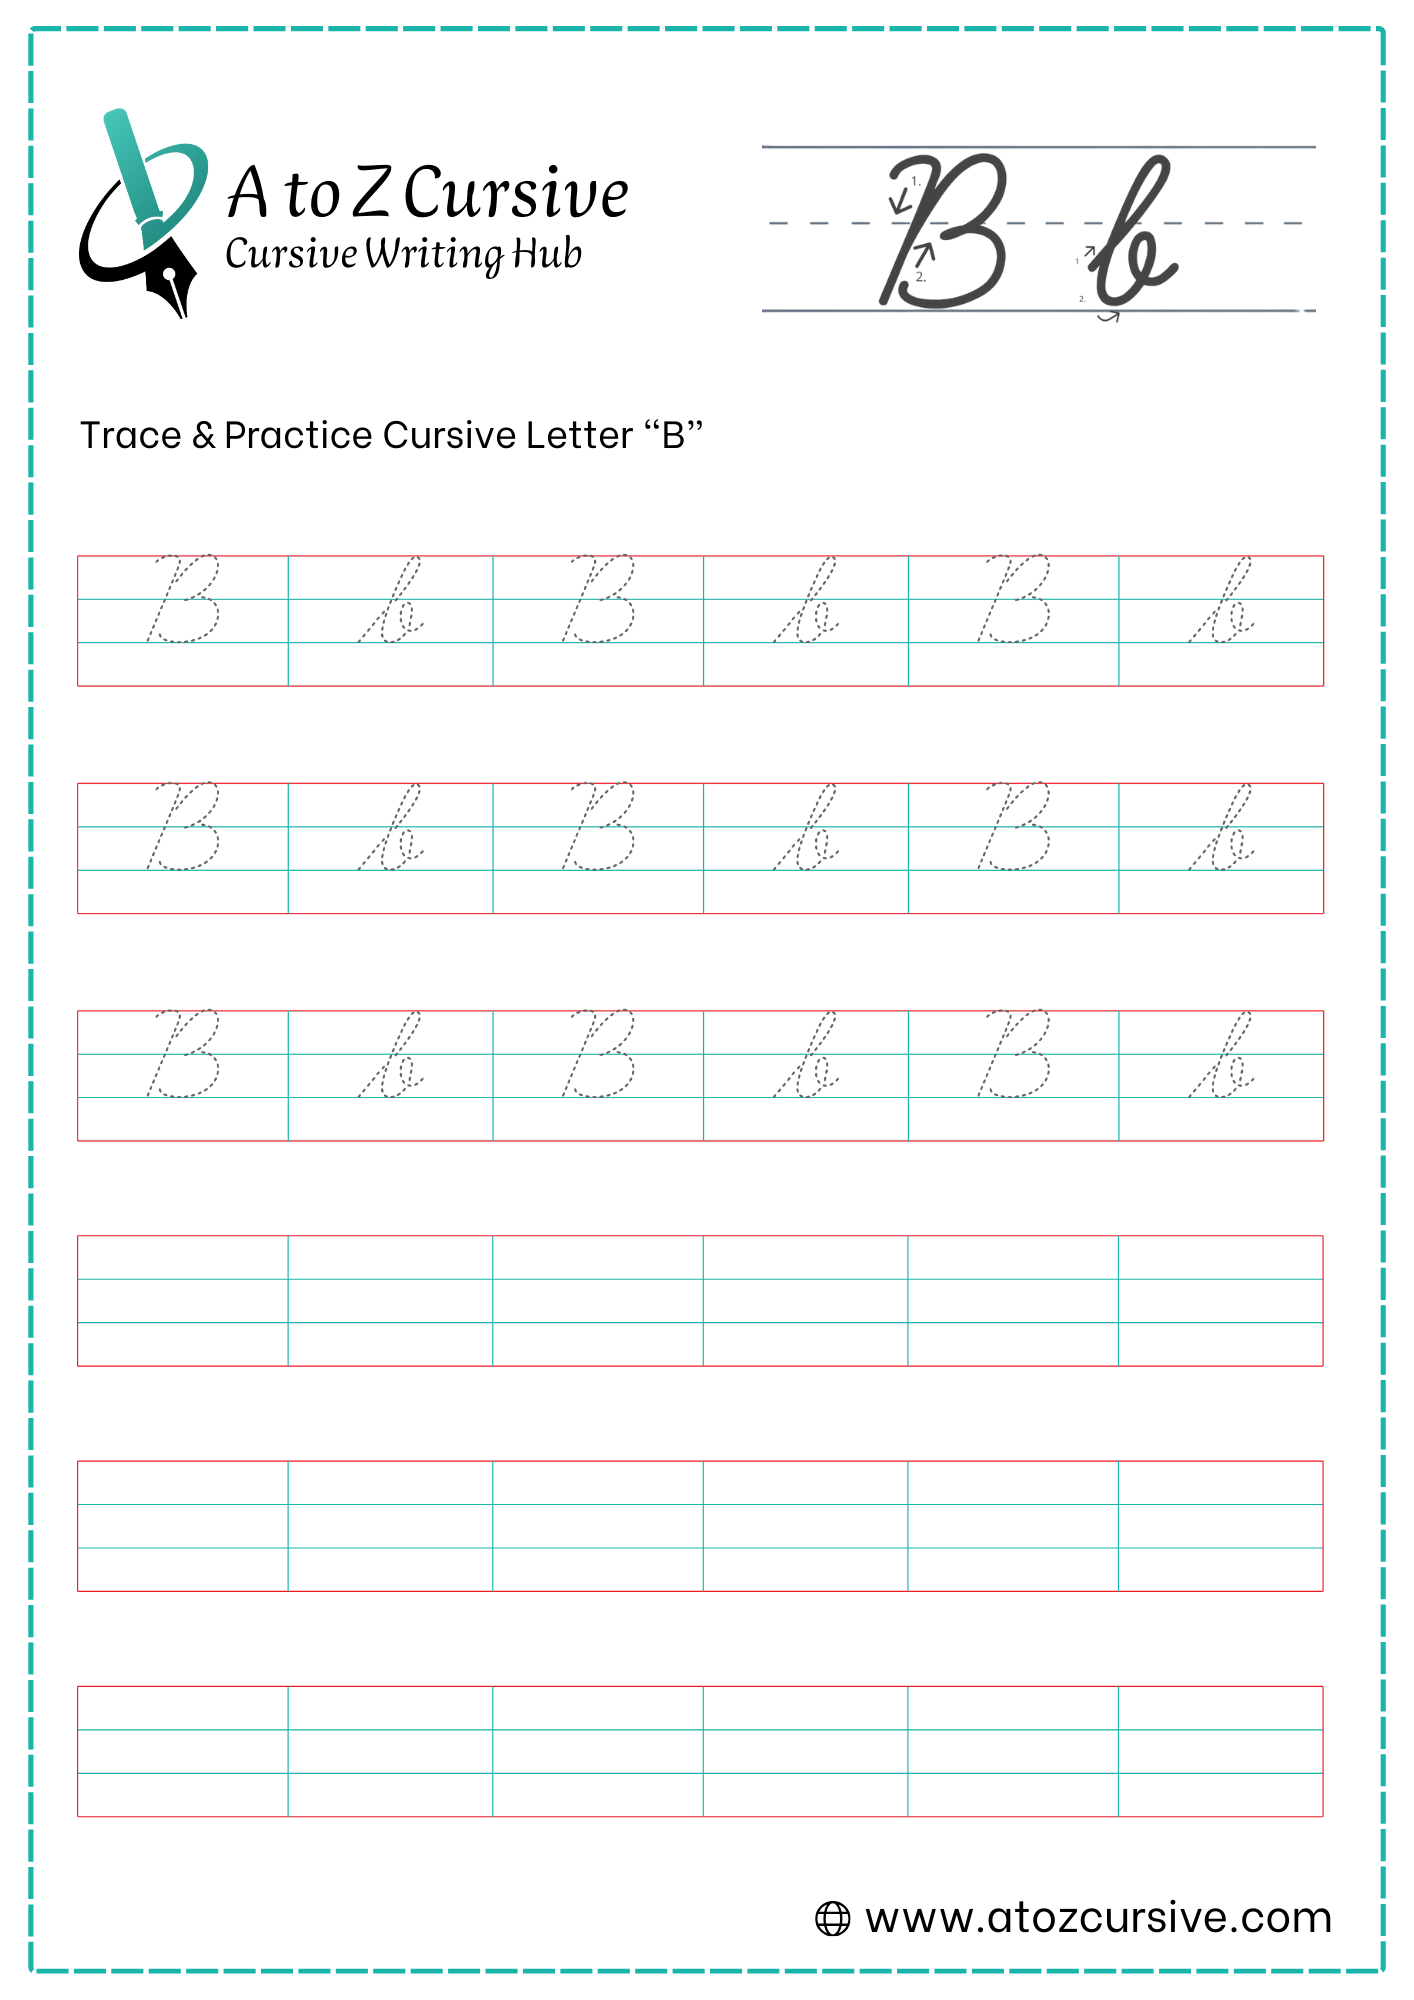
Cursive B: Tutorial & Printable Worksheets (Uppercase + Lowercase)
On this page, you’ll learn how to write the uppercase and lowercase cursive letter B step by step. You can also download free cursive B worksheets for tracing and practice.
How to Write B in Cursive
Writing B in cursive is easier when you follow the correct strokes. Learn how to write uppercase and lowercase cursive B.
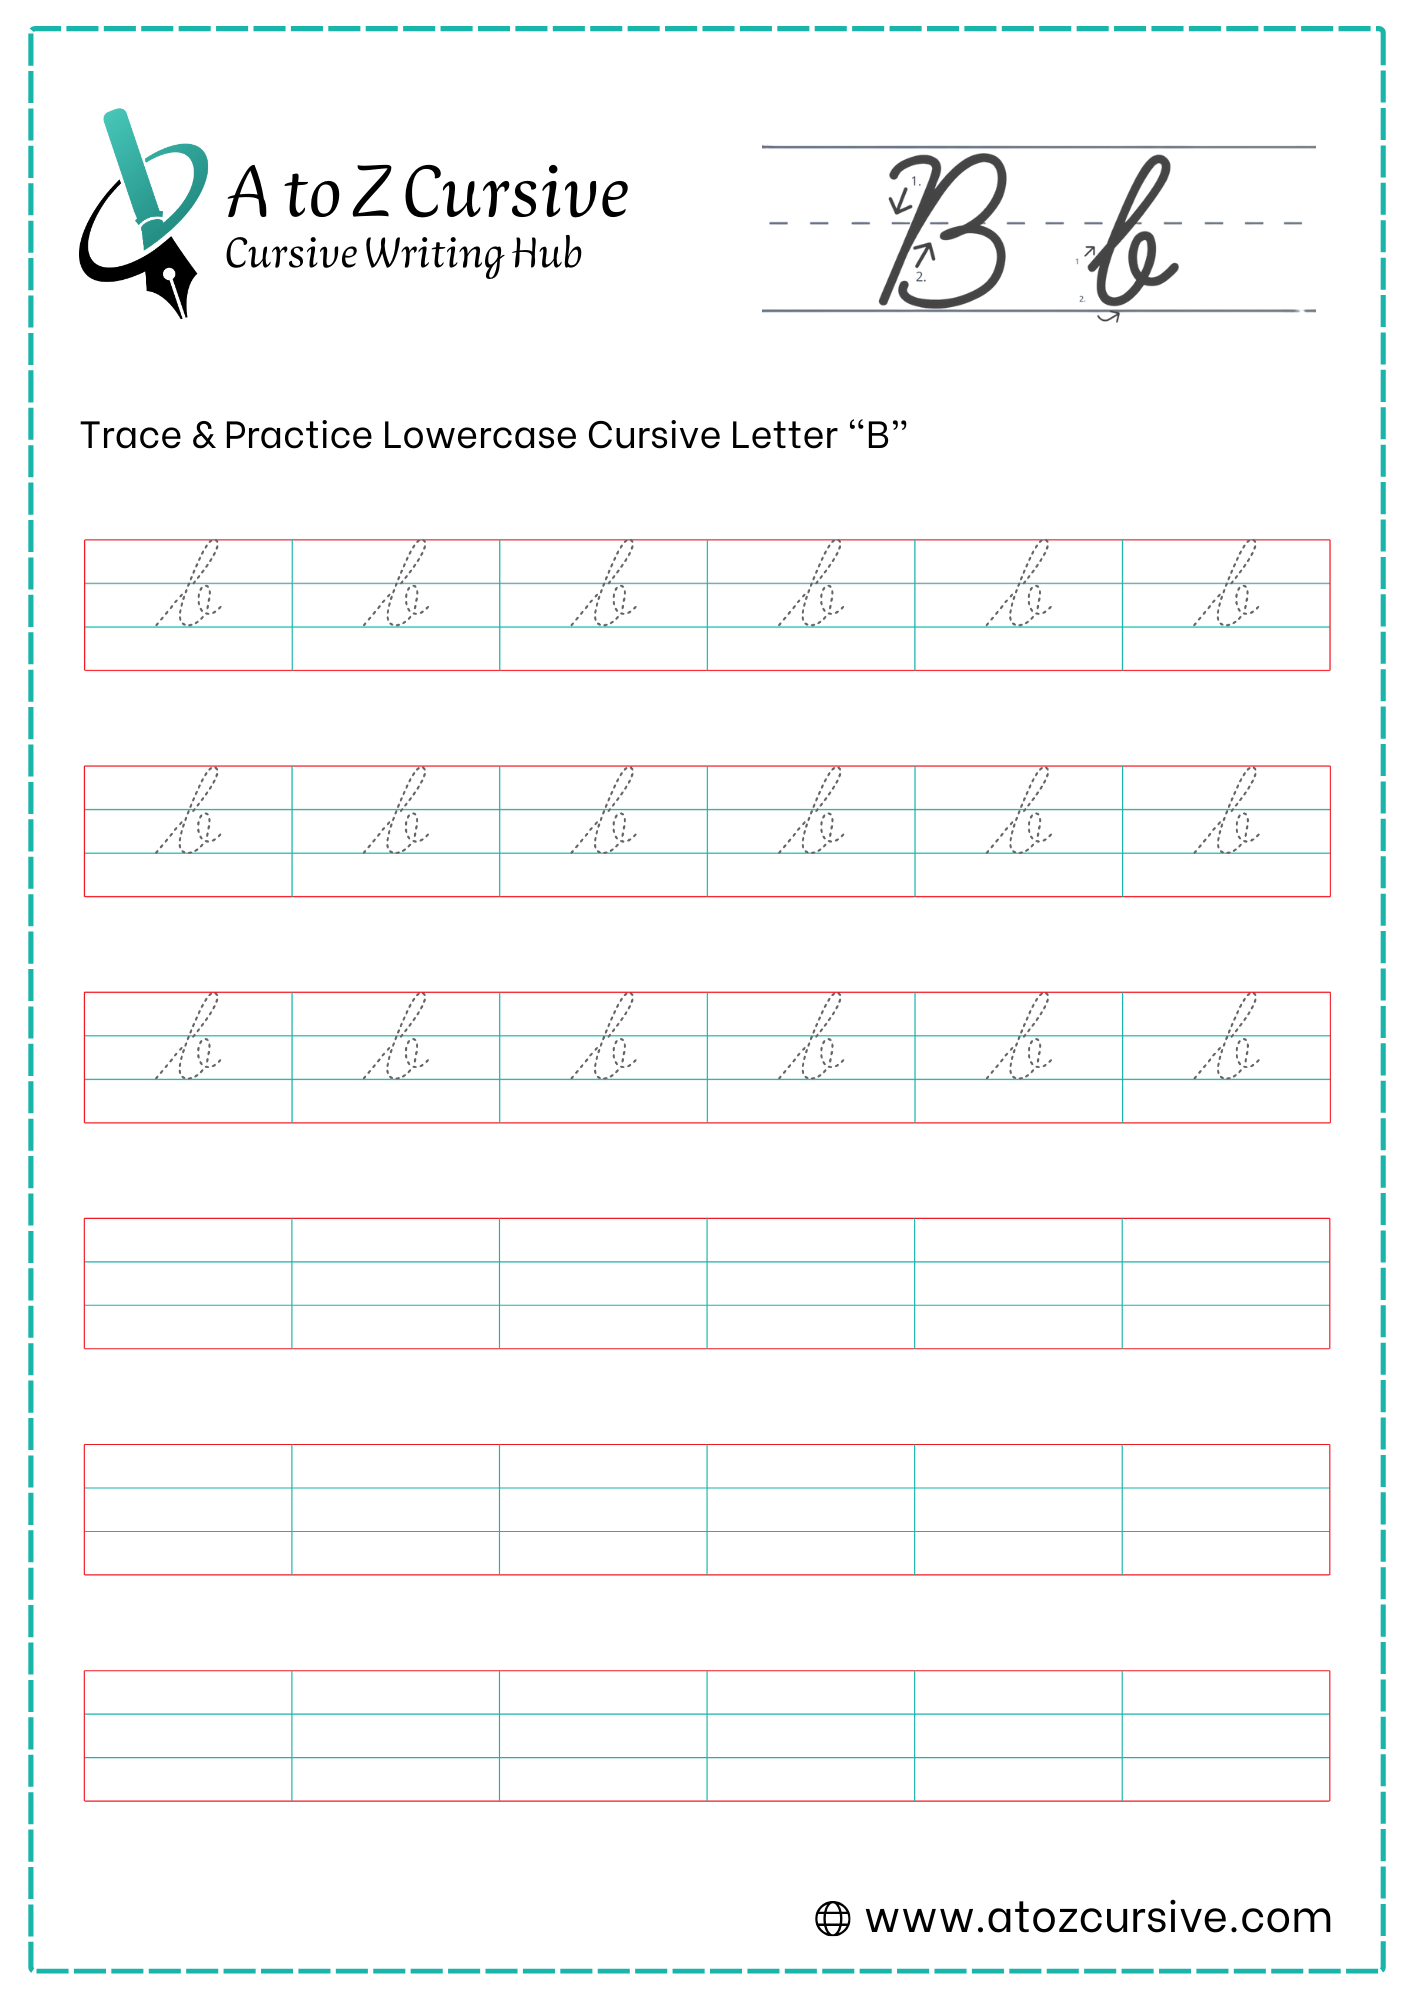
Lowercase Cursive B
-
Start at the bottom baseline. Sweep your pen up to the top baseline in a slanted curve.
-
At the top, make a sharp but rounded turn to the left and pull your pen straight down to the bottom baseline. This creates a long, thin loop.
-
Once you hit the baseline, curve back up to the midline (like you are drawing the bottom of a 'u').
-
When you reach the midline, finish with a tiny inward loop or a small horizontal "bridge" stroke to the right.
The Midline Exit: This is the most important part! Unlike 'a' or 'c,' the 'b' ends high. This means the next letter you write will start from the midline, not the bottom.
Avoid the "f" Look: Make sure you stop at the baseline. If you go below the line, your 'b' will start to look like a cursive 'f'.
Don't Squish the Loop: Keep the top loop open enough that you can see through it, but not so wide that it looks like a capital 'L'.
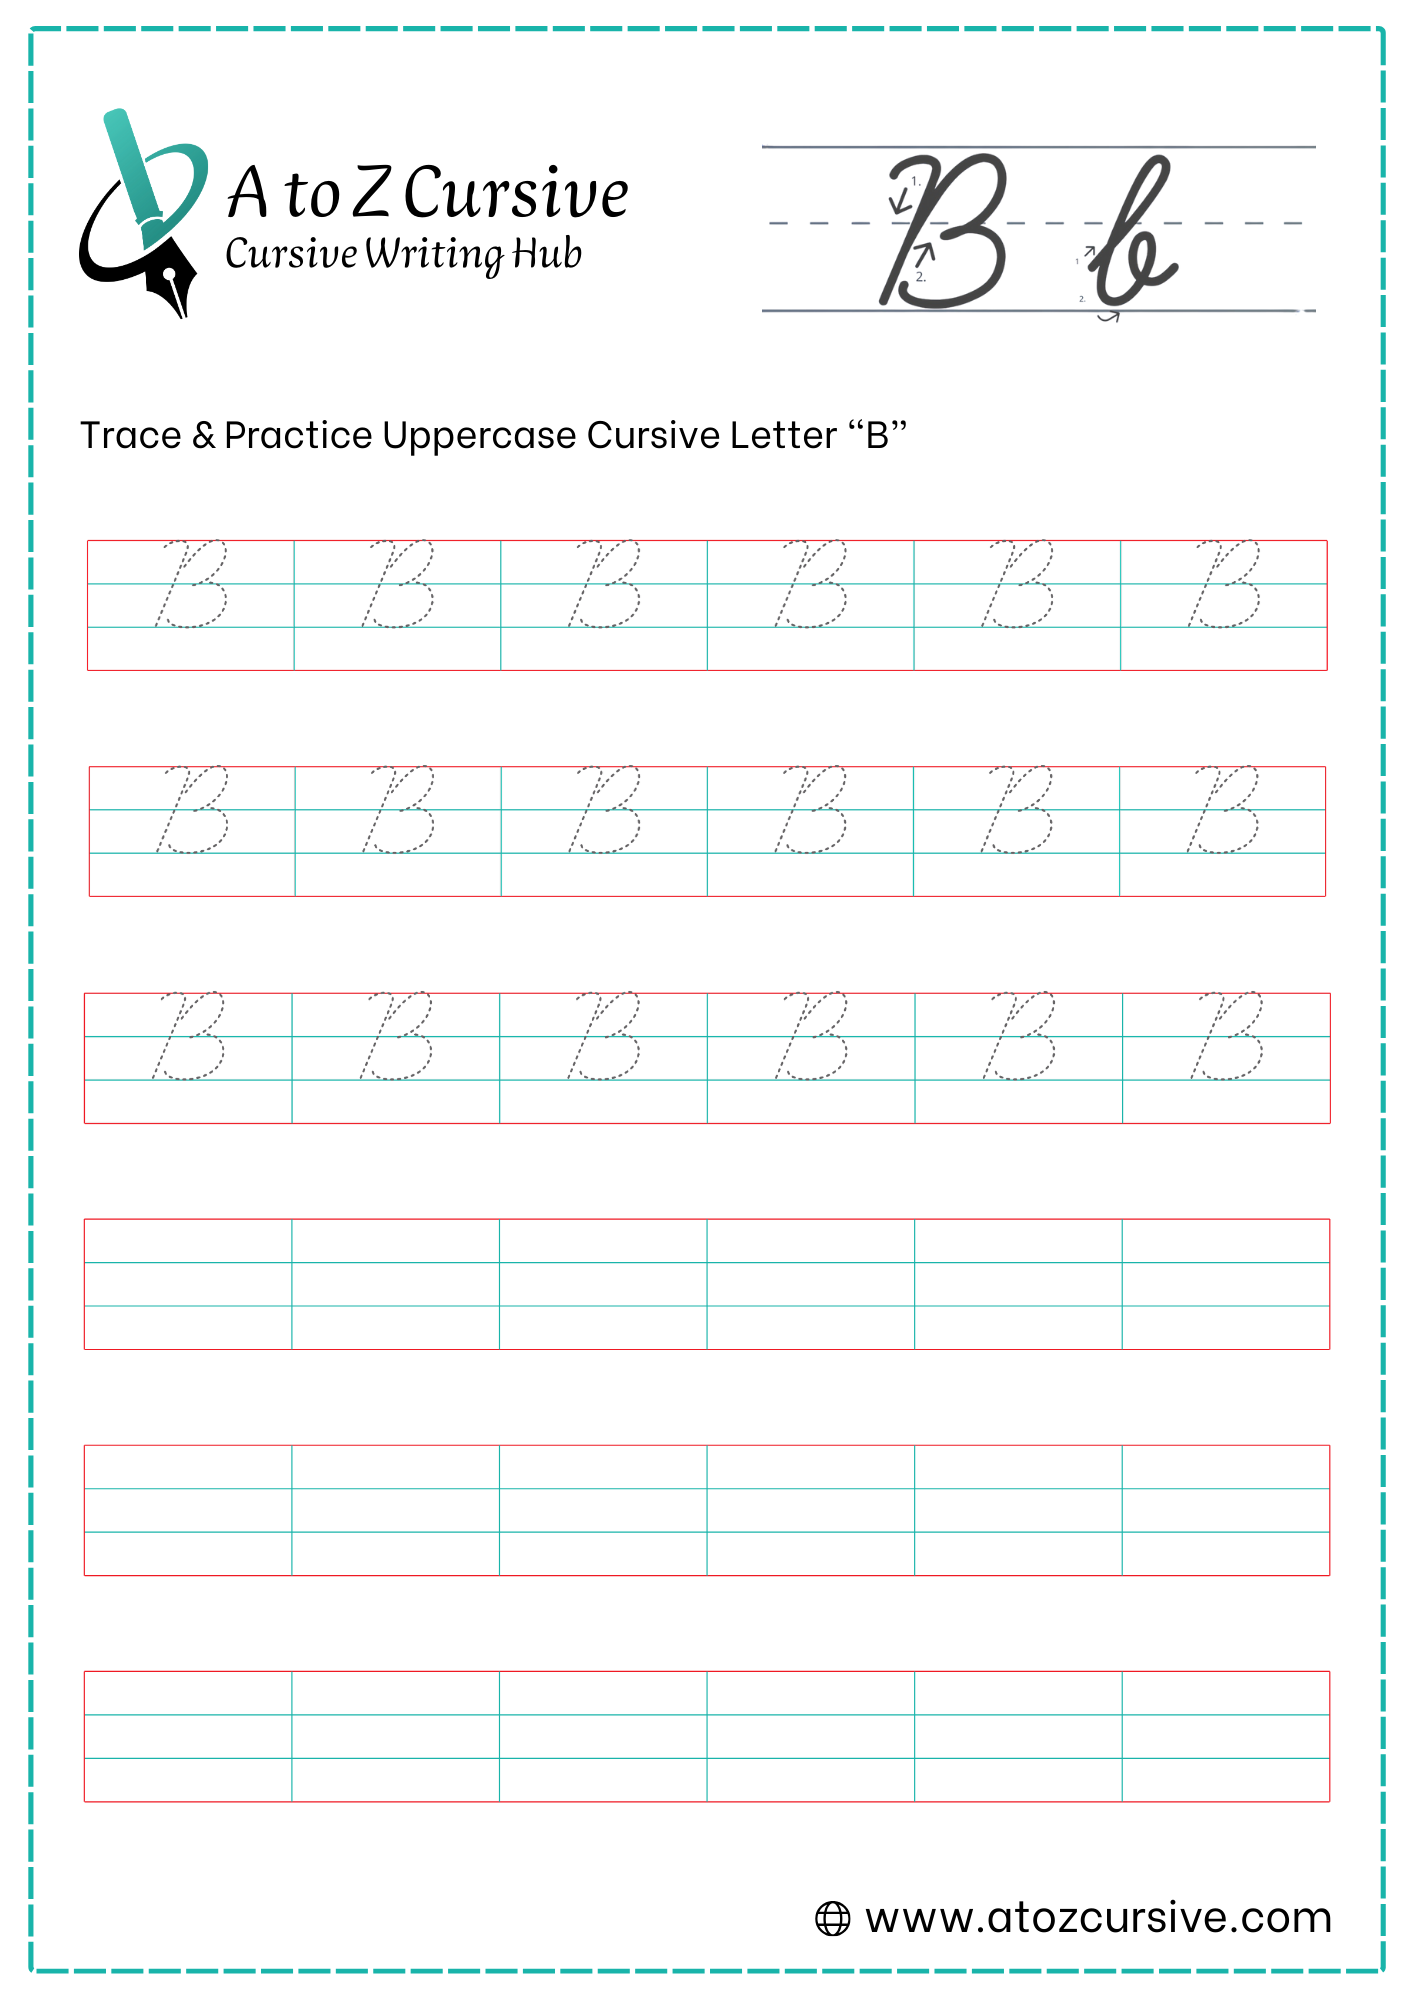
Uppercase Cursive B
-
Start at the top baseline. Draw a straight (but slightly slanted) line down to the bottom baseline.
-
Without lifting your pen, retrace back up that same line. As you approach the top, start to curve out to the right.
-
Sweep a rounded curve out and around, touching the top baseline, and bring it back in to meet the stem at the midline.
-
At the midline, make a tiny loop (a knot) where the top and bottom bubbles meet.
-
Curve out again to the right to create a slightly larger bottom bubble. Touch the bottom baseline.
-
End with a small upward curl toward the left, or a slight flick to the right if you intend to connect it.
Size Balance: The bottom bubble should usually be slightly wider or "heavier" than the top bubble to give the letter a stable, grounded look.
To Connect or Not?: In traditional cursive, the capital "B" often does not connect to the next letter. You finish the curl and start the next letter fresh. However, in modern styles, you can extend the bottom flick to meet the next letter.
The Retrace: Make sure your retrace (Step 2) is clean. If you stray too far from the original downward line, the letter can look bulky.
FAQs
Start at the baseline, make an upward stroke to the top line, curve down to the baseline, add a small right loop, and finish with an exit stroke.
Start at the top line, draw a straight line down to the baseline, create a large top loop, a smaller bottom loop, and finish with a smooth exit stroke.
Practice slowly, follow proper stroke order, use lined worksheets, and repeat daily to improve consistency and flow.
Cursive is less taught in schools today, so many younger people haven’t learned it, making it harder to read or write.
Yes! Free printable worksheets are available for both lowercase and uppercase cursive B to help you trace and practice easily.