- AtoZ Cursive
- Cursive E
Cursive E: Tutorial & Printable Worksheets (Uppercase + Lowercase)
On this page, you will learn how to write the uppercase and lowercase cursive E. Download free printable cursive E worksheets for tracing, practice, and improving your cursive handwriting skills step by step.
How to Write E in Cursive
Writing cursive E is simple and fun! Follow smooth, flowing strokes to form both uppercase and lowercase letters neatly.
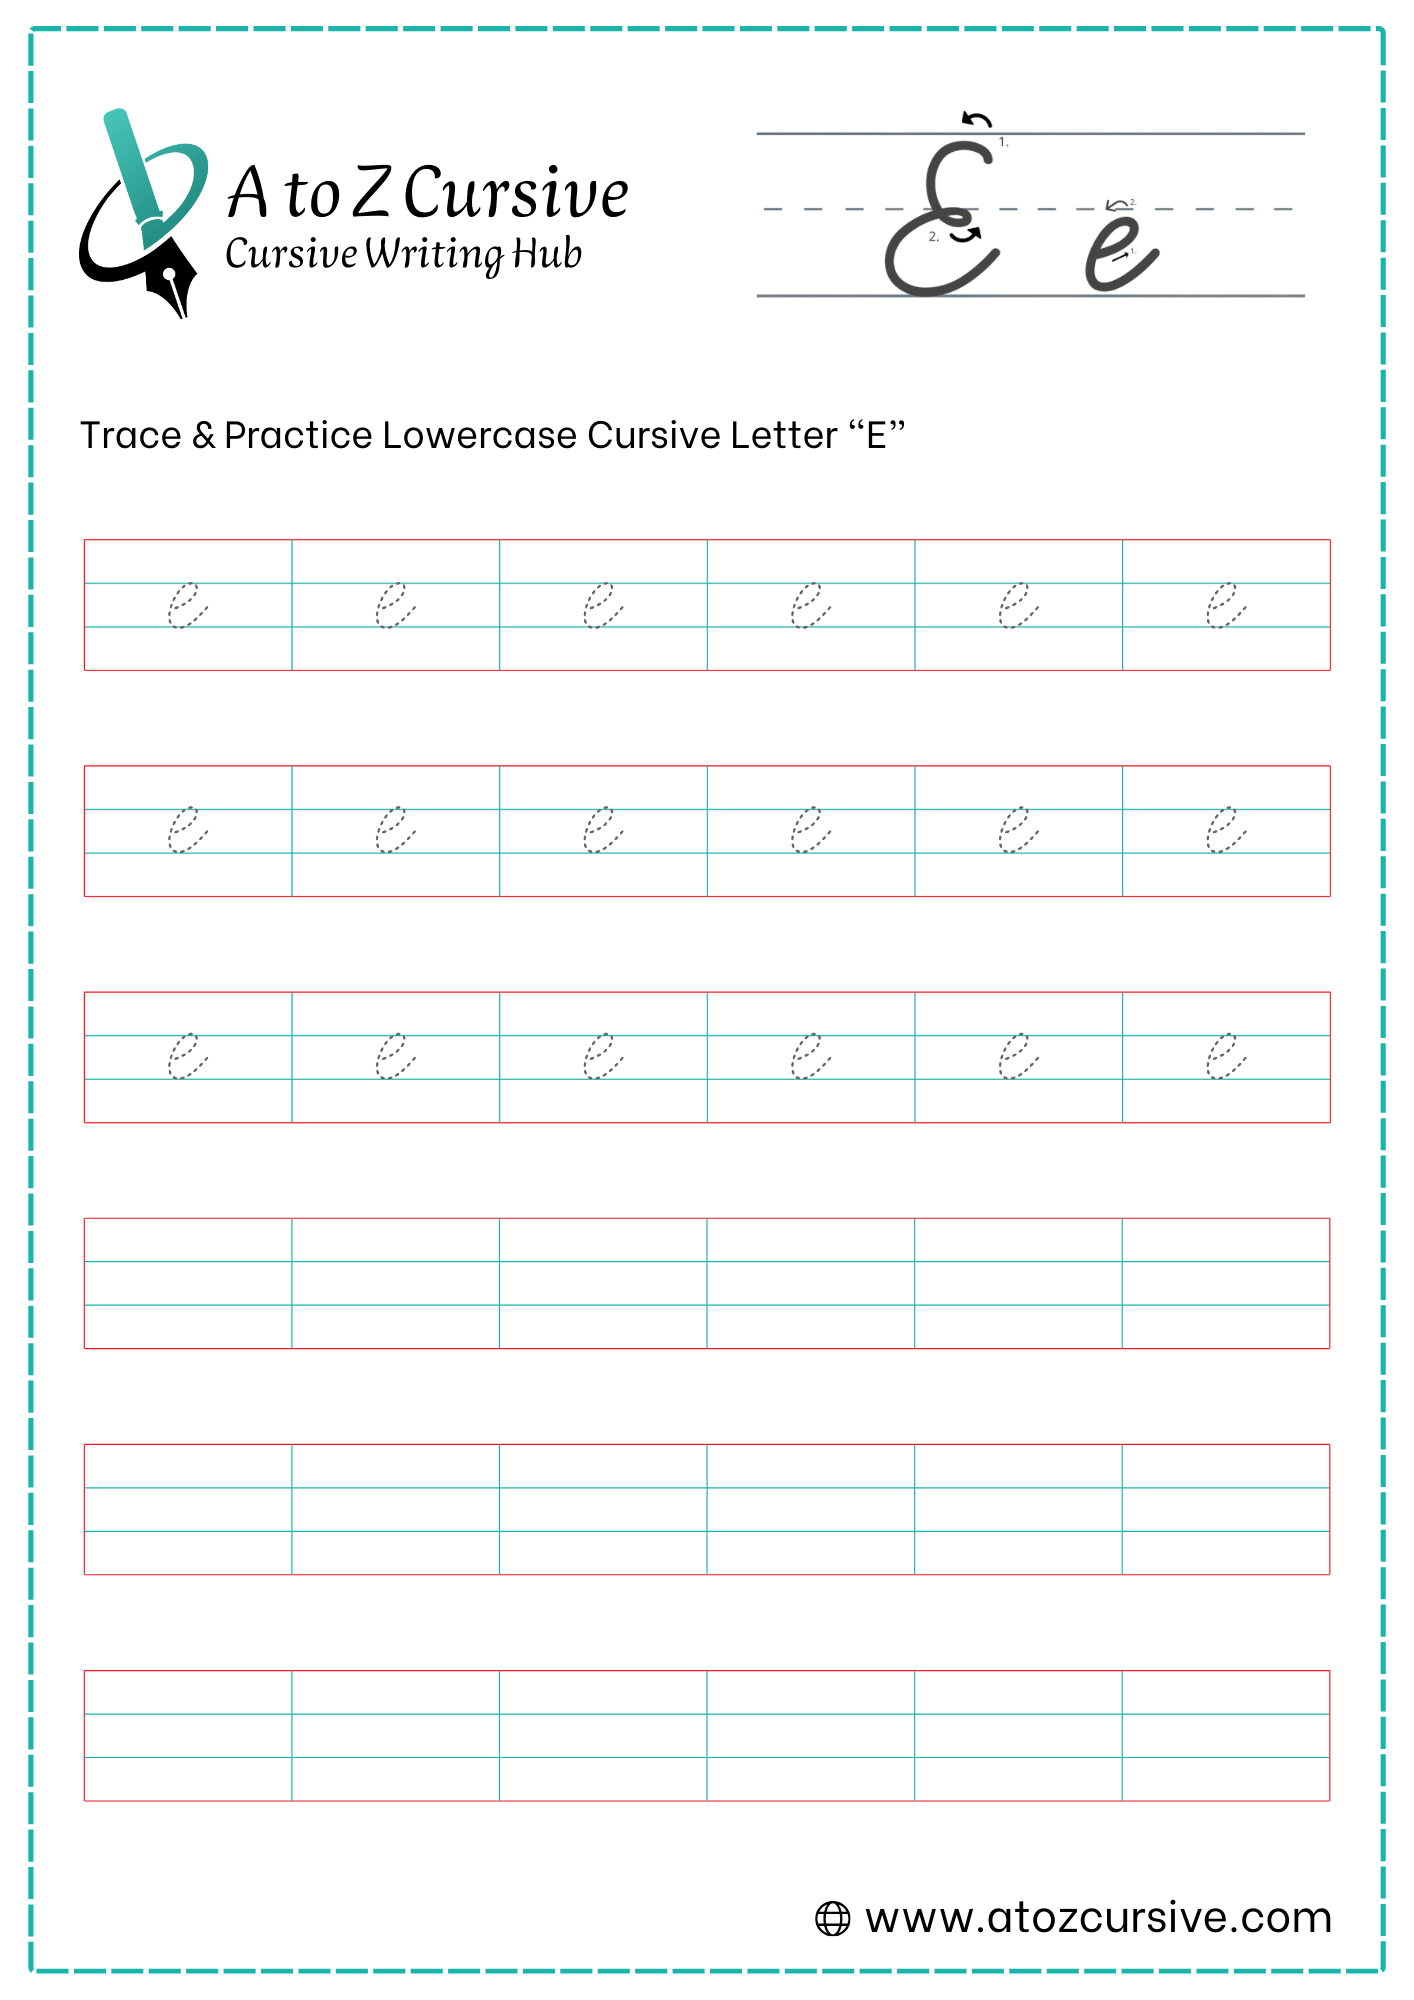
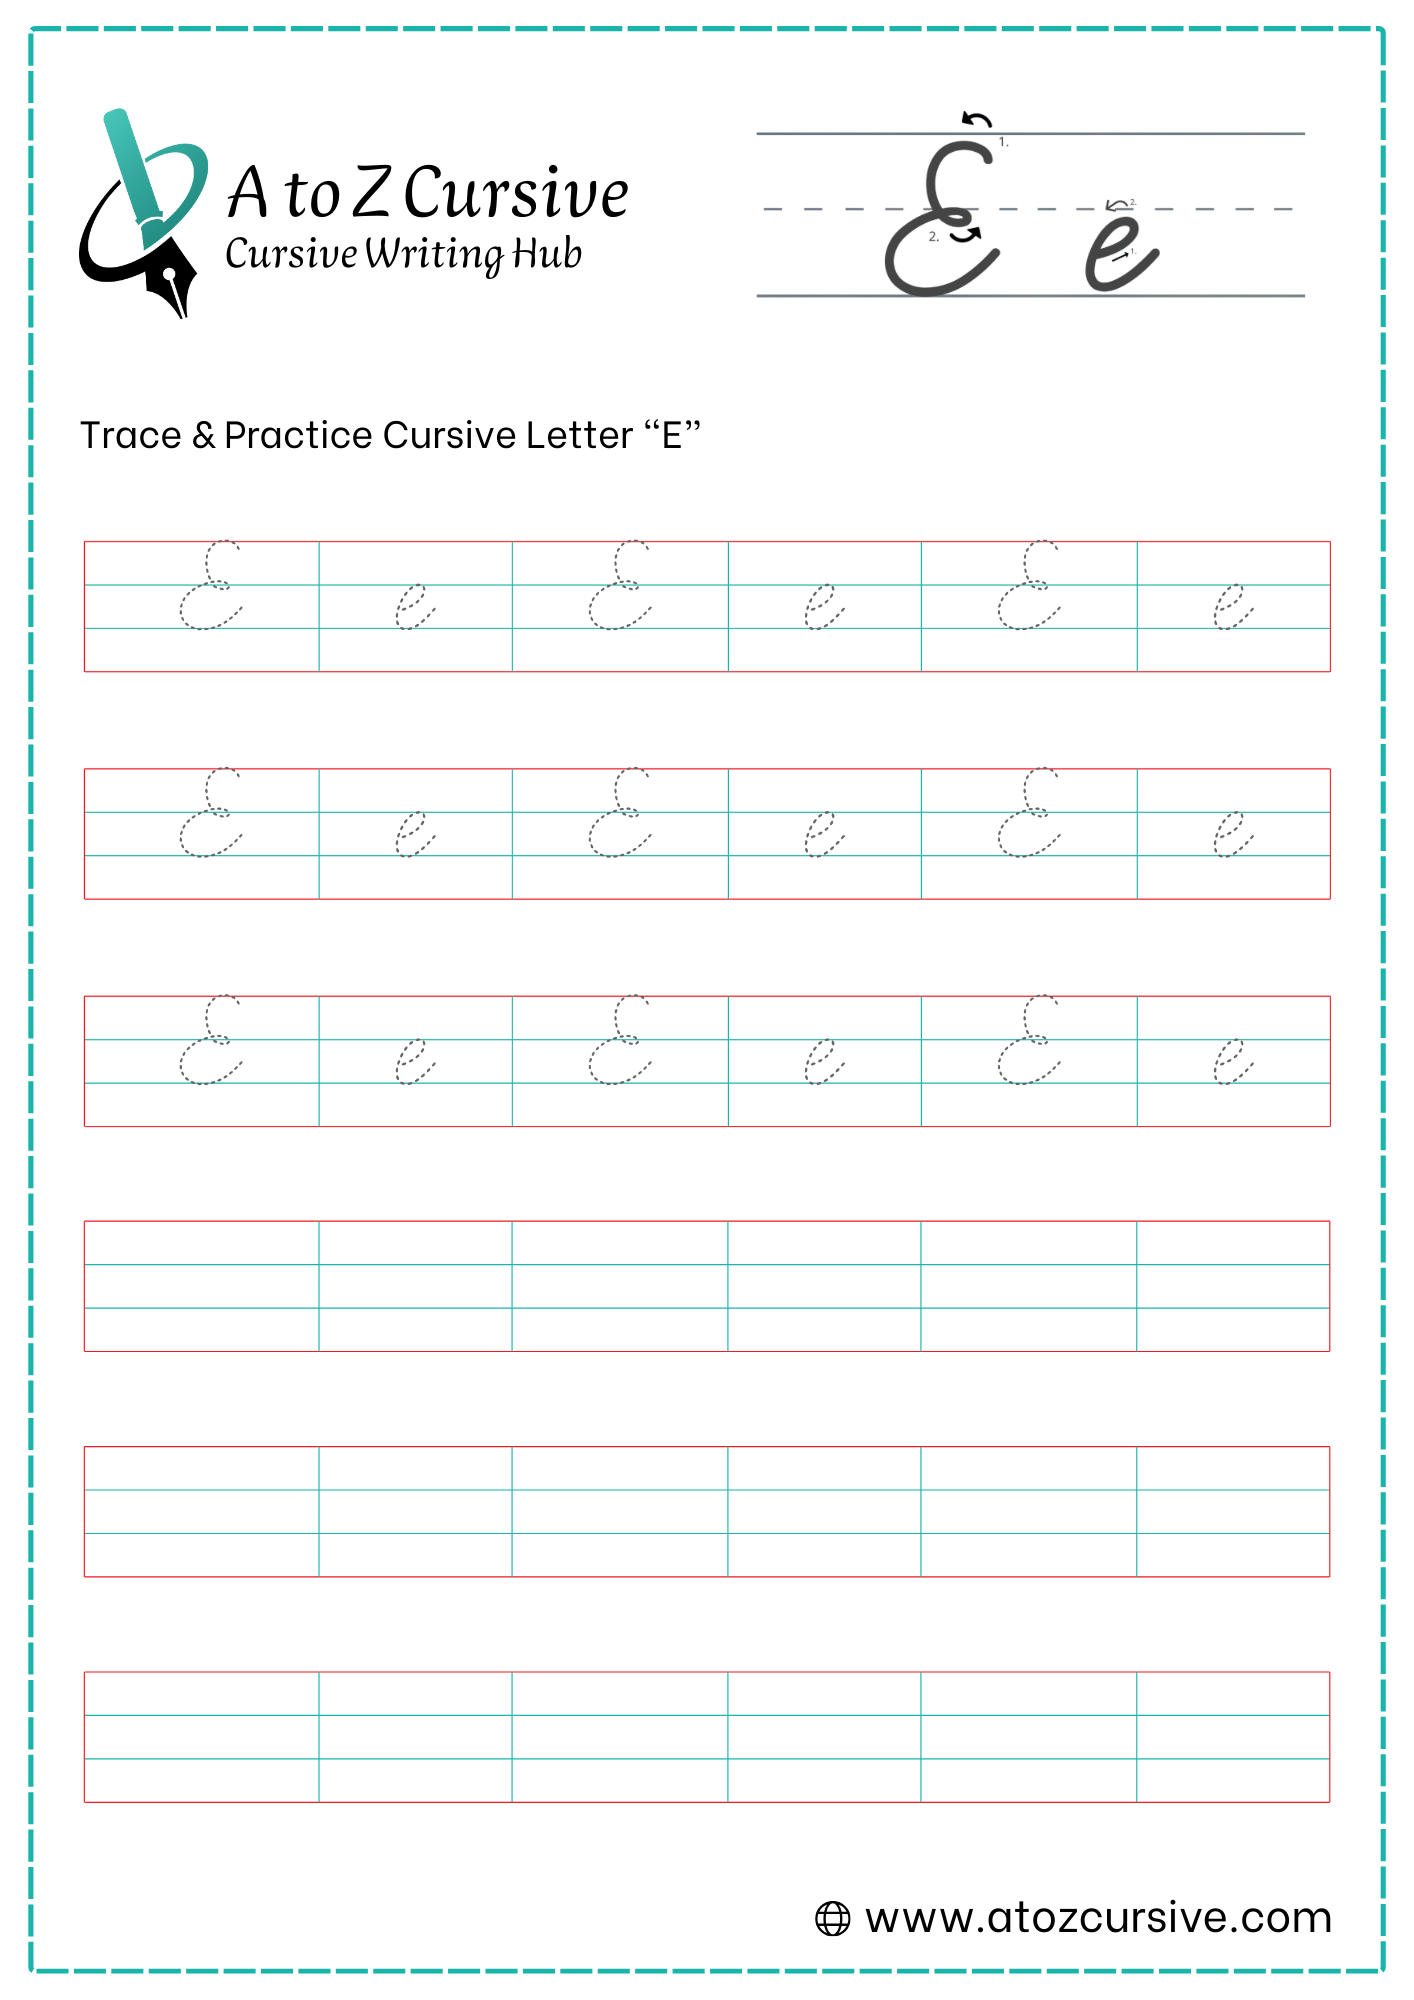
Lowercase Cursive E
-
Place your pen on the bottom baseline. Draw a diagonal line curving gently upward and forward (to the right).
-
As you reach the midline (the halfway point), begin to curve your pen toward the left, forming the top of the loop.
-
Continue the curve downward. Your pen should cross over the first line you drew just slightly above the bottom baseline.
-
Gently touch the bottom baseline with a rounded curve to finish the "belly" of the letter.
-
Finish by sweeping the pen back up toward the midline. This "tail" is essential for joining the e to the next letter in a word.
The Eye: Ensure there is a small "eye" (open space) in the center of the loop so it doesn't look like a single solid line.
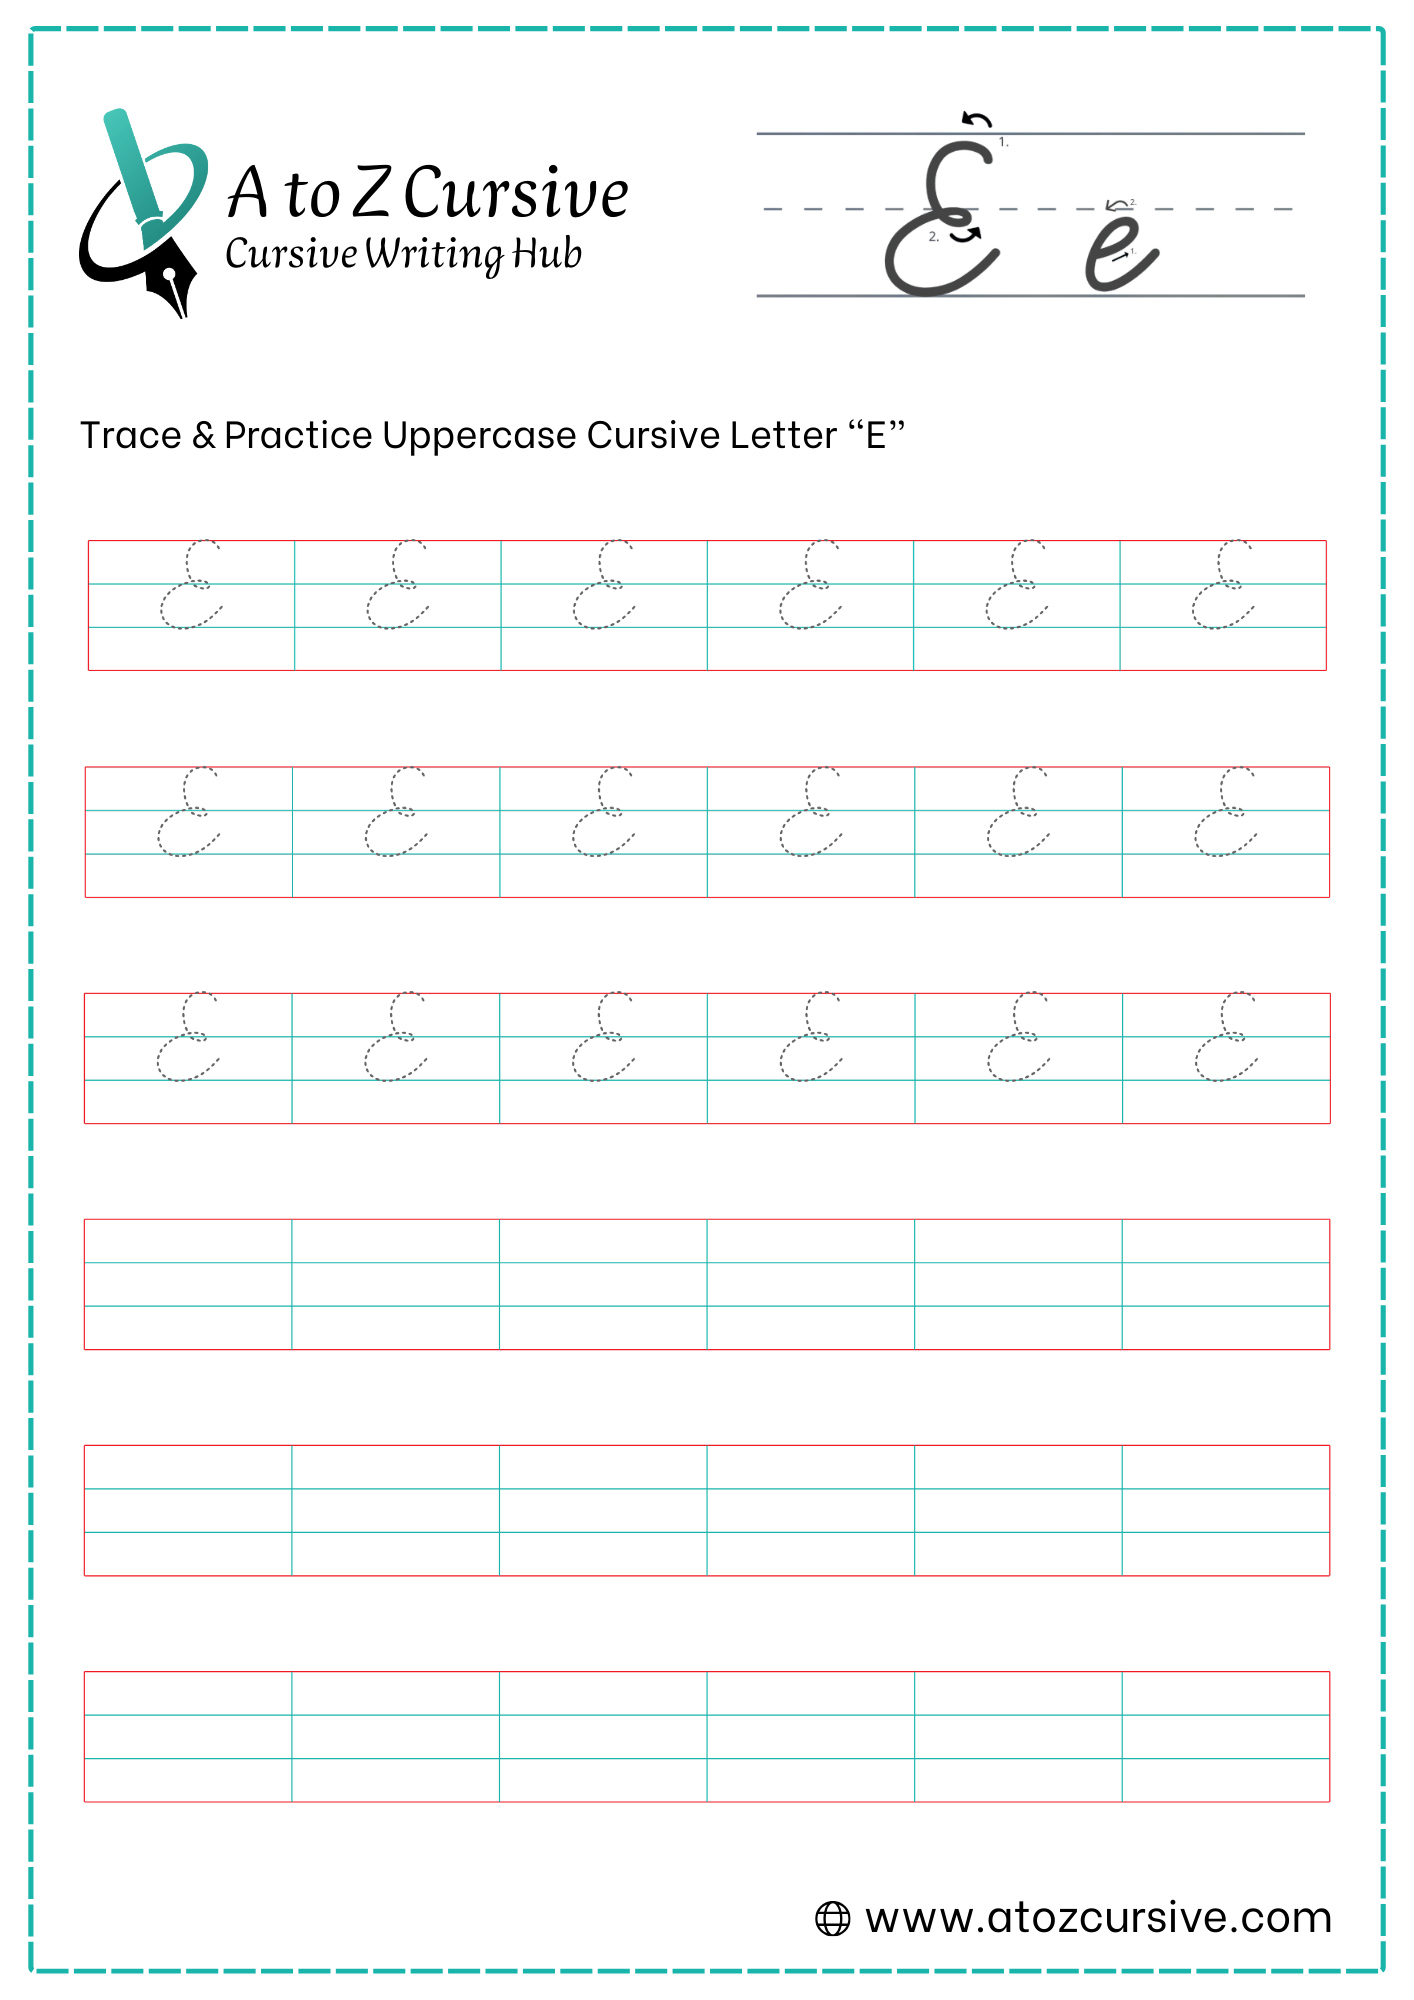
Uppercase Cursive E
-
Start just below the top headline. Curve up to touch the line, then swing around to the left and back toward the middle (midline).
-
As you reach the midline, make a small, tight loop that wraps around the center point.
-
From that middle loop, swing back out to the left and curve down to touch the bottom baseline.
-
Curve back up slightly from the baseline and flick to the right.
Balance: The top loop is usually slightly smaller than the bottom loop to give the letter a stable, grounded look.
The "3" Trick: If you are struggling, try drawing a large, fancy number 3 backwards.
Connecting: Unlike the capital D, the capital E is a "connecting" capital; the tail at the end is designed to lead directly into the next lowercase letter.
FAQs
To write a lowercase cursive E, start at the baseline, curve up toward the midline, loop smoothly, and finish with a tail to connect the next letter.
Begin near the top line, curve upward, form a small loop at the midline, then curve down to the baseline and finish with a rightward flick.
Yes, AtoZ Cursive offers free printable cursive E worksheets available for tracing, guided practice, and independent handwriting practice.
End the cursive E with a gentle upward tail toward the midline. This helps connect E smoothly to the next letter in a word.
The easiest way is to start with cursive alphabet worksheets, follow step-by-step strokes, and practice daily using smooth, curved motions.
Avoid sharp angles, tight loops, and lifting your pen too often. Keep strokes smooth and rounded for neat cursive writing.
Yes, practicing cursive E worksheets helps improve letter shape, writing flow, and overall handwriting neatness.
Daily practice, even for a few minutes, helps build muscle memory and makes cursive E writing easier and smoother.