- AtoZ Cursive
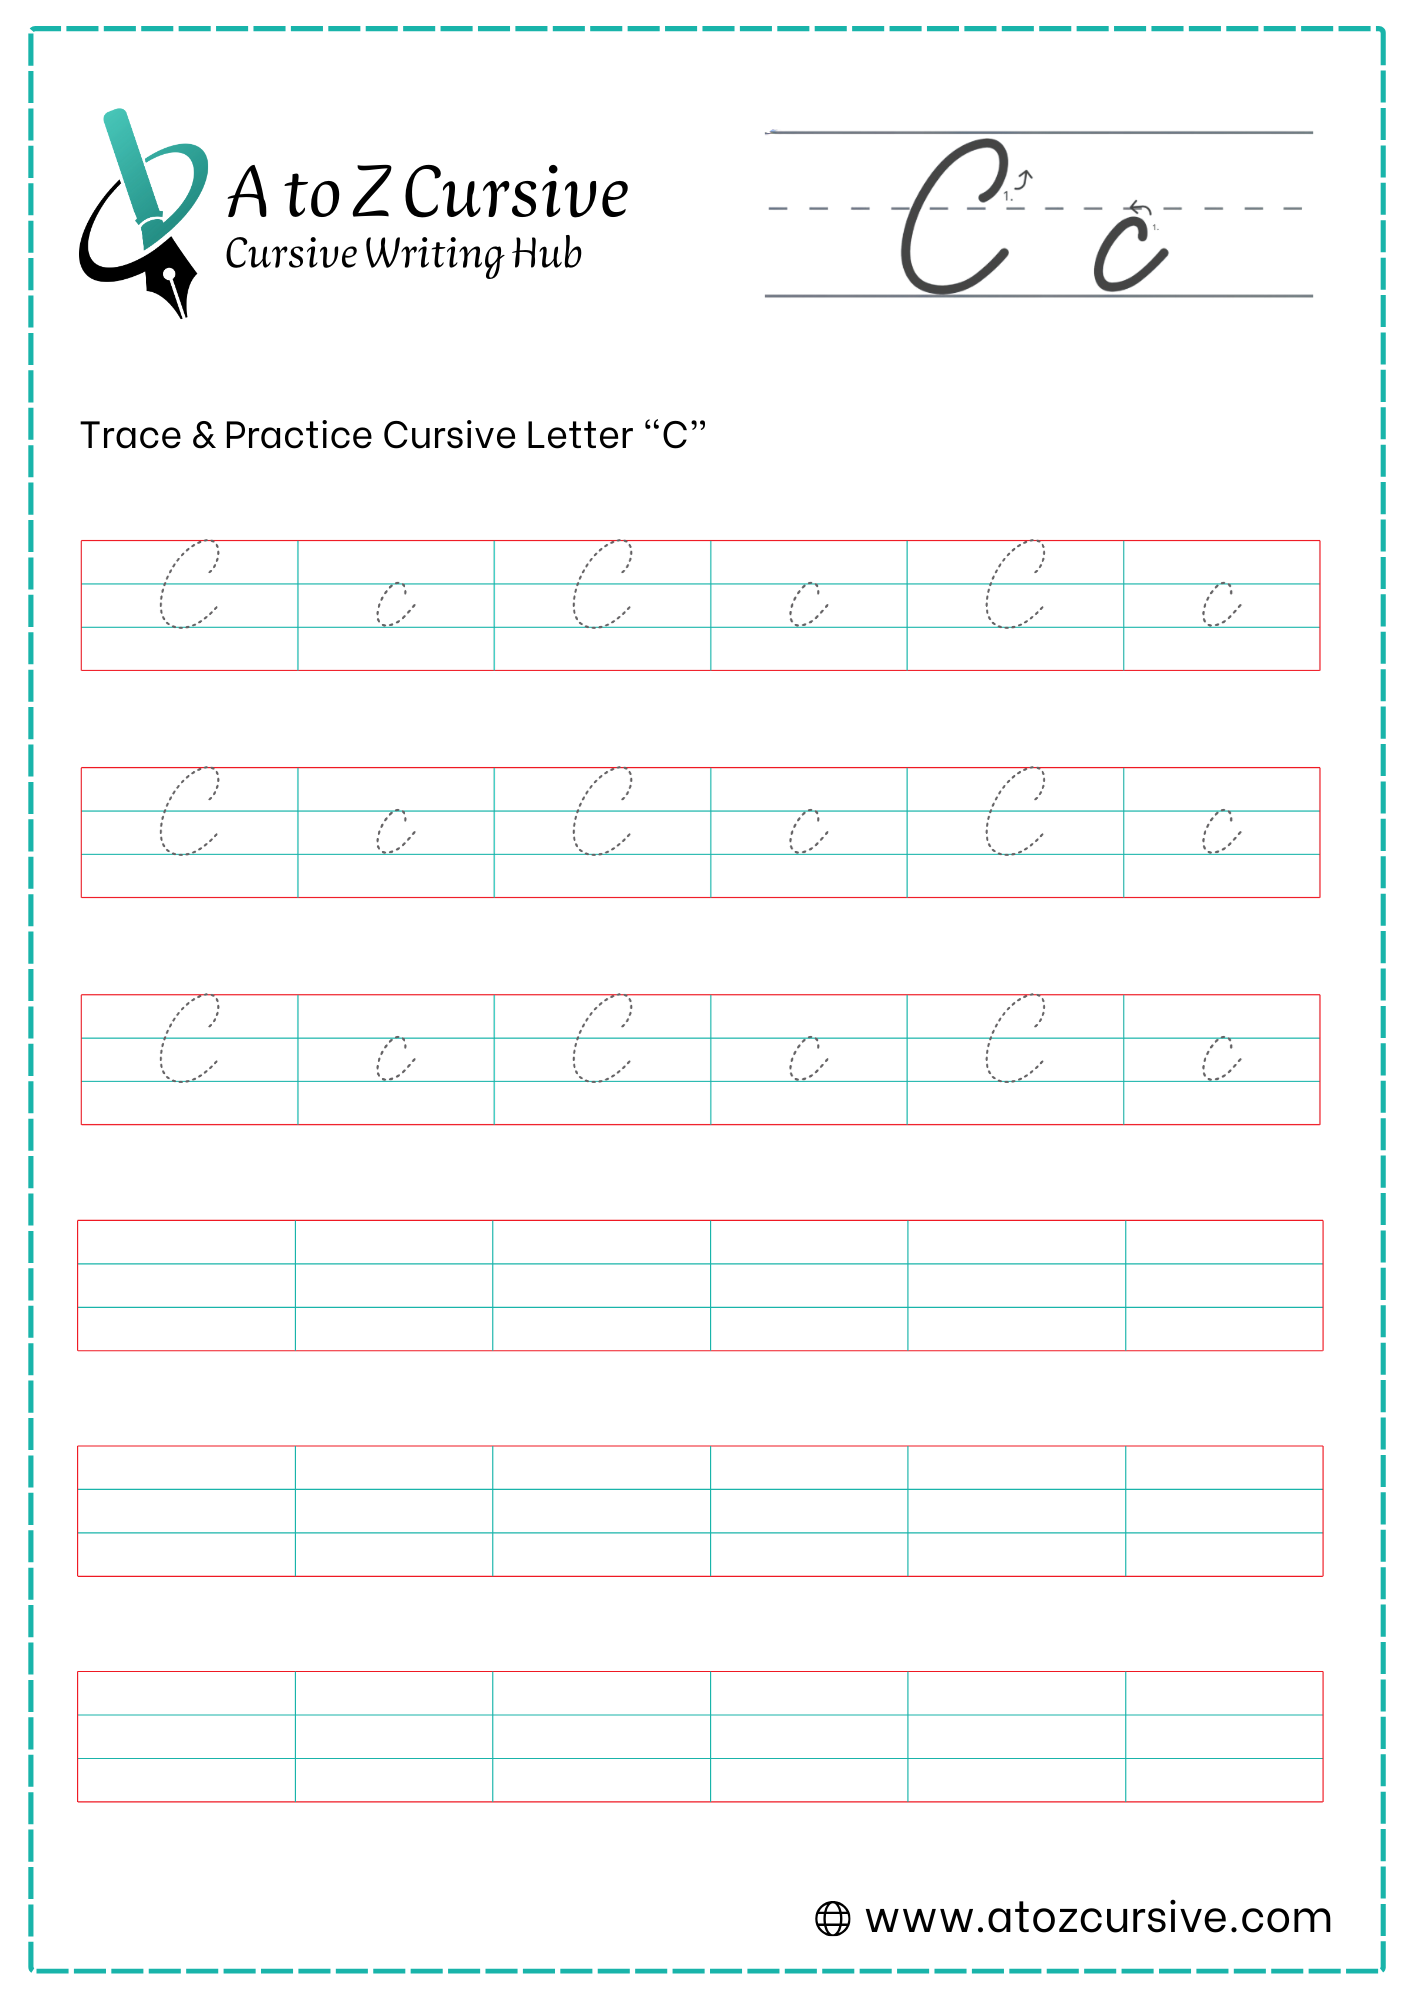
- Cursive C
Cursive C: Tutorial & Printable Worksheets (Uppercase + Lowercase)
On this page, you’ll learn how to write the uppercase and lowercase cursive letter C step by step. Download free cursive C worksheets for tracing and practice.
How to Write C in Cursive
Writing C in cursive begins with smooth strokes and curves. Follow simple steps to form the uppercase and lowercase C correctly and neatly.
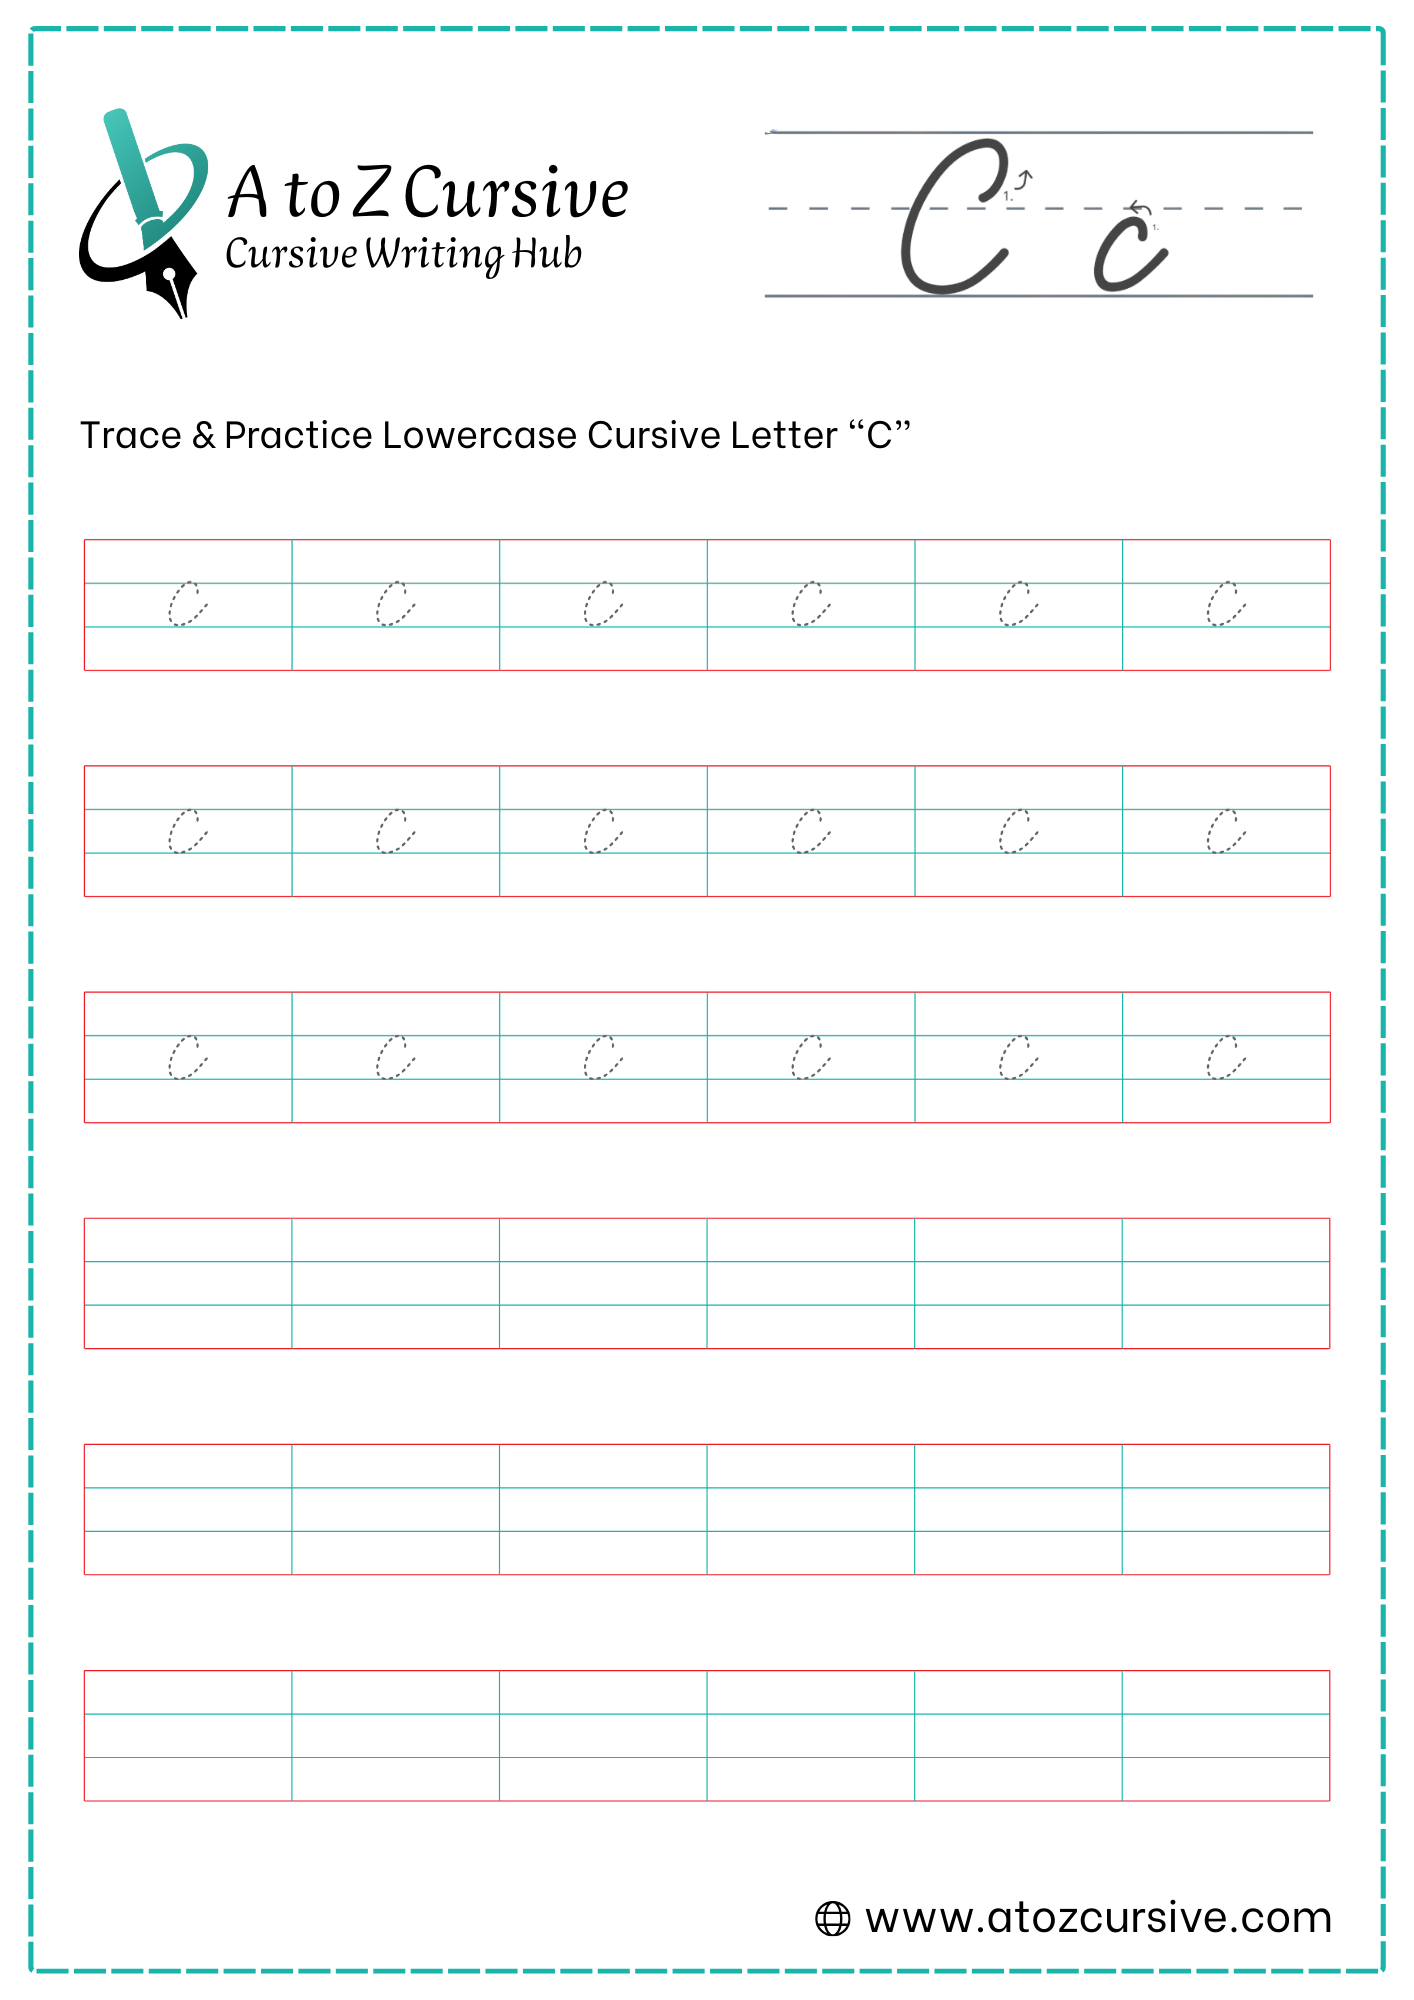
Lowercase Cursive C
-
Start at the bottom baseline. Draw a curved line (an under-curve) up toward the midline.
-
Just before you reach the midline, stop and create a tiny "hook" or "point" to the right.
-
This is the most important part. Without lifting your pen, move back over the line you just drew.
-
Continue that backward curve down toward the baseline, forming a rounded "half-moon" shape.
-
Touch the baseline and curve upward and outward to the right. This tail is what connects the "c" to the next letter.
Avoid the Loop: Beginners often make the "c" look like a small letter "e" by adding a loop at the top. To avoid this, make sure you retrace the line instead of circling.
Open Mouth: Ensure the "mouth" of the "c" is wide enough. If it's too squashed, it might look like an "i" or an "l" that didn't get finished.
Consistent Slant: Ensure the curve of the "c" matches the rightward slant of your other letters.
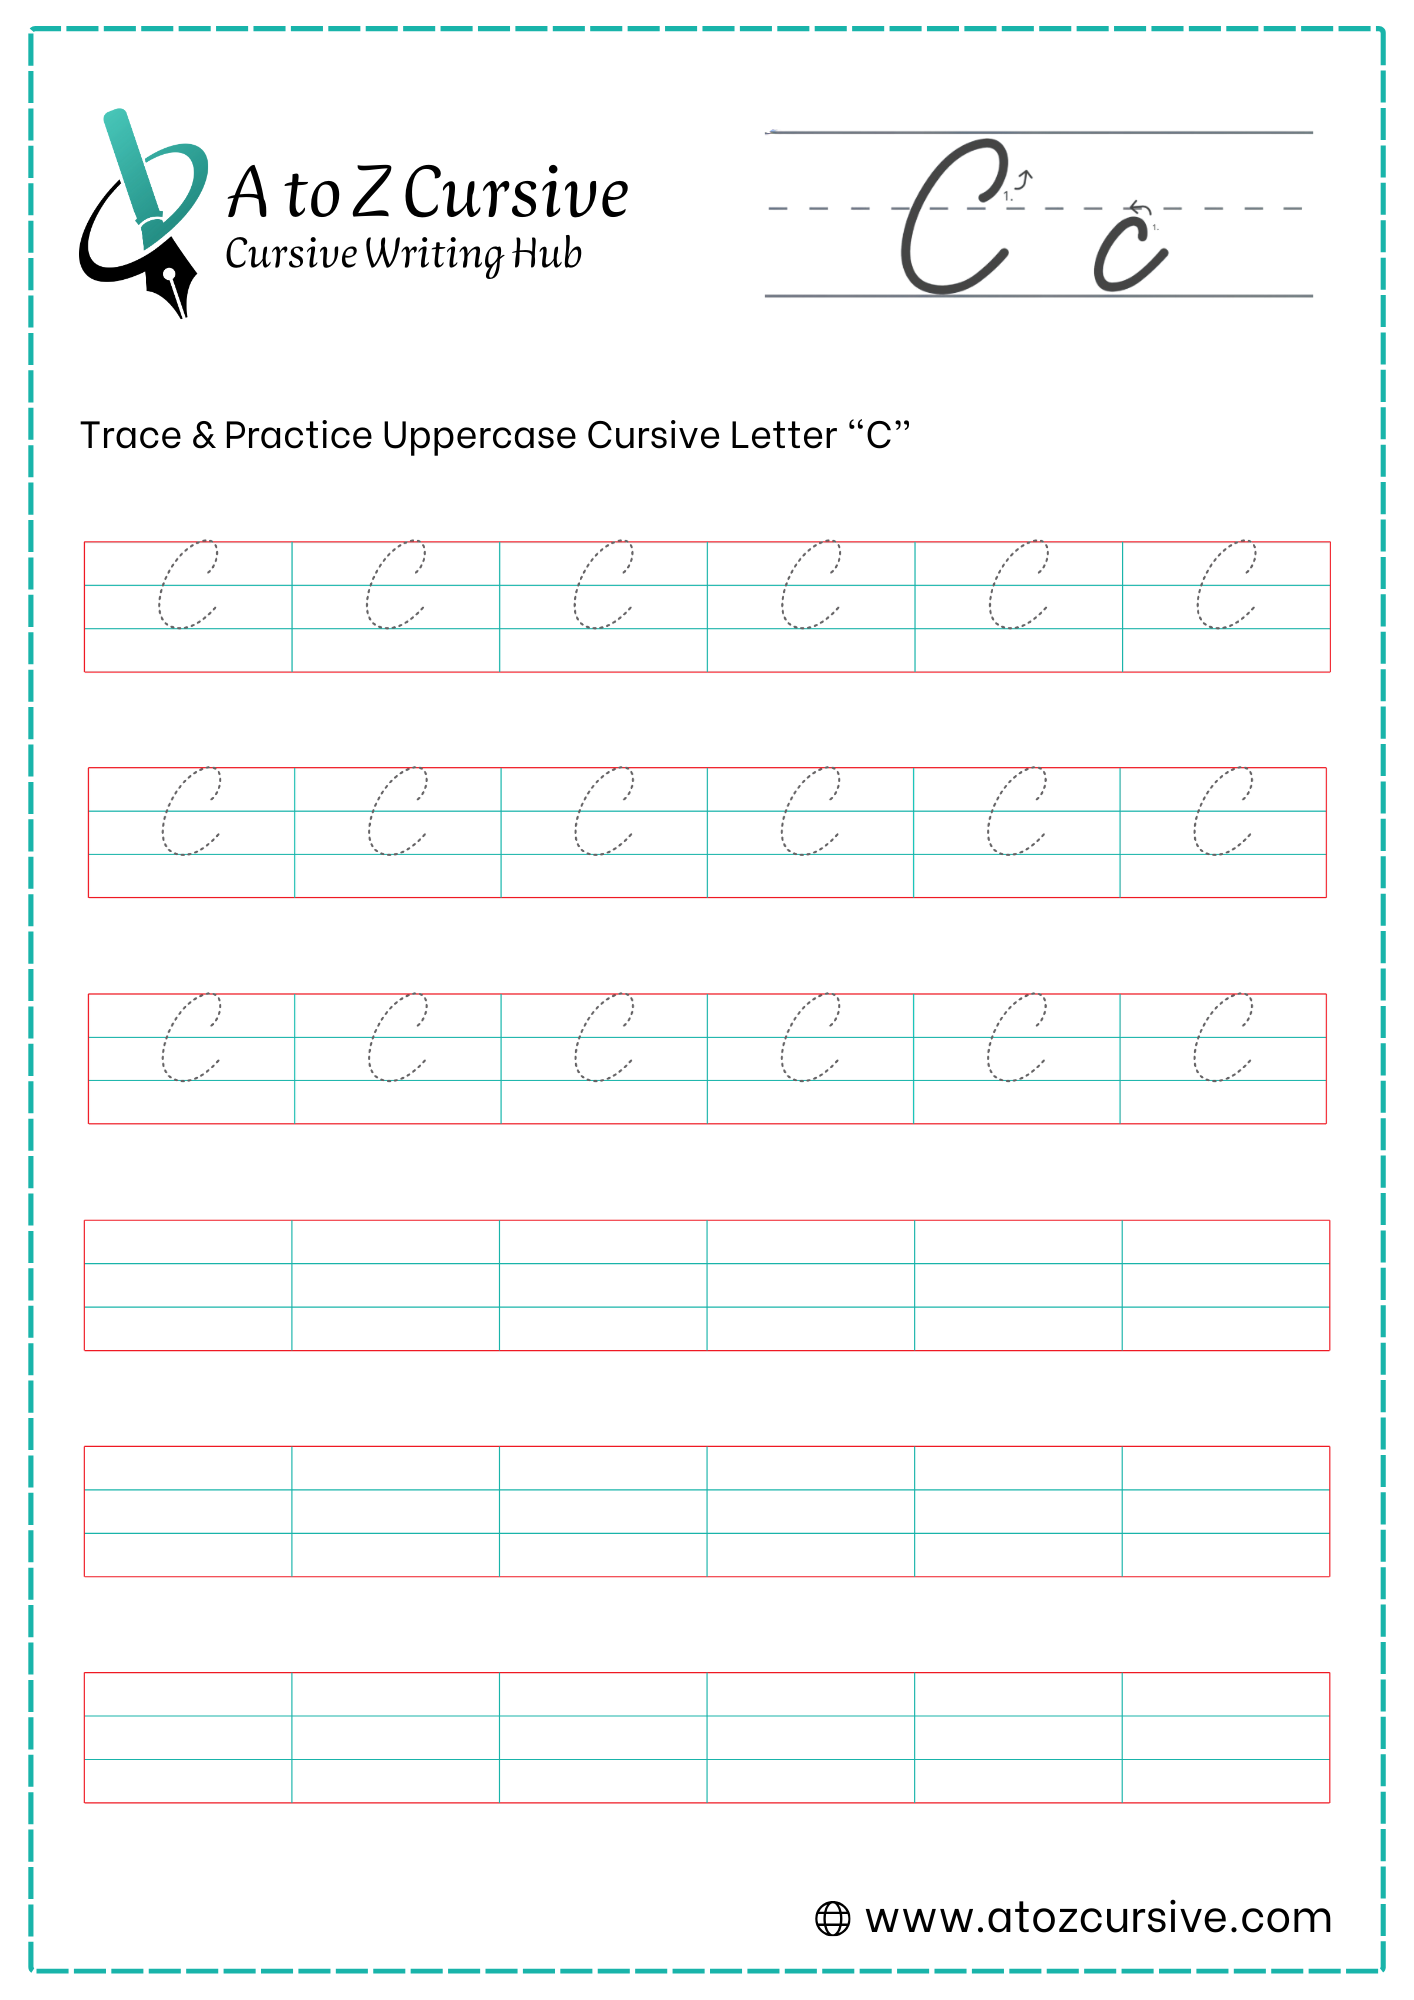
Uppercase Cursive C
-
Start just below the top baseline. Sweep your pen up to touch the top line, then curve around to the left and back down to form a small, teardrop-shaped loop.
-
From that loop, continue moving to the right and then sweep down in a large, rounded arc (like a giant crescent moon).
-
Bring the stroke down to touch the bottom baseline.
-
Curve the stroke back upward and slightly to the right, ending just below the midline. This tail allows it to connect to the next letter.
The "C" Shape: Make sure the "belly" of the letter is nice and wide. If it's too skinny, it can look like an "L" or an "I."
No Pen Lift: The entire letter should be one fluid motion.
Connecting: Unlike the capital "B," the uppercase "C" almost always connects to the next letter in the word. The exit tail flows directly into the lead-in stroke of the following character.
FAQs
Start at the midline and make a smooth, rounded curve down to the baseline. Finish with a short exit stroke to connect the next letter.
Start at the top line and draw a large, smooth curve down to the baseline. Add a slight loop at the bottom if desired.
Practice slowly, follow the proper stroke order, use lined worksheets, and repeat daily to make your cursive C consistent and smooth.
Use larger loops and smooth, flowing curves. Practice with guidelines or worksheets to keep proportions even and writing elegant.
Yes! Free printable worksheets are available for both lowercase and uppercase cursive C to help you trace and practice easily.
Avoid making the curve too sharp, starting at the wrong point, or lifting the pen too early. Keep the strokes smooth and connected.
Cursive is less taught in schools today, so many younger people find it hard to read or write.
Practice cursive alphabet worksheets regularly, use proper cursive strokes, maintain even spacing, and try worksheets to improve consistency and style.