- AtoZ Cursive
- Cursive A
Cursive A: Tutorial & Printable Worksheets (Uppercase + Lowercase)
On this page, you’ll learn how to write the uppercase + Lowercase cursive letter A with a complete guide. Download both uppercase and lowercase cursive A worksheets for tracing and practice.
How to Write A in Cursive
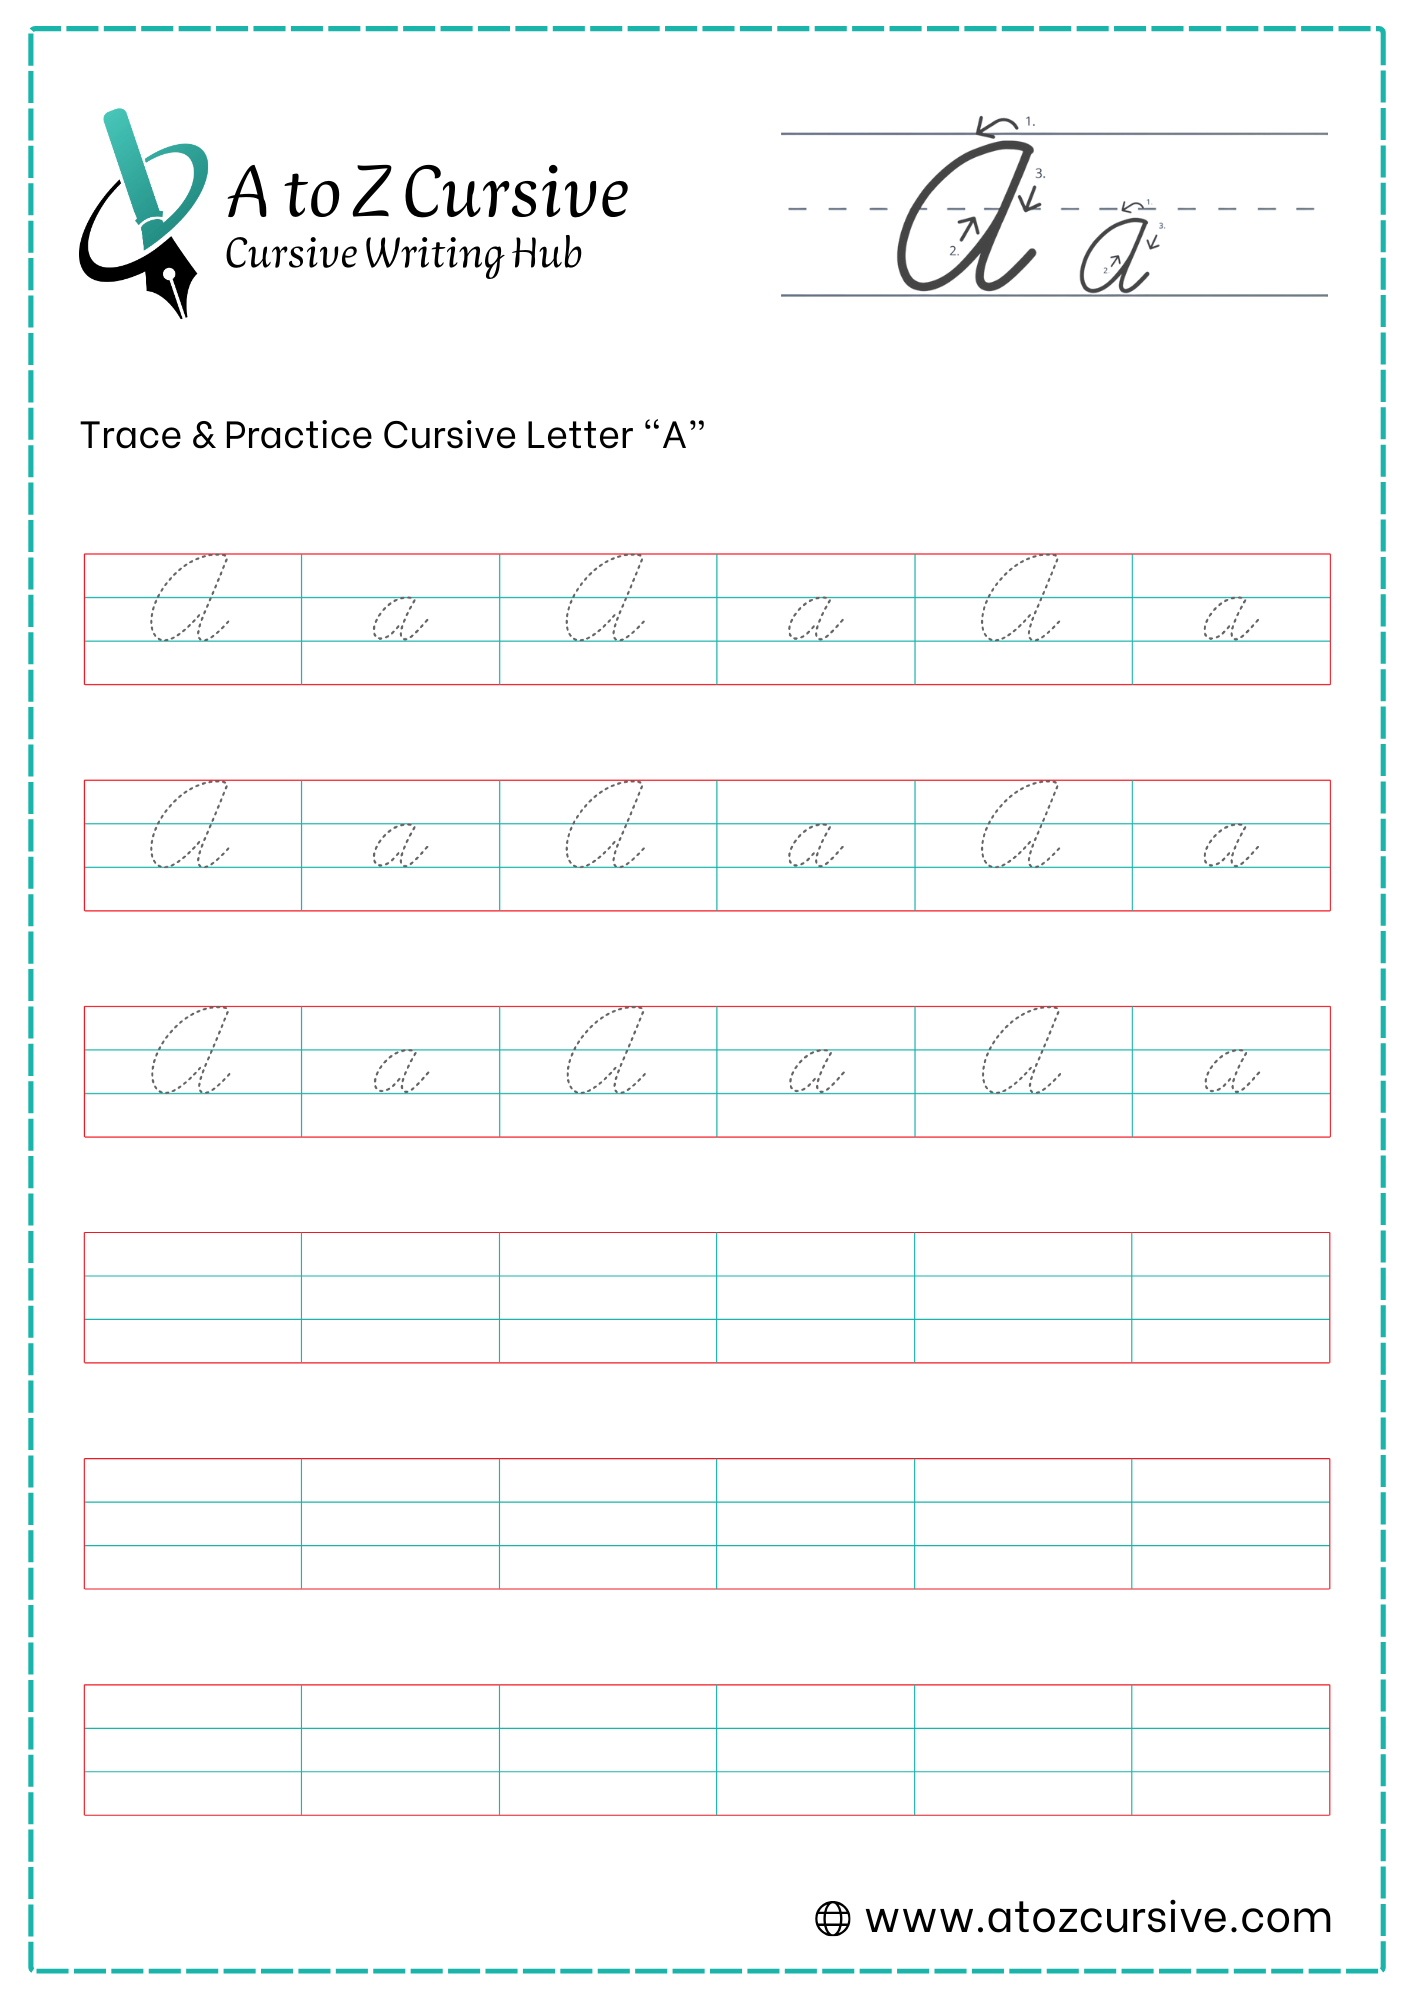
Follow our step-by-step guide to master both uppercase and lowercase cursive A. Use our free printable cursive alphabet A to Z worksheets for proper letter formation, strokes, and connections.
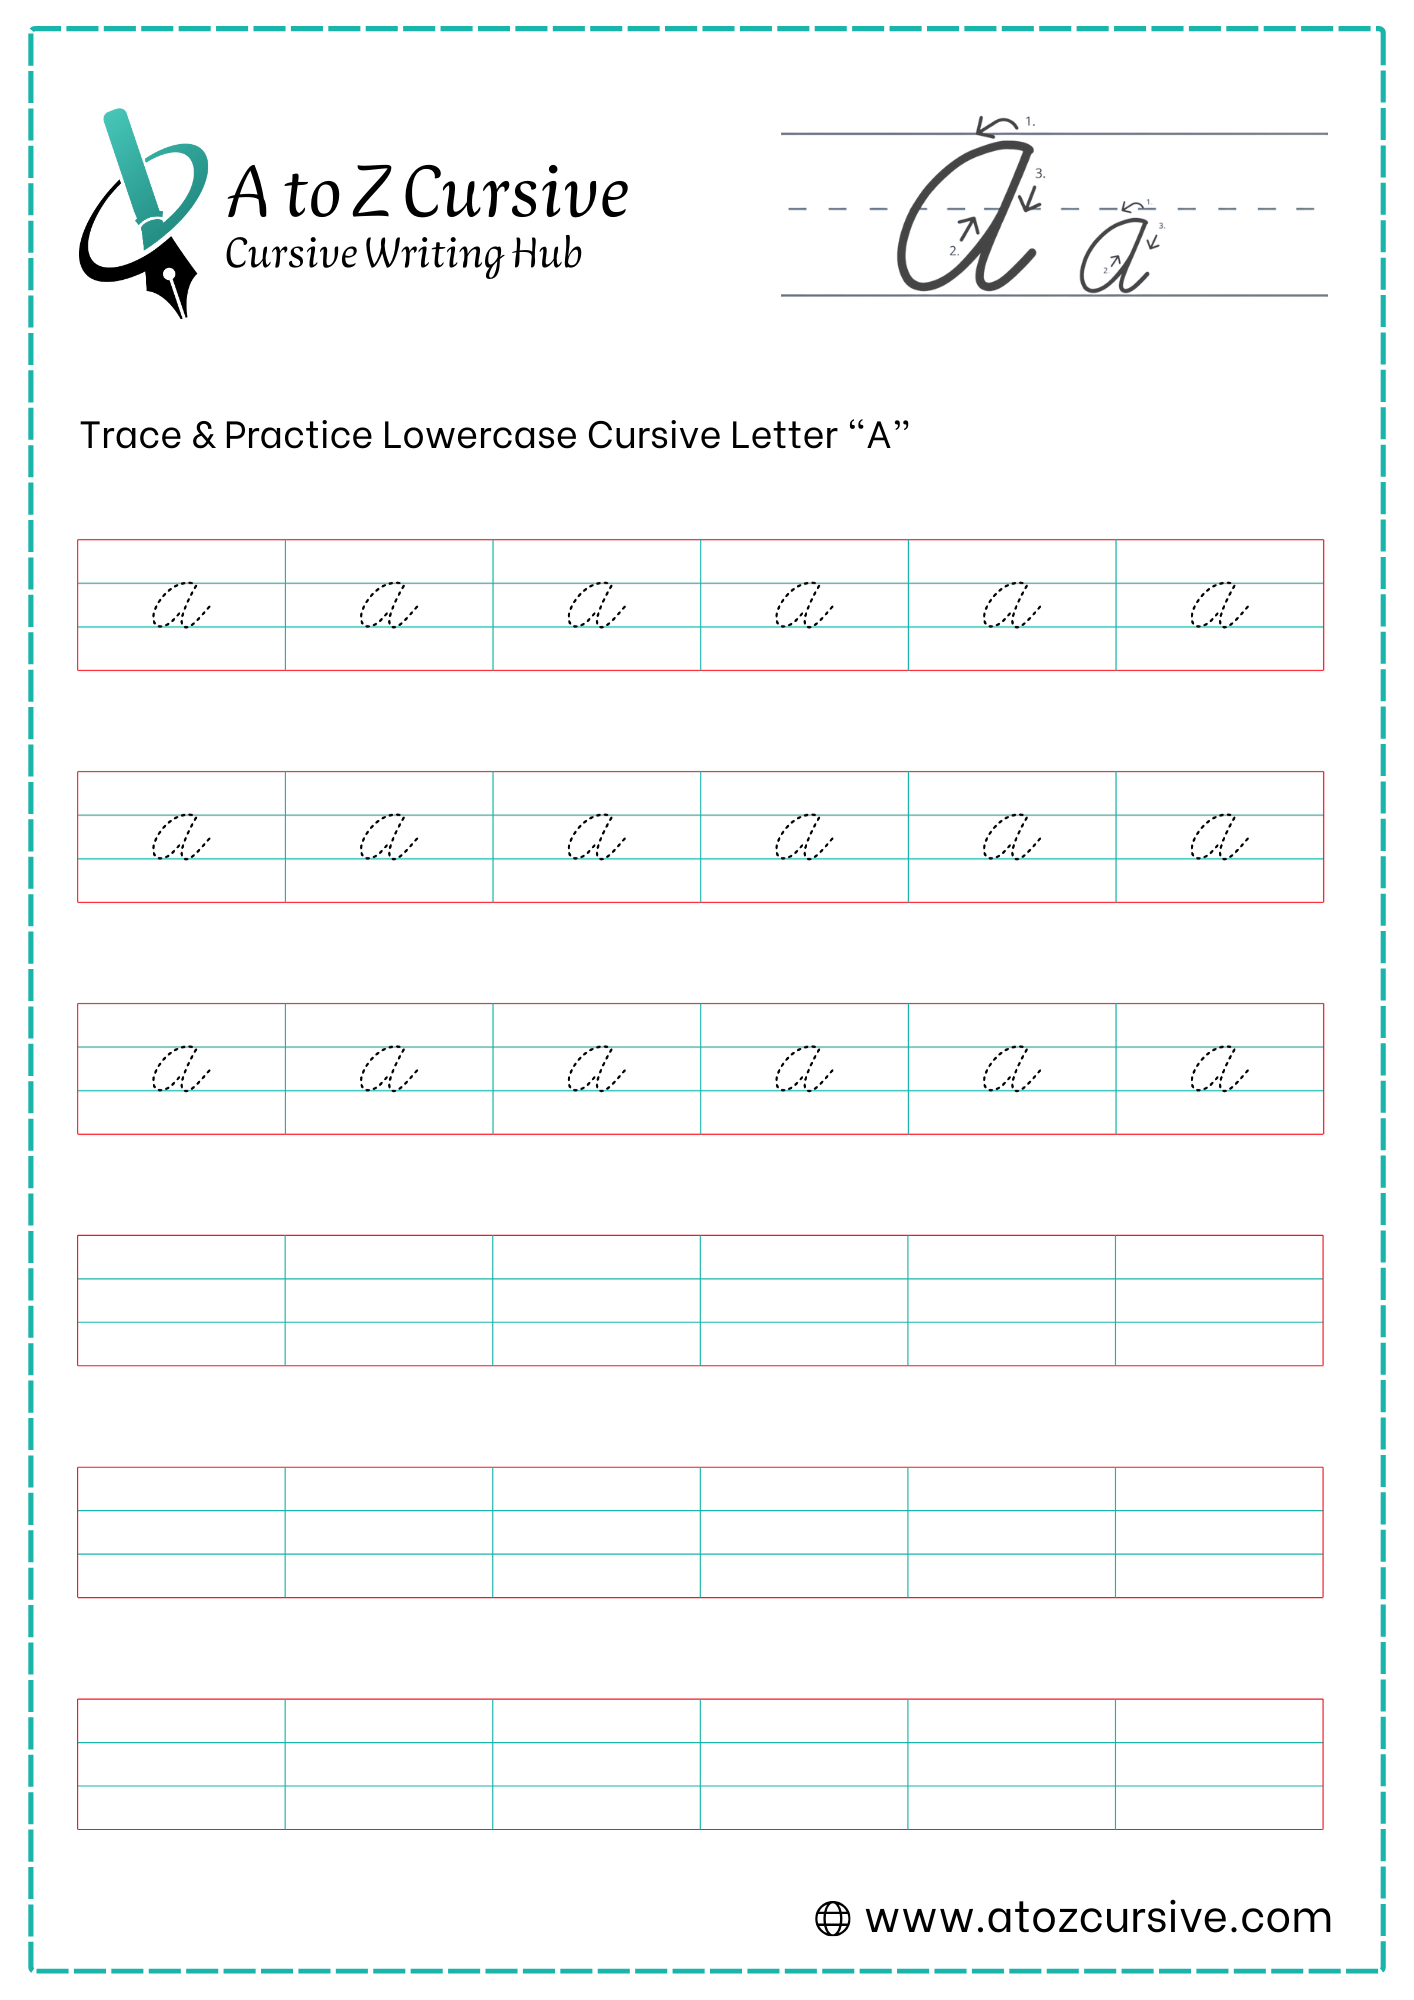
Lowercase Cursive A
-
Start at the middle line and make a curved stroke downward, like a small “c.”
-
Loop back up toward the middle line to form the oval body of the letter.
-
Bring the stroke back down to the baseline, then curve slightly to the right to create the tail. This tail will help you connect to the next letter.
-
Use printable worksheets for tracing and practicing cursive A to master proper strokes, letter formation, and connections.
Close the Gap: Ensure the top of the "a" is completely closed at the midline. If it’s left open, it can easily be mistaken for a cursive "u".
Keep it Slanted: The "oval" part of the "a" should tilt slightly to the right, matching the angle of your other letters.
The "Magic C" Rule: If you can write a cursive "c," you can write an "a." It’s simply a "c" that you close at the top and give a tail.
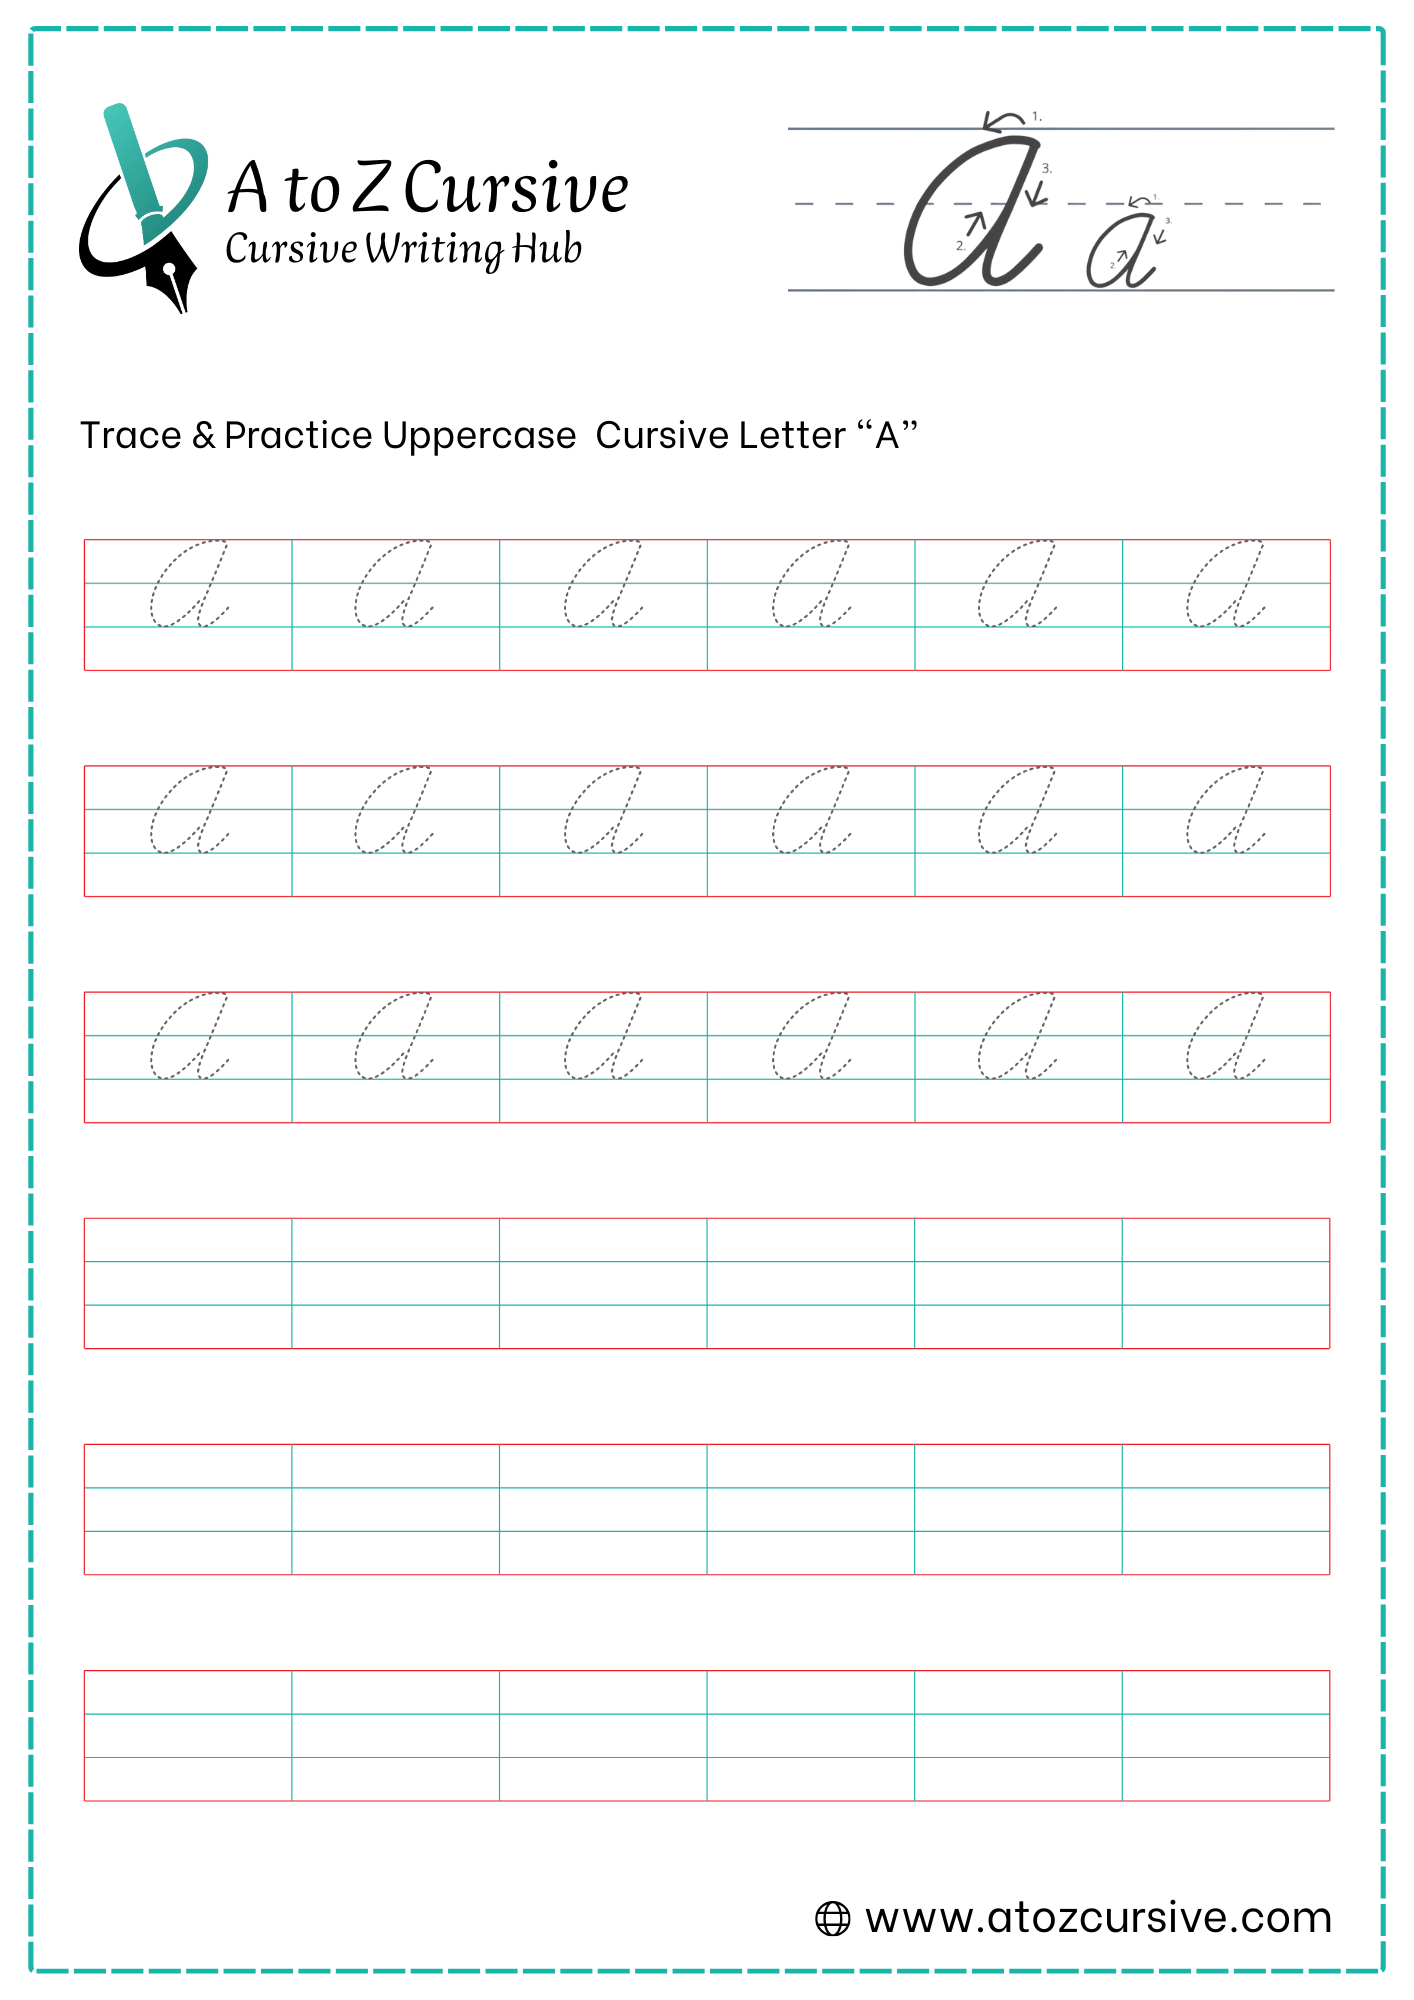
Uppercase Cursive A
-
Start just below the top line and make a small upward curve toward the top guideline.
-
Bring your stroke straight down to the baseline, forming the main body of the A.
-
Curve slightly to the left at the bottom to complete the shape.
-
Add a short horizontal line in the middle to finish the letter.
Don't Lift the Pen: Unlike the printed "A," the cursive version is one continuous movement.
The "Pointy" vs. "Round" Top: In some styles (like Palmer), the top is slightly pointed where the lines meet. In more modern styles, it stays rounded. Both are correct as long as you are consistent!
Connecting: The exit tail of the "A" connects easily to almost any lowercase letter (e.g., Al, An, Am).
FAQs
Begin at the middle line, make a curved stroke downward, loop up to form the oval body, and finish with a tail to connect to the next letter.
Start just below the top line, curve up slightly, draw a straight line down to the baseline, add a slight left curve, and finish with a horizontal crossbar.
Yes! Both uppercase and lowercase A have tails or exit strokes that allow you to smoothly connect to the next letter in a word.
Yes! You can download our free printable PDF to practice both uppercase and lowercase cursive A with guided tracing and independent writing exercises.
Daily practice for 5–10 minutes is ideal to build smooth strokes, proper letter formation, and confidence in writing cursive A.
Not at all! With step-by-step instructions and tracing worksheets, beginners can easily learn both lowercase and uppercase cursive A.
Practicing cursive A improves handwriting flow, letter connections, fine motor skills, and builds a strong foundation for writing the entire cursive alphabet.